Share your love
Best Methods to Enable XPS Viewer on Windows 11

This guide will teach you to Enable XPS Viewer on Windows 11. As you may know, XPS is a document format similar to PDF, developed by Microsoft. The XPS Viewer on Windows 11 is a built-in application designed to view, print, and annotate XPS (XML Paper Specification) files. Also, it offers options for printing XPS documents directly from the application and tools for highlighting, adding notes, and copying content.
Now you can proceed to the following steps on the Orcacore website to install and enable XPS Viewer on Windows 11.
Table of Contents
Learn to Install and Enable XPS Viewer on Windows 11
In this tutorial, you will learn three different methods to install XPS on Windows 11. To do this, log in to your Windows Client and use one of the following methods to complete this guide:
- Use Optional Features Settings
- Command Prompt
- PowerShell
Method 1 – Install XPS Viewer From Windows Optional Features Settings
In this method, you can search for Settings and open the app. From your Settings, click on System and choose Optional Features.
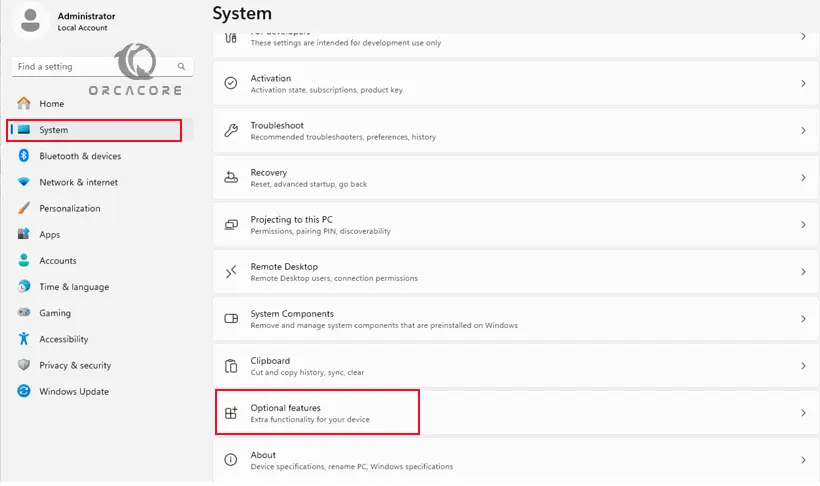
From there, click on View Features.

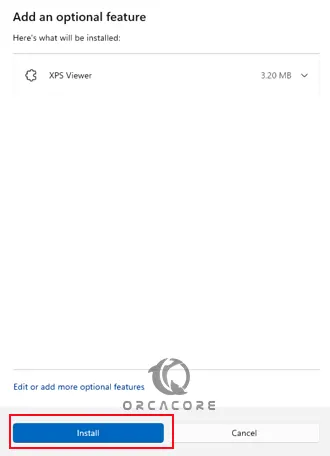
Then, search for XPS Viewer and click on Next.
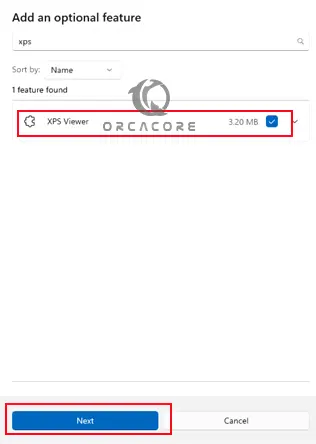
Next, install your XPS Viewer on Windows 11.
Method 2 – Use Command Prompt To Install XPS Viewer
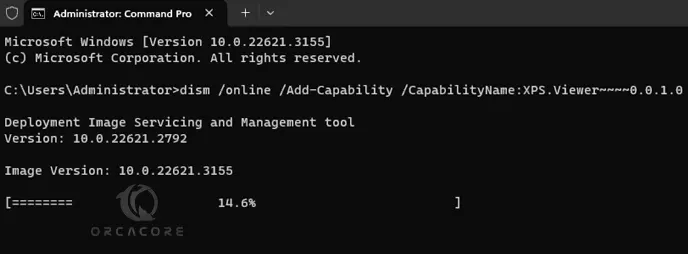
If you are interested in the command line interface, you can use Command Prompt to enable XPS. To do this, run your CMD as an administrator and run the command below:
dism /online /Add-Capability /CapabilityName:XPS.Viewer~~~~0.0.1.0Wait until your installation is completed. then, close your CMD.
Method 3 – Use PowerShell To Install XPS Viewer
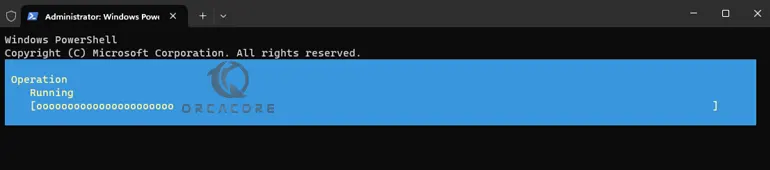
Also, you can use PowerShell to install the XPS Viewer on Windows 11. To do this, run your PowerShell as an administrator and execute the command below:
Add-WindowsCapability -Online -Name "XPS.Viewer~~~~0.0.1.0"Once your installation is completed, close your PowerShell.
That’s it you are done. At this point, you can view and manage your XPS files.
Conclusion
At this point, you have learned to install XPS Viewer on your Windows 11 by using three various methods including Optional features, Command Prompt, and PowerShell. By using of one these methods, you can enable XPS Viewer and manage your XPS files on Windows 11. Hope you enjoy it.
Also, you may like to read the following articles:
Install XPS Viewer on Windows 10