Share your love
How To Use WinSCP on Windows with Easy Steps
In this article, we want to teach you How To Use WinSCP on Windows. First of all, let’s see what WinSCP is. WinSCP is an open-source file-transfer application. It uses FTP (File Transfer Protocol), SFTP (Secure Shell File Transfer Protocol), and SCP (Secure Copy Protocol) for plain or secure file transfer.
WinSCP is designed to work with Windows and supports common Windows desktop features. such as dragging and dropping files, jump list locations, and context menu entries.
You can now proceed to the guide steps below on the Orcacore website to Download WinSCP and Install it on your Windows client.
Table of Contents
How To Use WinSCP on Windows?
To use WinSCP on Windows, log in to your Windows Client and follow the steps below.
1. Download WinSCP Windows
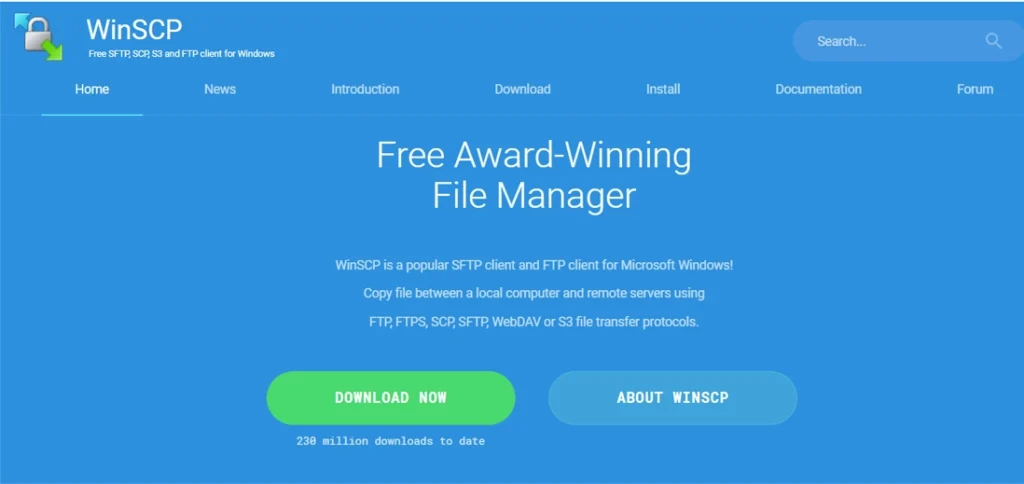
You need to download the installer to the latest version of WinSCP from the WinSCP external site.
When you have finished downloading WinSCP, you will see the setup wizard, and follow the steps to complete your installation.
2. Install WinSCP on Windows
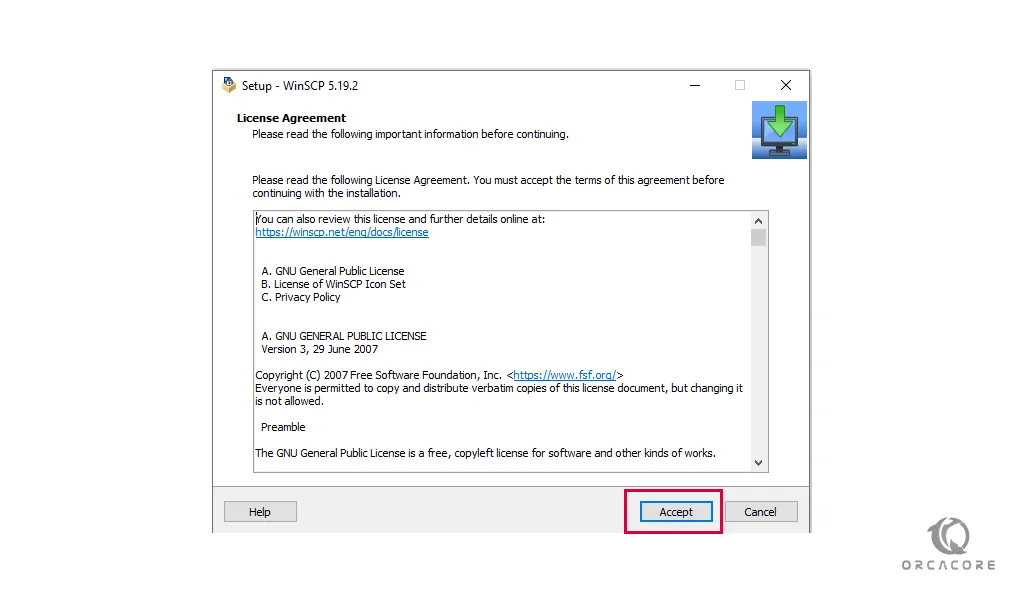
First, you need to Accept the license agreement.
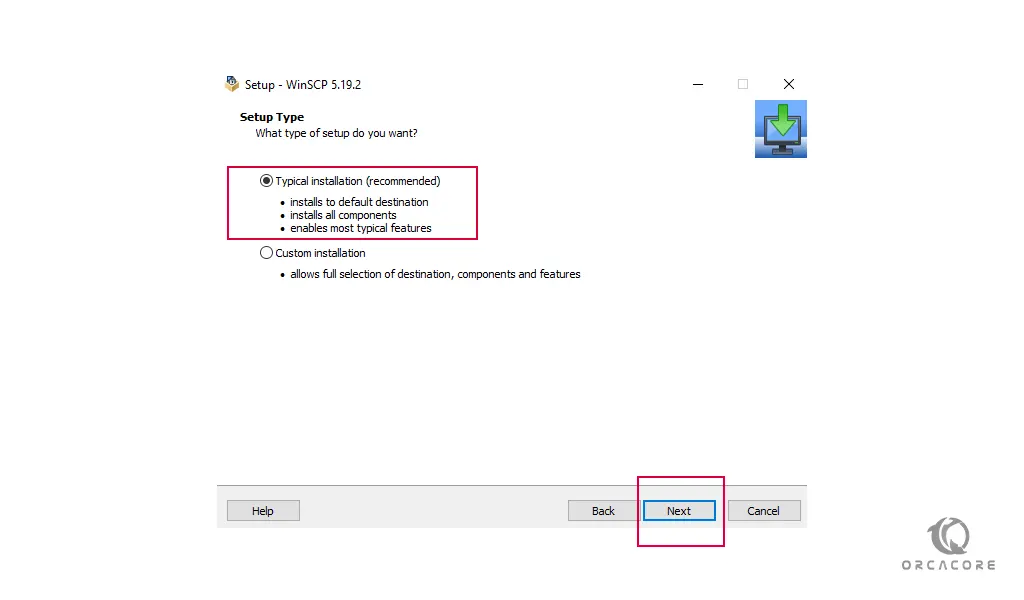
Now you need to choose what type of setup you want. It is recommended to select a typical installation. it installs to the default destination and all components and enables the most typical features.
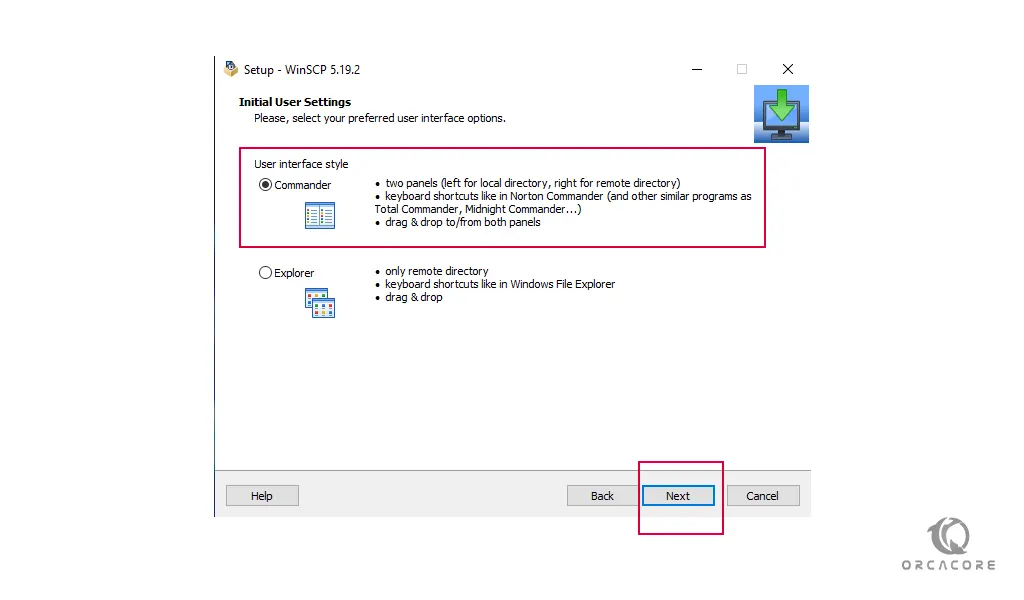
At this point, you need to select your preferred user interface option. Commander style has two panels, keyboard shortcuts, and drag and drop to or from both panels. We choose the Commander style.
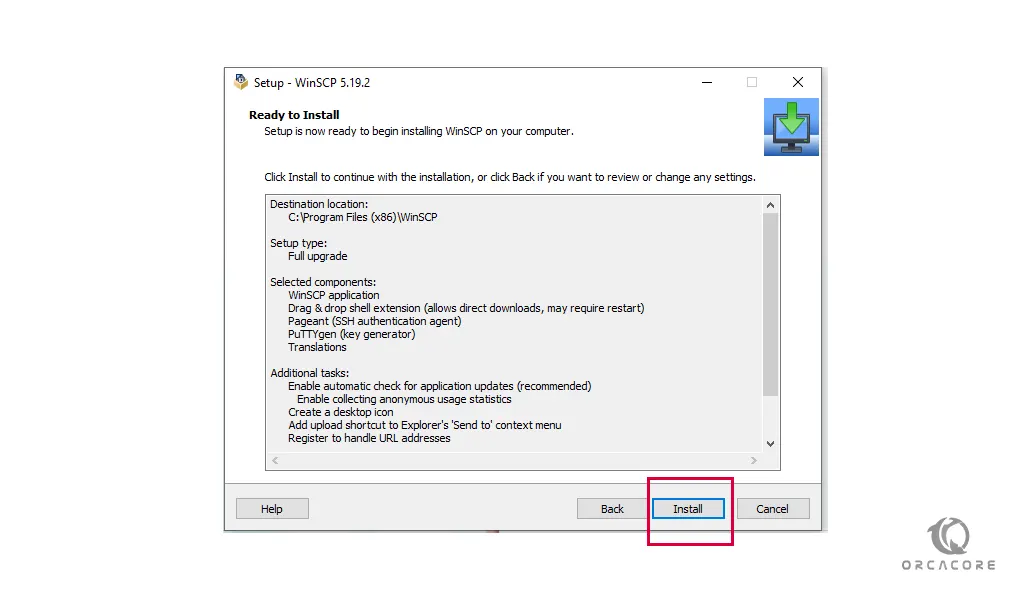
Now you are ready to install WinSCP. Click on the Install button.
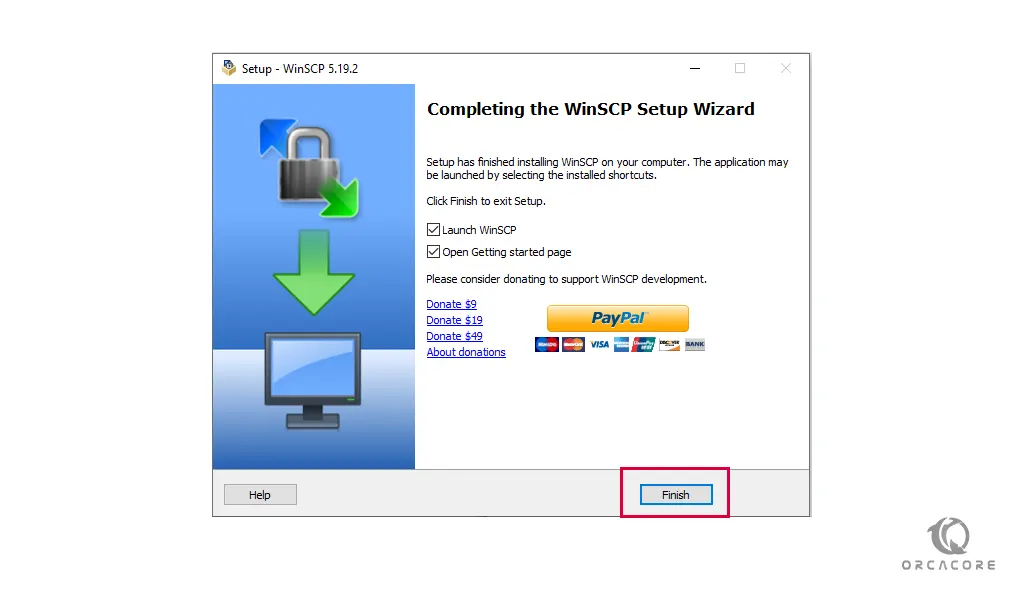
Once your WinSCP installation on Windows is completed, press the Finish button.
3. Access WinSCP on Windows
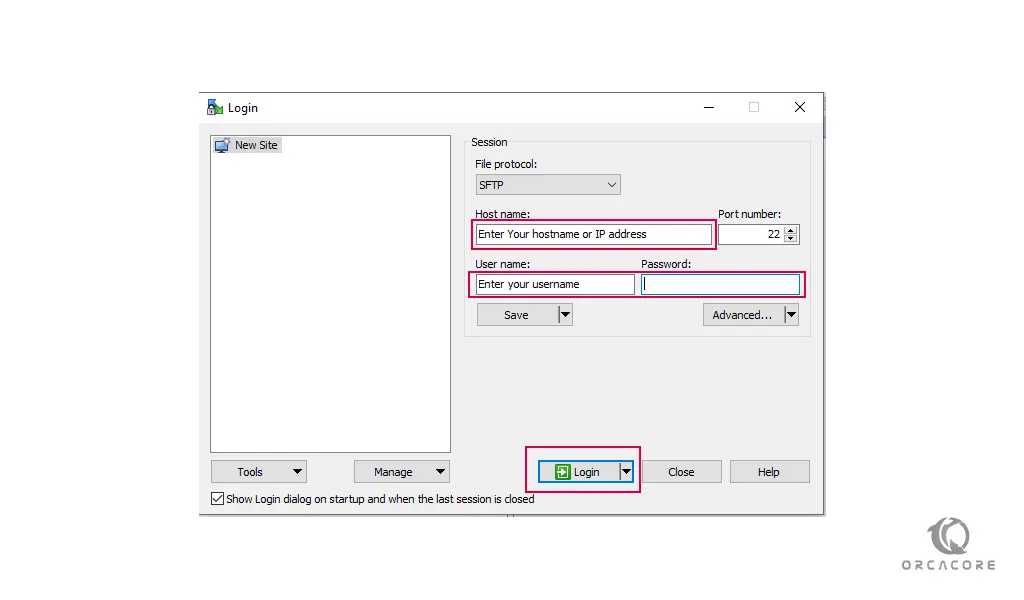
After your installation is completed you need to log in to WinSCP. To do this, follow the steps below:
- In the Host Name box, type the host computer’s address.
- Into the User Name box, type your user name for the computer to which you are connecting.
- In the Password box, type your password.
- Click Login.
Note: When you first attempt to connect to a new server, you’ll get a warning message. Click Yes to continue.
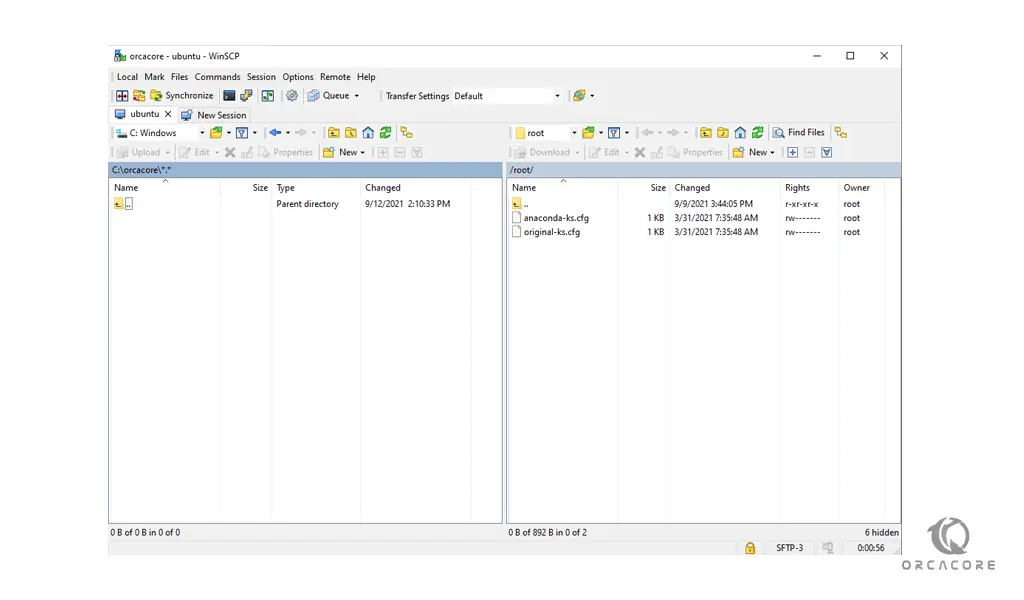
Now you are in WinSCP. The right side is your server and the left side is your localhost. You can easily transfer your files with Drag and Drop the files.
Conclusion
WinSCP is a Windows application used for securely transferring files between a local computer and a remote server using SFTP, FTP, SCP, or WebDAV. It also provides basic file management and scripting capabilities for automation. At this point, you have learned to download, install, and access WinSCP on Windows. Hope you enjoy it.
You may also like to read the following articles:
Install IIS on Windows Server 2025
Installing MAMP Stack on Windows 10
Find Router IP Address on Windows
FAQs
Is WinSCP free to use?
Yes, WinSCP is completely free and open-source software.
How do I connect to a server using WinSCP?
You need to enter the server’s hostname, username, and password, and select the transfer protocol (SFTP, SCP, FTP, etc.).
Can WinSCP synchronize files between a local and remote server?
Yes, it has a synchronization feature to keep local and remote directories in sync.
Does WinSCP work on Windows 10 and 11?
Yes, WinSCP is compatible with Windows 10, 11, and older versions of Windows.
Can I edit files directly on the remote server?
Yes, WinSCP allows direct editing of remote files using built-in or external editors.