Share your love
Best Steps To Manage SSDP Network Discovery on Windows 11
This guide intends to teach you how to Manage SSDP Network Discovery on Windows 11. Before you go forward to manage your SSDP on Windows 11, you need to understand its meaning and its usage. So follow the steps below provided by the Orcacore team to get the information in detail.
Table of Contents
Understand SSDP Discovery on Windows 11
SSDP stands for Simple Service Discovery Protocol. It is used for UPnP device discovery. UPnP stands for Universal Plug and Play. It allows devices to automatically connect and communicate with each other over a network without user intervention.
SSDP Discovery is responsible for discovering UPnP devices such as media servers, printers, routers, and other enabled network devices on the local network.
Now follow the steps below to see how you can enable and disable SSDP Discovery on your Microsoft Windows 11.
Steps To Manage SSDP Network Discovery on Windows 11
To complete this guide, you must log in to your Windows Client and follow the steps below to check your SSDP Discovery status and manage your service.
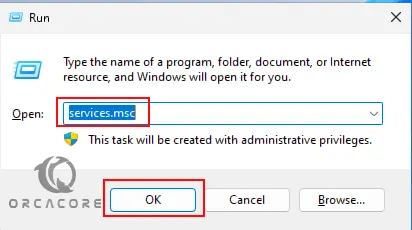
Step 1 – Access Windows 11 Services
First, you must open your Services application on Windows 11. To do this, press ‘Win + R‘, type ‘services.msc‘, and click OK.
Step 2 – Locate SSDP Discovery Service and Check the Status
At this point, from your services application, scroll down and find SSDP Discovery. If your service is enabled, you can see the running status next to it.

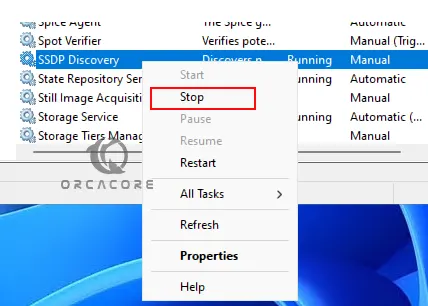
Disable SSDP Discovery on Windows 11
If you want to disable or stop your SSDP discovery service, you can right-click on the service and select Stop.
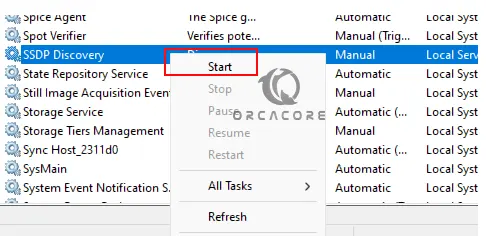
Enable SSDP Discovery on Windows 11
Also, you can enable your service again by right-clicking on the service and clicking Start.
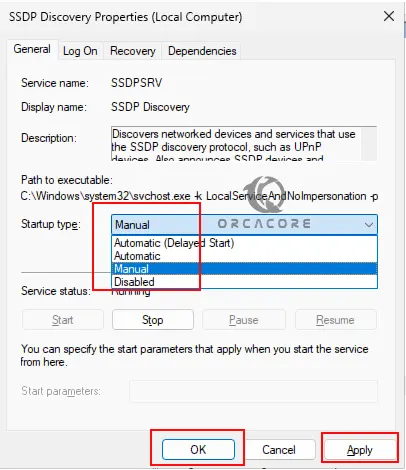
Step 3 – SSDP Discovery Automatic or Manual Start
At this point, you can set your SSDP discovery service to start automatically or start it manually on Windows 11. To do this, right-click on the service and select properties.

From the general tab, next to the Startup type, you can select automatic, manual, or disabled startup on your system. Then, click Apply and OK.
Step 4 – Essential Notes about SSDP Network Discovery
At this point, we suggest to consider the following notes:
- UPnP may cause security risks: You need to be sure that your network is secure. If you’re not using it, it is better to disable UPnP.
- Network Devices Issues: If you face network device issues, be sure that your SSDP Discovery service is running on your Windows.
- Network Configuration: In some cases, you may need to configure your router or other networks to work with UPnP and SSDP discovery.
Final Words on SSDP Discovery
At this point, you have learned to manage SSDP Network Discovery on Windows 11. It helps you to interact with UPnP devices on your network. Always remember to consider the important notes about your services and configurations.
Hope you enjoy it. Also, you may like to read the following articles:
Install Malwarebytes on Windows
Differences Between Windows 11 Home and Pro Edition