Share your love
Install Caddy Web Server on AlmaLinux 9

In this guide, we intend to teach you to Install Caddy Web Server on AlmaLinux 9.
Caddy is an open-source web server platform designed to be simple, easy to use, and secure. Written in Go with zero dependencies, Caddy is easy to download and runs on almost every platform that Go compiles.
By default, Caddy comes with support for automatic HTTPS by provisioning and renewing certificates through Let’s Encrypt. Caddy is the only one to provide these features out of the box, and it also comes with automatic redirection of HTTP traffic to HTTPS.
Compared to Apache and Nginx, Caddy’s configuration files are much smaller. Additionally, Caddy runs on TLS 1.3, the newest standard in transport security.
Steps To Install Caddy Web Server on AlmaLinux 9
To complete this guide, you must log in to your server as a non-root user with sudo privileges and set up a basic firewall. To do this, you can follow our guide the Initial Server Setup with AlmaLinux 9.
Install Caddy on AlmaLinux 9
First, you need to update your local package index with the following command:
sudo dnf update
By default, Caddy is not available in the default AlmaLinux repository. So you need to add the Copr repository to your server.
The Copr (Cool Other Package Repo) is a Fedora project to help make building and managing third-party package repositories easy.
To do this, run the following command:
sudo dnf install 'dnf-command(copr)'
Then, enable the Caddy repository on AlmaLinux 9 with the following command:
sudo dnf copr enable @caddy/caddy
Output
Repository successfully enabled.
Again you need to run the system update:
sudo dnf update
Output
Copr repo for caddy owned by @caddy             1.5 kB/s | 1.4 kB     00:00
Dependencies resolved.
Nothing to do.
Complete!
Now use the following command to install Caddy on AlmaLinux 9:
sudo dnf install caddy -y
Next, start and enable your Caddy service with the commands below:
$ sudo systemctl start caddy
$ sudo systemctl enable caddy
Verify that your Caddy service is active and running on your server with the command below:
sudo systemctl status caddy
In your output you will see:
Output
● caddy.service - Caddy
     Loaded: loaded (/usr/lib/systemd/system/caddy.service; enabled; vendor pre>
     Active: active (running) since Mon 2022-09-19 07:21:34 EDT; 19s ago
       Docs: https://caddyserver.com/docs/
   Main PID: 4107 (caddy)
      Tasks: 7 (limit: 23609)
     Memory: 16.3M
        CPU: 64ms
     CGroup: /system.slice/caddy.service
             └─4107 /usr/bin/caddy run --environ --config /etc/caddy/Caddyfile
...
Now that you have Caddy installed and running on your AlmaLinux 9, let’s see how to create a new site on the Caddy web server.
Create a Caddy new site on AlmaLinux 9
This step is similar to the Apache virtual hosts or Nginx server blocks.
First, create a directory for your site with the command below:
sudo mkdir -p /var/www/your-domain/htmlThen, you need to create a directory for the logs:
sudo mkdir /var/log/caddy
Set the correct ownership for both directories with the commands below:
$ sudo chown caddy:caddy /var/www/your-domain/html -R
$ sudo chown caddy:caddy /var/log/caddy
Now you need to create an index.html file in your new site directory with your favorite text editor, here we use vi:
sudo vi /var/www/your-domain/html/index.htmlAdd the following content to the file:
<!DOCTYPE html>
<html>
<head>
<title>Hi</title>
</head>
<body>
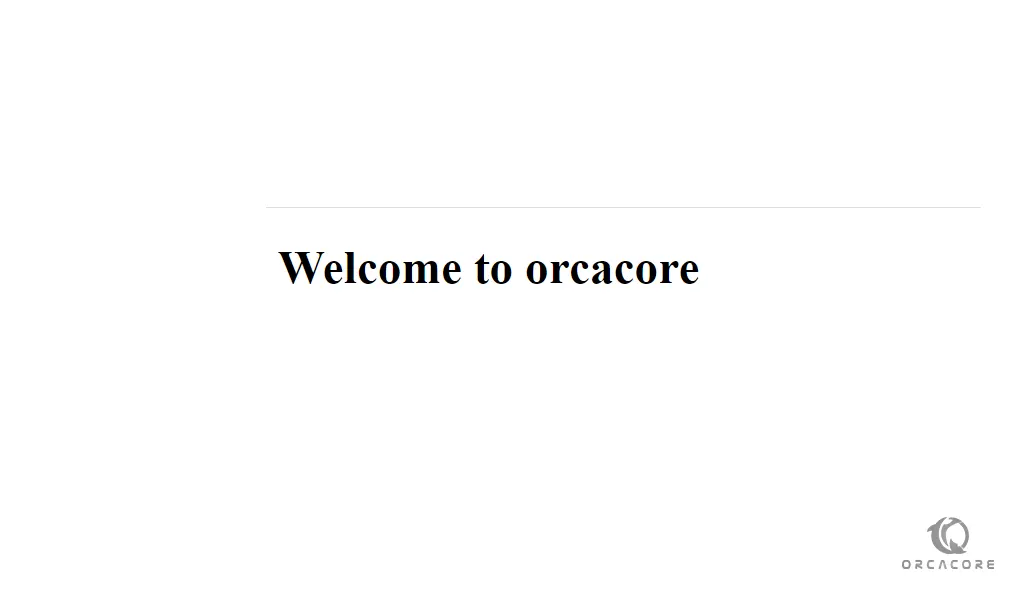
<h1>Welcome to orcacore</h1>
</body>
</html>
When you are done, save and close the file.
Here you need to edit the Caddy configuration file. Open the file with your favorite text editor, here we use vi:
sudo vi /etc/caddy/Caddyfile
Remove all the contents to the file and add the following contents to the file:
your-domain {
    root * /var/www/your-domain/html
    file_server
    encode gzip

    log {
        output file /var/log/caddy/your-domain.log
    }

    @static {
        file
        path *.ico *.css *.js *.gif *.jpg *.jpeg *.png *.svg *.woff *.pdf *.webp
    }
    header @static Cache-Control max-age=5184000

    tls admin@your-domain
}
When you are done, save and close the file.
Then, you need to validate your configuration with the command below:
caddy validate --adapter caddyfile --config /etc/caddy/Caddyfile
Note: If the on-screen output results in a formatted warning, you can fix it by running the command below:
caddy fmt --overwrite /etc/caddy/Caddyfile
Next, restart the Caddy service on AlmaLinux 9 to apply the changes:
sudo systemctl restart caddy
Configure Firewall for Caddy
Here we assumed that you have enabled the firewalld. Now you need to allow traffic on HTTP and HTTPS through the firewall with the following commands:
sudo firewall-cmd --permanent --add-service=http
sudo firewall-cmd --permanent --add-service=https
Reload the firewall to apply the new rules:
sudo systemctl reload firewalld
Access Caddy web server page
At this point, you can access the Caddy web server by typing your domain name or server’s IP address in your web browser:
http://server-ip-or-domainYou will see the Welcome test page.

That’s it, you are done.
For more information, you can visit the Caddy Documentation Page.
Conclusion
At this point, you have learned to Install and Configure Caddy Web Server on AlmaLinux 9.
Hope you enjoy it.
You may be like these articles:


