Share your love
Install and Configure Zabbix 6.0 on Rocky Linux 8
This tutorial intends to teach you How To Install and Configure Zabbix 6.0 on Rocky Linux 8.
Zabbix is defined as an open-source monitoring tool used for monitoring servers, networks, IT components, cloud services, and virtual machines.
The Zabbix monitoring tool is used to provide the monitoring metrics and monitor the network utilization, consumption of disk space, and CPU load. The tool supports various operating systems like Mac OS, Solaris, Linux, and many more. The tool uses a different database to store the data and monitor the applications.
The Zabbix monitoring tool is developed in C programming language, and PHP language is used for the web frontend.
In this guide, we show you how to install and configure Zabbix 6.0 LTS on Rocky Linux 8.
Install and Configure Zabbix 6.0 on Rocky Linux 8
To install Zabbix, you need to log in to your server as a non-root user with sudo privileges and set up a basic firewall. To do this, you can follow our guide the Initial Server Setup with Rocky Linux 8.
Now follow the steps below to complete this guide.
Install Apache on Rocky Linux 8
First, you need to install Apache on Rocky Linux 8 with the following command:
sudo dnf -y install @httpdThen, start and enable your Apache service to start on boot with the command below:
sudo systemctl enable --now httpdVerify that your Apache service is active and running on your server:
sudo systemctl status httpd
In your output you should see:
Output
httpd.service - The Apache HTTP Server
Loaded: loaded (/usr/lib/systemd/system/httpd.service; enabled; vendor prese>
Active: active (running) since Sun 2022-02-27 03:40:45 EST; 4s ago
Docs: man:httpd.service(8)
Main PID: 89007 (httpd)
Status: "Started, listening on: port 443, port 80"
Tasks: 213 (limit: 11409)
Memory: 30.3M
Install MySQL on Rocky Linux 8
At this point, you need to install MySQL or MariaDB on your server.
To install MySQL on your server, you can follow our article How To Install MySQL on Rocky Linux 8.
When you are done with the installation of your MySQL, log in to your MySQL console with the command below:
mysql -u root -pNow you need to create a Zabbix database and user and grant all the privileges to it. To do this, run the commands below from your MySQL shell:
mysql> create database zabbixdb character set utf8 collate utf8_bin;
mysql> create user 'zabbixuser'@'localhost' identified by 'password';
mysql> grant all privileges on zabbixdb.* to zabbixuser@localhost ;
mysql> flush privileges;
mysql> exit;
You can change your database name and user and remember to choose a strong password for it.
Install PHP and Its Extensions on Rocky Linux 8
At this point, you need to install PHP and PHP-FPM. We’ll be using PHP 7.4 in this guide.
First, you need to add the Remi repository to get the most up-to-date PHP packages for Rocky Linux 8.
sudo dnf install dnf-utils http://rpms.remirepo.net/enterprise/remi-release-8.rpm
Next, enable the DNF module for PHP installation:
# sudo dnf module reset php
#sudo dnf module enable php:remi-7.4
Now run the command below to install PHP and its extension on Rocky Linux 8:
# sudo dnf update
# sudo dnf install php php-fpm php-gd php-mysqlnd
Set up Zabbix 6.0 on Rocky Linux 8
At this point, you can start to install the Zabbix 6.0 LTS on your server.
First, add the Zabbix 6.0 repository with the following command:
# rpm -Uvh https://repo.zabbix.com/zabbix/6.0/rhel/8/x86_64/zabbix-release-6.0-1.el8.noarch.rpm
# sudo dnf clean all
Then, use the command below to install the Zabbix server, frontend, and agent:
sudo dnf install zabbix-server-mysql zabbix-web-mysql zabbix-apache-conf zabbix-sql-scripts zabbix-selinux-policy zabbix-agent
When your installation is completed, you need to import the database schema for Zabbix with the commands below:
# cd /usr/share/doc/zabbix-sql-scripts/mysql
# zcat /usr/share/doc/zabbix-sql-scripts/mysql/server.sql.gz | mysql -uzabbixuser -p zabbixdb
Configure and Start Zabbix 6.0 on Rocky Linux 8
Here you need to make some configuration changes to the Zabbix configuration file. Open the file with your favorite text editor, here we use vi:
sudo vi /etc/zabbix/zabbix_server.conf
Find the lines below and change them to your database name, user, and password.
DBHost=localhost
DBName=zabbixdb
DBUser=zabbixuser
DBPassword=password
When you are done, save and close the file.
Then, you need to configure PHP for the Zabbix frontend.
Open the file and uncomment and set the appropriate timezone as shown below:
# sudo vi /etc/php-fpm.d/zabbix.conf
php_value[date.timezone] = America/New_York
When you are done, save and close the file.
Also, to allow the Zabbix backend to connect to its front end, set SELinux to permissive or disable it on Rocky Linux 8:
# sudo setenforce 0
# sudo sed -i 's/SELINUX=enforcing/SELINUX=permissive/g' /etc/selinux/config
We assumed that you have enabled Firewalld on Rocky Linux 8. Here you need to allow ports for Zabbix via the Rocky Linux 8 firewall with the following commands:
# sudo firewall-cmd --add-service=http --permanent
# sudo firewall-cmd --add-port={10051,10050}/tcp --permanent
To apply the new rules, reload the firewall:
sudo firewall-cmd --reloadNow, Start and enable the Zabbix server and any associated applications:
# sudo systemctl restart zabbix-server zabbix-agent httpd php-fpm
# sudo systemctl enable zabbix-server zabbix-agent httpd php-fpm
Access Zabbix 6.0 Web Interface
At this point, you can continue your Zabbix installation from the web interface. Type your server’s IP address in your web browser followed by Zabbix:
http://server-ip/zabbix
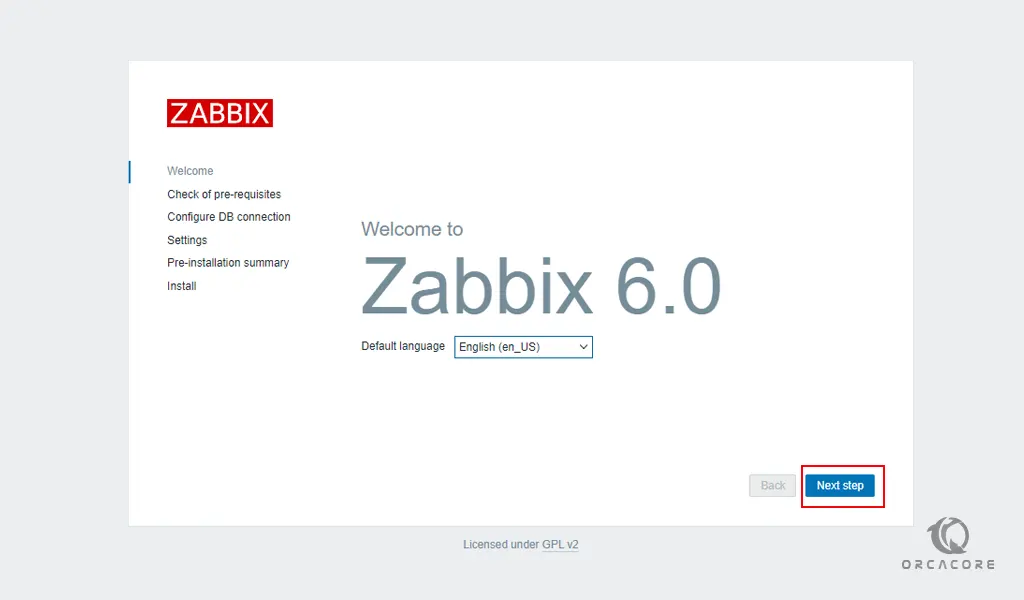
In the Zabbix 6.0 welcome screen, select your desired language and click Next step.
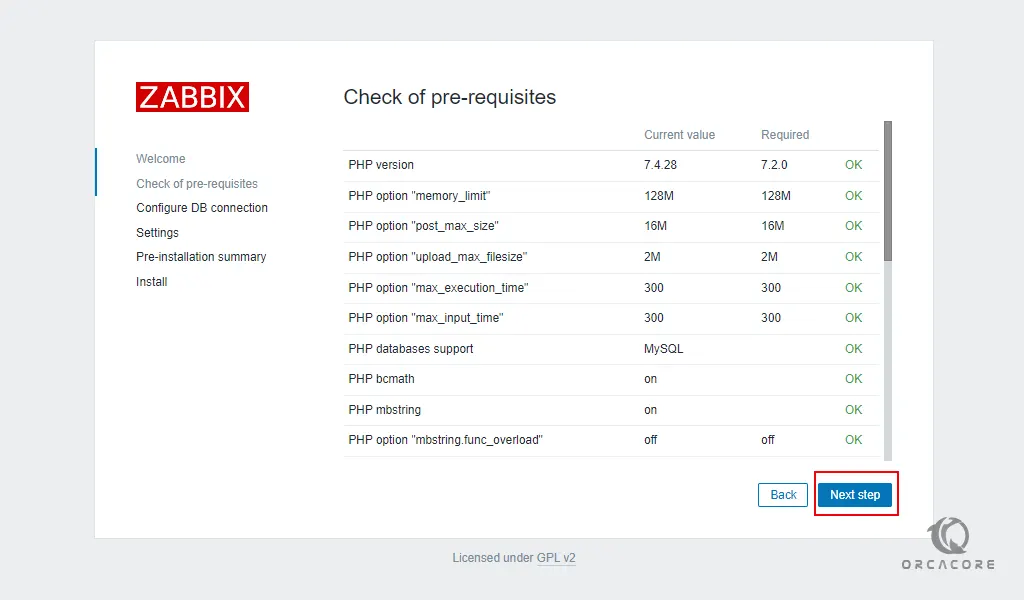
On the next page, check your prerequisites and click Next step.
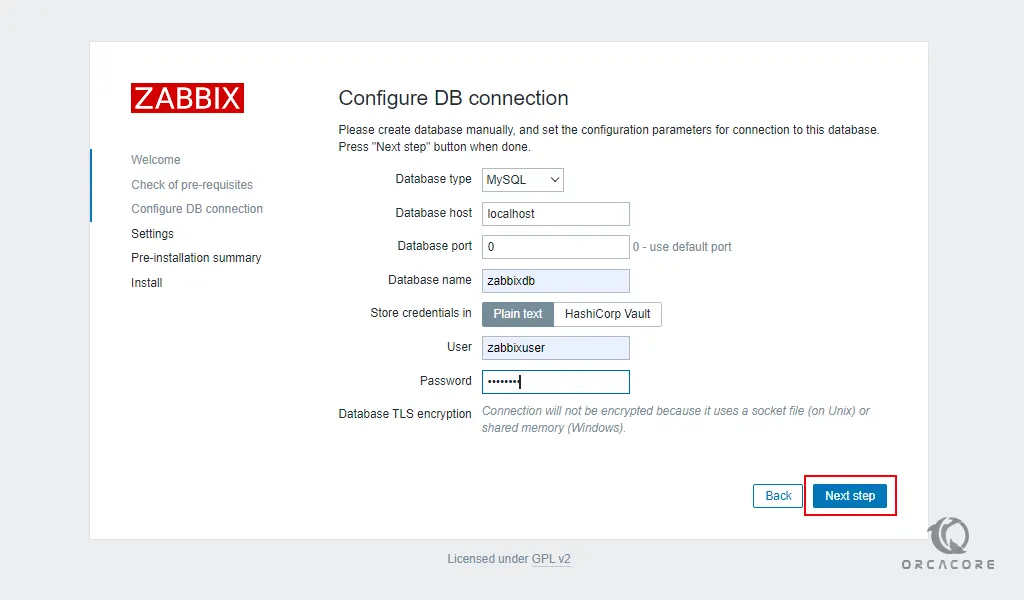
Then, you need to configure the Zabbix DB connection. Enter your database credentials and click Next step.
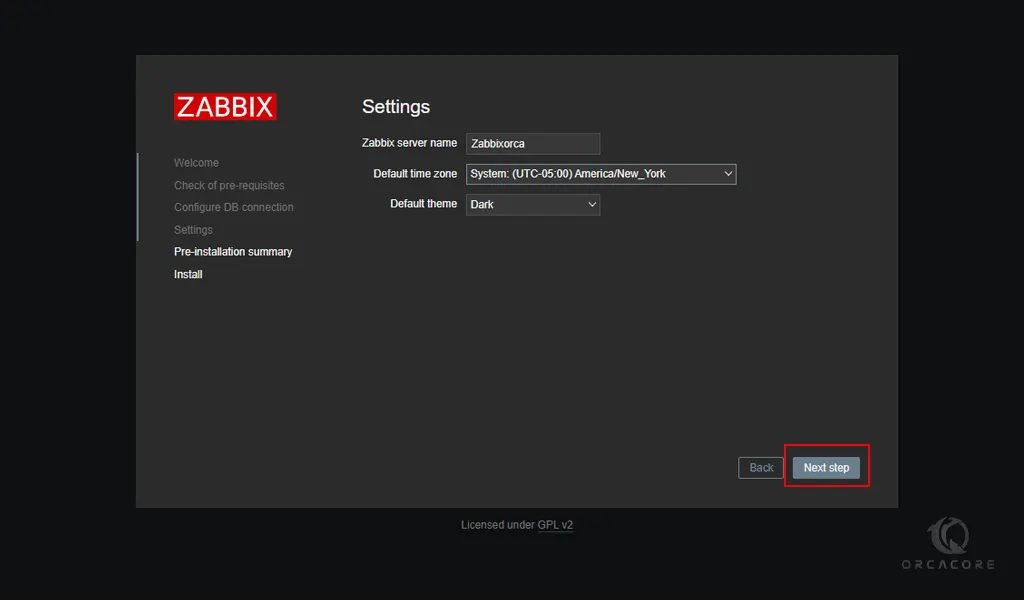
Next, you need to choose the server name and default theme and click Next step.
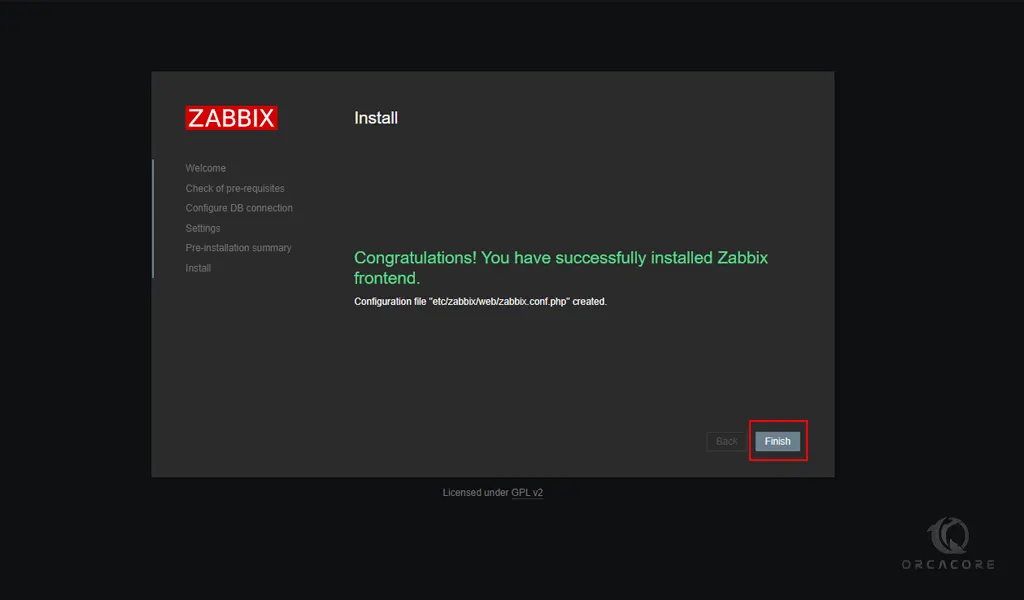
Here you need to click on the finish button to complete your Zabbix 6.0 installation.
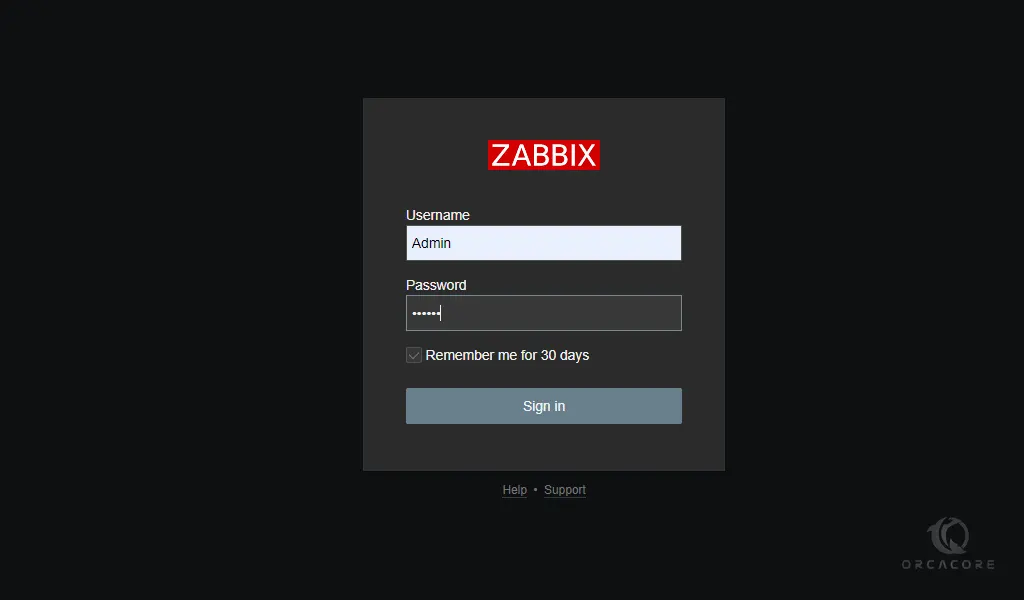
Now you will get into the Zabbix login screen. Enter the Admin as the username and Zabbix as the password and click on the sign-in button.
You will see your Zabbix 6.0 dashboard.
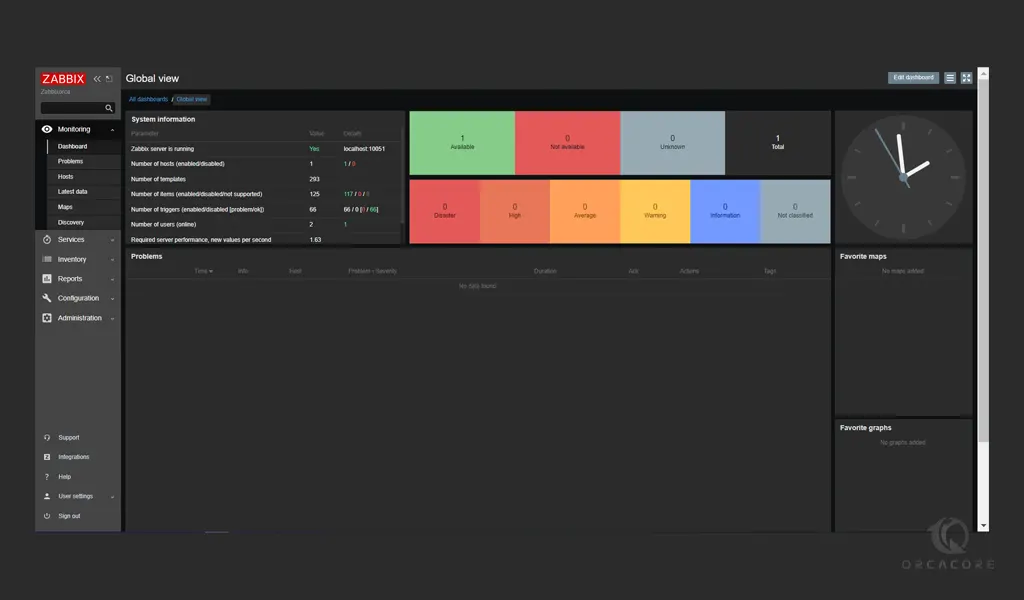
From here you can monitor the network utilization, consumption of disk space, and CPU load.
Conclusion
At this point, you learn to Install and Configure Zabbix 6.0 on Rocky Linux 8.
Hope you enjoy it.