Share your love
Best Steps To Install Portainer on Centos 7

This guide provides simple and easy steps to Install Portainer on Centos 7. The Portainer tool allows you to easily manage your docker containers from a web interface. It is a powerful GUI tool for those interested in managing their docker containers from a graphical interface.
You can follow the steps below on the Orcacore website to set up your Portainer Docker GUI Tool on the Centos 7 server.
Table of Contents
How To Install Portainer on Centos 7?
First, log in to your server as a root or non-root user with sudo privileges. For this purpose, you can follow this guide on Initial Server Setup with Centos 7.
To install Portainer, you must have Docker and Docker Compose installed on your server. To do these, you can check our Docker Tutorials to set it up:
How To Install and Use Docker on Centos 7
Install Docker Compose on Centos 7
When you are done with these requirements, follow the steps below to complete your Portainer installation.
Step 1 – Create a Docker Volume on Centos 7
In the first step, you must create a docker volume to store the Portainer data. To do this, you can use the following Docker command:
docker volume create dataHere we named it data, you can choose your desired name.
Then, use the following command to verify your Docker volume creation:
docker volume lsOutput
DRIVER VOLUME NAME
local dataStep 2 – Download Portainer Docker Image on Centos 7
At this point, you can easily use the following single command to download and run the Portainer Docker image on Centos 7:
docker run -d -p 8000:8000 -p 9000:9000 --name=portainer --restart=always -v /var/run/docker.sock:/var/run/docker.sock -v data:/data portainer/portainerWhen it is completed, you will get the following output:
Output
Unable to find image 'portainer/portainer:latest' locally
latest: Pulling from portainer/portainer
772227786281: Pull complete
96fd13befc87: Pull complete
0bad1d247b5b: Pull complete
b5d1b01b1d39: Pull complete
Digest: sha256:47b064434edf437badf7337e516e07f64477485c8ecc663ddabbe824b20c672d
Status: Downloaded newer image for portainer/portainer:latest
277d1cbc4823b6cb6921f3f9bf9df7b344a53e58291ab9d34e402d16917710b6
Step 3 – Check Portainer Status on Centos 7
To verify your Portainer installation, use the following command to check your Portainer status:
docker psIn your output, you will see:
Output
CONTAINER ID   IMAGE                 COMMAND        CREATED              STATUS              PORTS                                                                                            NAMES
277d1cbc4823   portainer/portainer   "/portainer"   About a minute ago   Up About a minute   0.0.0.0:8000->8000/tcp, :::8000->8000/tcp, 0.0.0.0:9000->9000/tcp, :::9000->9000/tcp, 9443/tcp   portainer
Step 4 – Access Portainer Web GUI
At this point, you can access your Portainer through the Web interface by typing your server’s IP address in your web browser followed by 9000:
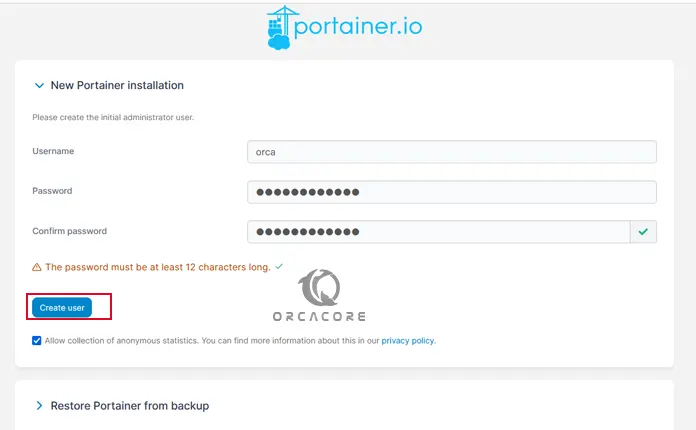
http://your-server-ip:9000In the first screen of Portainer GUI, you should create the initial administrator user as shown below in the image:
Then, you will see your Portainer dashboard on Centos 7:
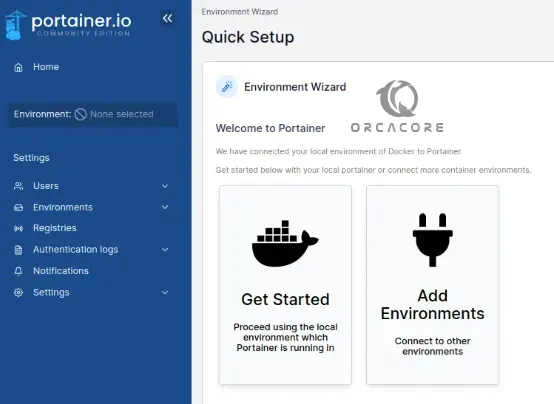
From your Portainer dashboard, you can click on each of the components to get more information regarding a specific component.
For more information, you can visit the Portainer Docs page.
Conclusion
At this point, you have learned that you can easily manage your Docker containers from a web interface by using an amazing tool named Portainer GUI tool. By installing Docker and Docker Compose you can easily set up your Portainer on Centos 7. Hope you enjoy it.