Share your love
Easy Steps To Install Virtualmin GPL on Linux

In this guide, you will learn to Install Virtualmin GPL on Linux distributions. Virtualmin is an open-source and popular web hosting control panel. It is based on Webmin.
Also, there are two versions of Virtualmin available such as:
- Virtualmin GPL: This version is downloaded for free of cost.
- Virtualmin Pro: It is known as the commercial version and you need to pay for it.
The supported systems that you can install Virtualmin on it, include:
- Rocky Linux, AlmaLinux, and RHEL 8 and 9
- CentOS and RHEL 7
- Ubuntu 20.04 LTS and 22.04 LTS
- Debian 10 11 and 12
Table of Contents
Difference between Virtualmin and Webmin?
In simple words, Virtualmin is used to manage websites. Webmin is used as a server management tool (used to manage system-related services).
Does Virtualmin include Webmin?
As we said, Virtualmin is based on Webmin. So, yes Virtualmin has the Webmin.
Now you can follow the instructions below to use the Virtualmin GPL installer script to Steps To Install Virtualmin GPL on Linux.
Steps To Install Virtualmin GPL on Linux
To complete this guide, you must have access to your server as a root user and set up a basic firewall. For this purpose, you can visit the Orcacore website and look for our initial server setup guides for any Linux distros you want.
Then, follow the steps below to Steps To Install Virtualmin GPL on Linux.
Step 1 – Download Virtualmin GPL Installer Script
First, you must run the system update on your Linux server by using the following commands:
# apt update #Debian,Ubuntu
# yum update #centos 7, rhel7
# dnf update #almalinux 8,9 - rhel 8,9
Then, use the following Virtualmin GPL installer script that is available for free by using the wget or curl commands:
wget https://software.virtualmin.com/gpl/scripts/virtualmin-install.shStep 2 – Install Virtualmin on Linux – Run Installer Script
At this point, you must run the Virtualmin script to start your installation by using the command below:
sh virtualmin-install.shEnter Y to continue:
Output
Welcome to the Virtualmin GPL installer, version 7.1.0

....

  The systems currently supported by the install script are:

    Red Hat Enterprise Linux and derivatives
      - RHEL 8 and 9 on x86_64
      - Alma and Rocky 8 and 9 on x86_64
      - CentOS 7 on x86_64

    Debian Linux and derivatives
      - Debian 10, 11 and 12 on i386 and amd64
      - Ubuntu 20.04 LTS and 22.04 LTS on i386 and amd64
...

  The selected package bundle is LAMP and the size of install is
  full. It will require up to 2 GB of disk space.

  Exit and re-run this script with --help flag to see available options.

 Continue? (y/n) y
During the installation, the Virtualmin GPL installer will complete the following phases:
- 1: Check
- 2: Setup
- 3: Installation
- 4: Configuration
You will not be required to take any action. Wait until it is completed.
Output
▣◻◻◻ Phase 1 of 4: Check
Checking system time                                                         ✔
Checking Perl installation                                                   ✔
Checking CA certificates package                                             ✔
Checking HTTP client                                                         ✔
Checking GPG package                                                         ✔

▣▣◻◻ Phase 2 of 4: Setup
Installing core plugins for package manager                                  ✔
Downloading Virtualmin 7 release package                                     ✔
Installing Virtualmin 7 release package                                      ✔

▣▣▣◻ Phase 3 of 4: Installation
....               ✔
Installing Virtualmin 7 and all related packages updates                     ✔

▣▣▣▣ Phase 4 of 4: Configuration
...
[1/21] Configuring AWS
[20/21] Configuring Fail2banFirewalld                                        ✔
[21/21] Configuring Virtualmin                                               ✔
▣▣▣ Cleaning up

[SUCCESS] Installation Complete!
[SUCCESS] If there were no errors above, Virtualmin should be ready
[SUCCESS] to configure at https://hostname:10000 (or https://server-ip:10000).
[SUCCESS] You may receive a security warning in your browser on your first visit.
Step 3 – Access Virtualmin through the Web Interface
At this point, you can easily visit your given URL from the above output and access your Virtualmin dashboard.
https://server-ip:10000Note: If you have a running firewall, you must allow port 10000 through it on your Linux server.
You will see the Webmin login screen:
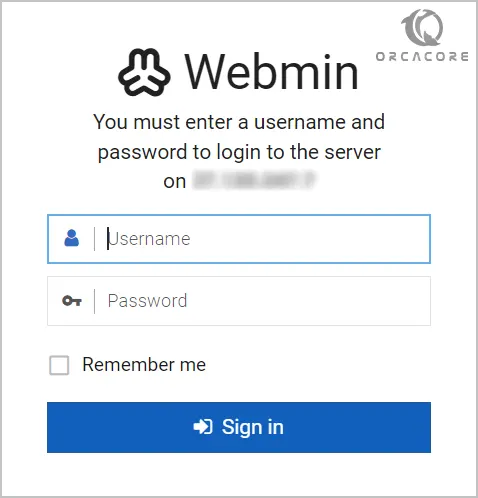
Then, enter root as the username and your root server password as the password, and click Sign in.
Finally, you will see your Virtualmin and Webmin dashboards from your Linux web browser:

From here, you can manage and configure your server.
For more information, you can visit Virtualmin Documentation.
Conclusion
At this point, you have learned to Install Virtualmin GPL on Linux distributions. The installation process will work on any Linux server you want to use that we mentioned at the beginning of the article.
Hope you enjoy using it. You may like these articles too:
Install and Use DirectAdmin on Ubuntu 22.04