Share your love
How To Install WordPress on Rocky Linux 8
In this article from the Linux Tutorials, we want to teach you How To Install WordPress on Rocky Linux 8. WordPress was initially a simple blog platform; however, it soon developed into a more feature-rich Content Management System (CMS).
The software is written in the PHP scripting language. All website content, including settings, blog posts, and pages, is stored in a database. MySQL is the most popular choice of database, but some website owners choose to use an alternative solution such as MariaDB or SQLite.
The software allows anyone, regardless of their technical experience, to quickly create professional-looking websites using a user-friendly administration area.
Table of Contents
How To Install WordPress on Rocky Linux 8?
Before you start to install WordPress on Rocky Linux 8, you need to log in to your server as a non-root user with sudo privileges and set up a basic firewall. To do this, you can follow our article The Initial Server Setup with Rocky Linux 8.
Also, you need to have the LAMP Stack installed on your server. To do this, you can follow our article How to Install LAMP Stack on Rocky Linux 8.
Now follow the steps below to complete this guide.
1. Install Additional PHP Extensions
Here, we assumed that you are done with the requirements. First, you need to install the additional PHP extensions on Rocky Linux 8:
sudo dnf install php-{bz2,mysqli,curl,gd,intl,common,mbstring,xml} -yThen, restart Apache to apply the changes:
sudo systemctl restart httpd2. Create a WordPress Database on Rocky Linux 8
At this point, you need to create a user and a database for your WordPress. To do this, log in to your MariaDB Shell with the command below:
sudo mysql -u root -pFrom your MariaDB shell, run the following command to create a WordPress database. Here, we named it wordpressdb:
MariaDB [(none)]> CREATE DATABASE wordpressdb;Next, use the command below to create a WordPress user and grant all privileges to it on Rocky Linux 8. Here we named it wordpress_user and set a strong password for it:
MariaDB [(none)]> GRANT ALL PRIVILEGES ON wordpressdb.* TO 'wordpress_user'@'localhost' IDENTIFIED BY 'password';Flush the privileges and exit from your MariaDB shell:
MariaDB [(none)]> FLUSH PRIVILEGES;
MariaDB [(none)]> EXIT;
3. Set up WordPress on Rocky Linux 8
At this point, you can download the latest tar.gz package of WordPress on Rocky Linux 8 with the following command:
sudo wget http://WordPress.org/latest.tar.gzWhen your download is completed, extract your file:
sudo tar -xzvf latest.tar.gzThen, you need to move it to the webroot directory with the following command:
sudo mv wordpress/* /var/www/html/Set the correct permissions for it:
sudo chown -R apache:apache /var/www/html/Now open the ports 80 and 443 through the Rocky Linux 8 firewall with the following commands:
# sudo firewall-cmd --permanent --zone=public --add-service=http
# sudo firewall-cmd --permanent --zone=public --add-service=https
Reload the firewall to apply the new rules:
sudo systemctl reload firewalldAt this point, you can continue your WordPress installation and configure it on Rocky Linux 8 through the Web interface.
4. Access WordPress CMS Dashboard
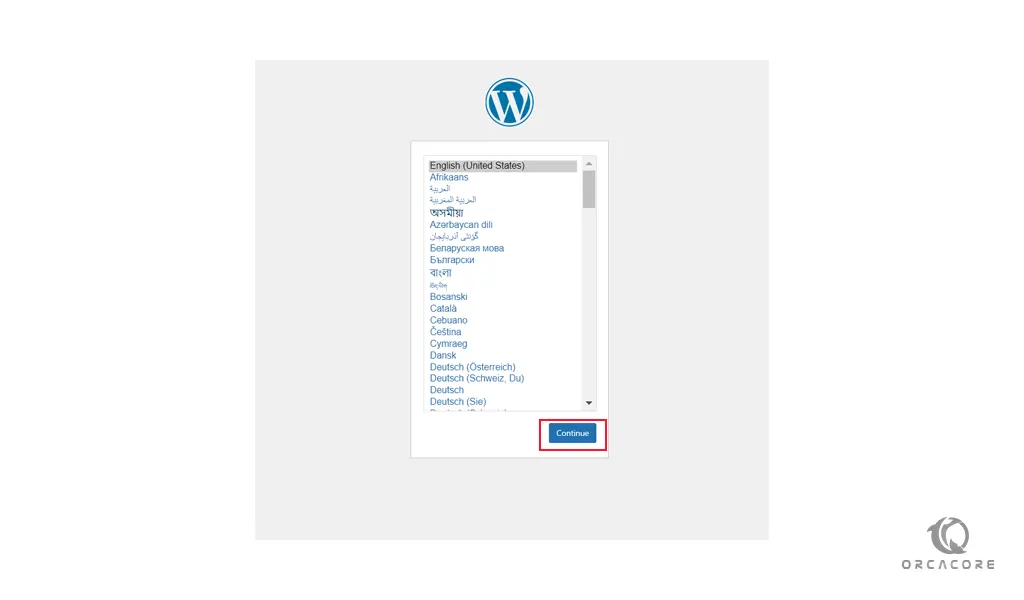
From here, you can easily configure your WordPress through the web interface by typing your server’s IP address in your web browser:
http://server-ip-addressYou will see the WordPress Language screen. Select your desired language and press Continue.
Then, you will see the Welcome WordPress screen. Read the contents and click Let’s Go.
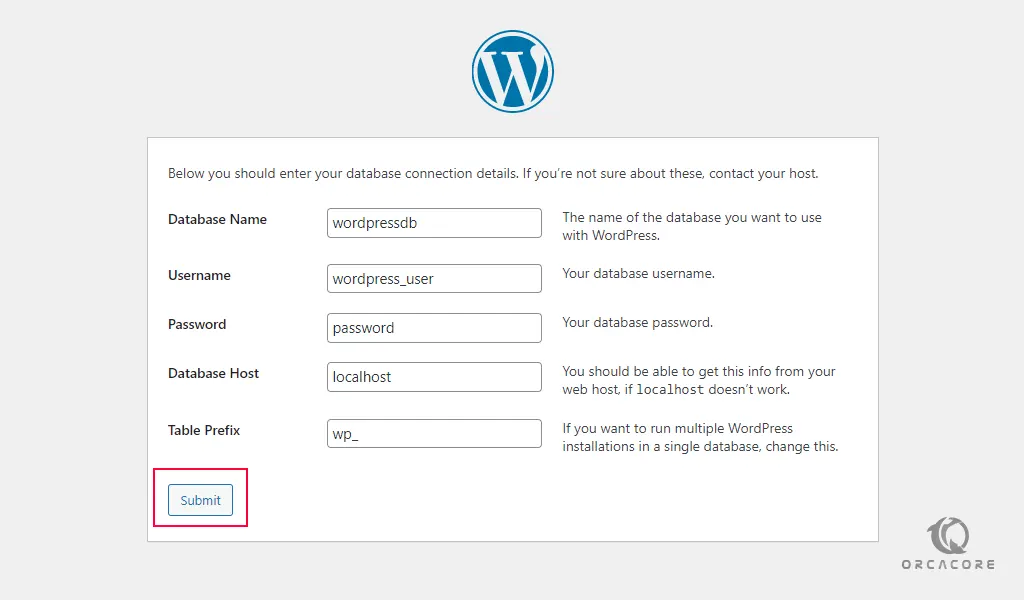
After that, you need to enter the WordPress database information that you have created on Rocky Linux 8 and click submit.
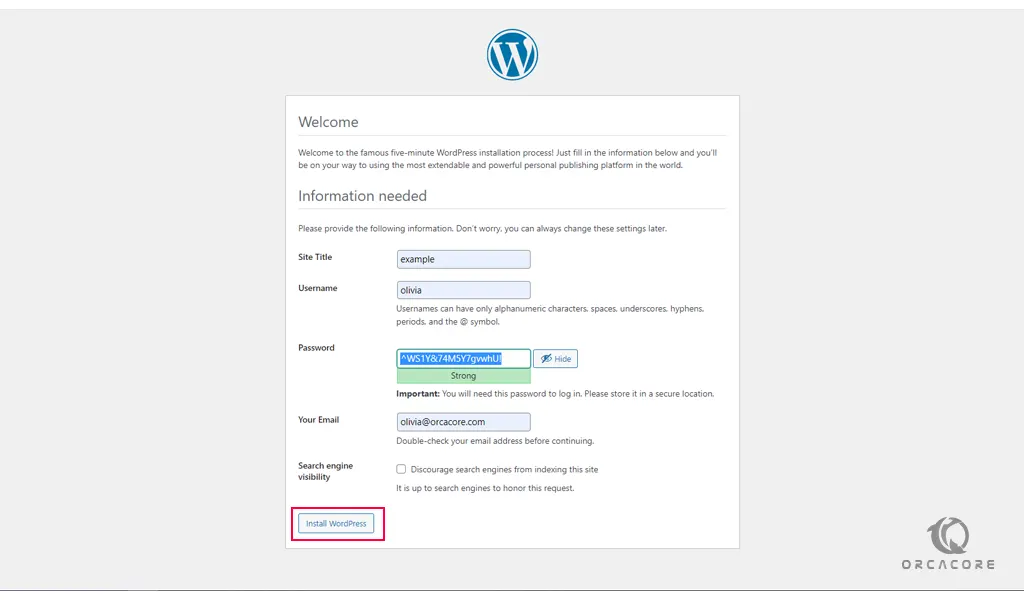
Next, click Run the Installation and provide the information that is needed, and click Install WordPress.
Then, you will see the WordPress Login screen. Enter your username and password that you have generated in the previous step and click Sign in.
Now you will see your WordPress dashboard.

For more information, you can check the WordPress Docs.
Conclusion
At this point, you have learned to Install and Configure WordPress on Rocky Linux 8. WordPress is a free and easy-to-use platform that lets you create and manage websites or blogs without needing to code. It offers customizable themes, plugins for added features, and tools for publishing content, selling products, or building online communities. With WordPress, you can make anything from a simple blog to a full business website.
Hope you enjoy it. Please subscribe to us on Facebook, X, and YouTube.
Also, you might find these links interesting: