Share your love
Installing Chrome in Linux Mint 21 Using Terminal: Best Steps
This guide will show you step-by-step instructions for Installing Chrome in Linux Mint 21 Using Terminal. Linux Mint 21.2 ships with Firefox browser, if you are looking to install Chrome on your server, you can easily follow the steps below to get the latest stable release.
Note: You can find Linux Mint 21.2 installation on VMware by visiting this guide on Linux Mint 21 Cinnamon Setup on VMware Workstation.
Now proceed to the following steps provided by the Orcacore website to start your Chrome Browser on your Mint server.
Table of Contents
Easy Steps For Installing Chrome in Linux Mint 21 Using Terminal
To complete this guide, you must have access to your server as a non-root user with sudo privileges. Then, follow the steps below for Installing Chrome in Linux Mint 21 Using Terminal.
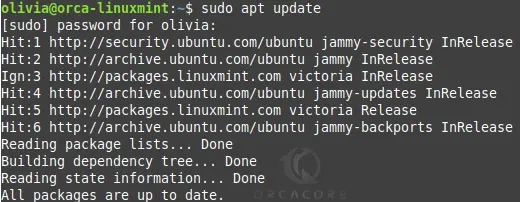
Step 1 – Run System Update in Linux Mint 21
First, open your terminal in Mint 21 and use the following command to update your system packages:
sudo apt updateExample output:
Step 2 – Installing Required Packages For Chrome in Mint 21
At this point, you must use the following command to install some required packages for Chrome browser installation:
sudo apt install software-properties-common apt-transport-https ca-certificates curl -yStep 3 – Add Chrome Repository To Linux Mint 21 From Terminal
At this point, you must import the Chrome repository and GPG key to your Mint 21 server. To import the GPG key, you can use the following command:
curl -fSsL https://dl.google.com/linux/linux_signing_key.pub | sudo gpg --dearmor | sudo tee /usr/share/keyrings/google-chrome.gpg >> /dev/nullThen, add the Google Chrome repository to your Mint 21 server with the following command:
echo 'deb [arch=amd64 signed-by=/usr/share/keyrings/google-chrome.gpg] http://dl.google.com/linux/chrome/deb/ stable main' | sudo tee /etc/apt/sources.list.d/google-chrome.listNext, run the system update again:
sudo apt updateStep 4 – Command for Installing Chrome in Mint 21
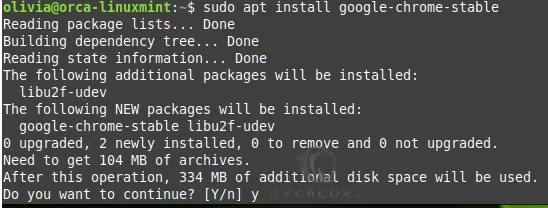
At this point, you can easily install Chrome in beta, unstable, and stable versions. It is recommended to use the stable version. To install Chrome’s stable version, you can use the following command:
sudo apt install google-chrome-stableEnter Y to start your Chrome installation:
Note: If you are looking for Beta or Unstable versions, you can use the following commands:
# sudo apt install google-chrome-beta
# sudo apt install google-chrome-unstable
Step 5 – Launch Chrome Browser in Linux Mint 21
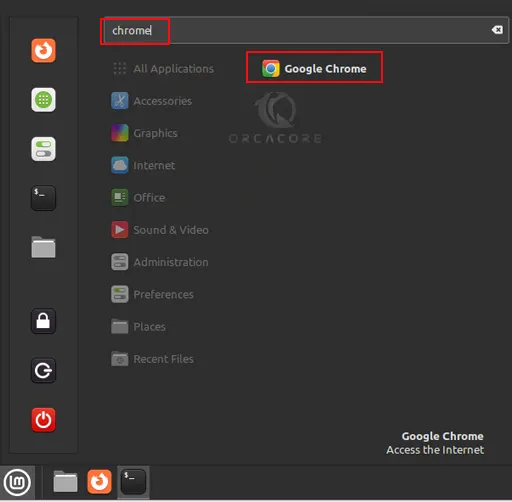
Once your installation is completed, you can launch your Chrome browser from the terminal and desktop. To launch Chrome from the terminal, you can simply run the following command:
google-chrome-stableOr from your search bar, you can search for Chrome and click on the app to open your browser:
Step 6 – Start To Use Chrome in Linux Mint 21
At this point, Chrome will start and you will be asked to check or uncheck boxes and then hit ‘Enter’.
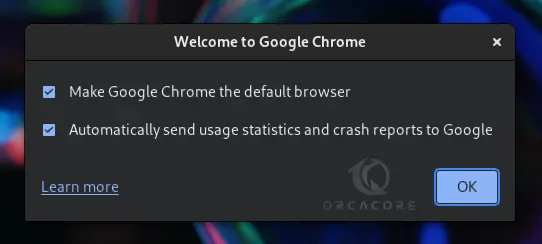
Once done, you will see the following window:

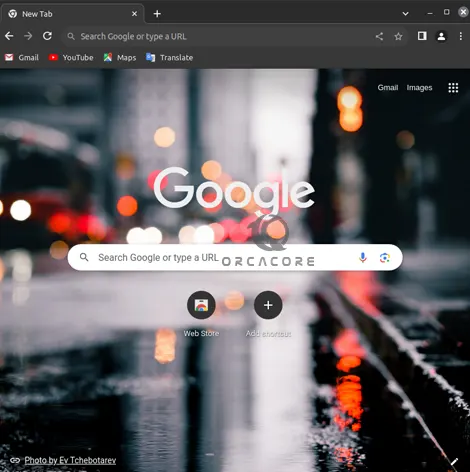
Click on the Get Started button and you have your Google Chrome. From there, you can add bookmarks to your favorite Google apps, select a background, and sync your data.
Finally, you have your Google Chrome and you can easily start to use it in Mint 21.
Step 7 – Update Chrome in Linux Mint From Terminal
Every time a new version is released, you can easily update your Chrome by running the system update and upgrade in Linux Mint:
# sudo apt update
# sudo apt upgrade -y
Step 8 – Run Chrome as a Root User in Linux Mint (Optional)
Google Chrome on Linux will not be run as the root user. If you want to use it as the root user, you must edit the Goole Chrome file as shown below:
sudo vi $(which google-chrome)Then, at the end of the file add the –no-sandbox line to the file as shown below:
xec -a "$0" "$HERE/chrome" "$@" --no-sandboxWhen you are done, save and close the file. In this way, you can run your Google Chrome as the root user.
Step 9 – Uninstall or Remove Chrome From Mint
If you no longer want to use Chrome in Linux Mint, you can easily remove it by using the following command:
sudo apt remove google-chrome-stable --purgeAlso, you can remove the repository by using the following command:
sudo rm /etc/apt/sources.list.d/google-chrome.listConclusion
At this point, you have learned to add a Chrome repository to your server for Installing Chrome Browser in Linux Mint 21 by using the terminal command line. You can simply launch and start using your Chrome browser in Linux Mint 21. Hope you enjoy using it.
Also, you may like to read the following guides: