Share your love
Linux Mint 21 Cinnamon Setup on VMware Workstation – Easy Steps
This guide will show you the Linux Mint 21 Cinnamon Setup on VMware Workstation. Linux Mint is one of the most popular and easy-to-use operating systems that you can use. Linux Mint 21.2 is the LTS version that will supported until 2027. It comes with a lot of new features and improvements. Now you can proceed to the following steps provided by the Orcacore team to start Linux Mint 21 Cinnamon Setup on VMware Workstation.
Table of Contents
Steps To Linux Mint 21 Cinnamon Setup on VMware Workstation
Before starting your installation, you must visit the official website and download the latest Linux Mint cinnamon edition Iso Image. When you are done, proceed to the following steps to complete Linux Mint 21 Cinnamon Setup on VMware Workstation.
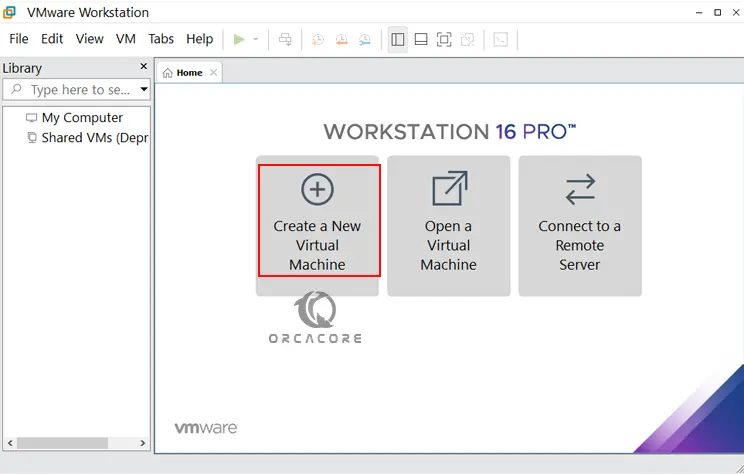
Step 1 – Create a New Virtual Machine (Linux Mint 21.2) on VMware
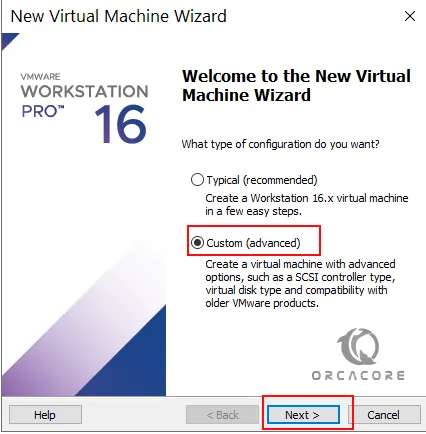
First, you must open your VMware workstation and click on Create a new virtual machine.
Step 2 – Start Linux Mint 21.2 Setup on VMware Workstation
At this step of Linux Mint 21 Cinnamon Setup on VMware Workstation, click on the Custom (advanced) option and click Next.
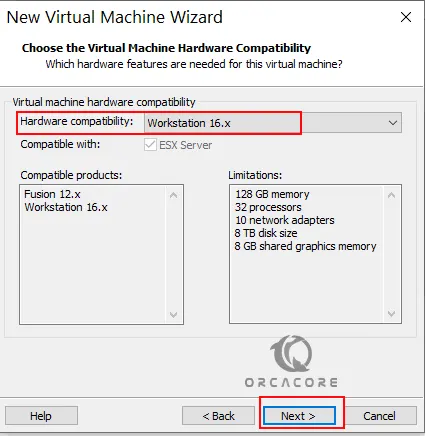
Next, you need to choose the virtual machine hardware compatibility. You can keep it by default and click Next.
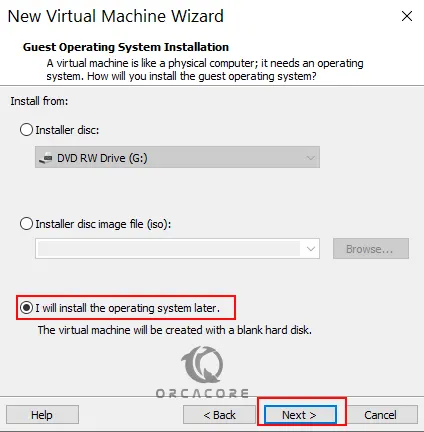
Then, you need to choose the operating system to install. Here you can click on I will install the operating system later and click Next.
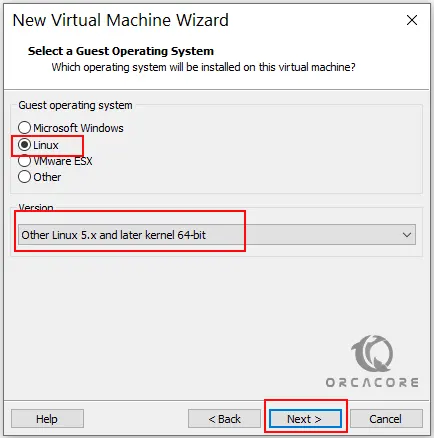
At this point, choose the operating system you want to install and its version. For this purpose, you can choose Linux and Other Linux 5.x and later kernel 64-bit and click Next.
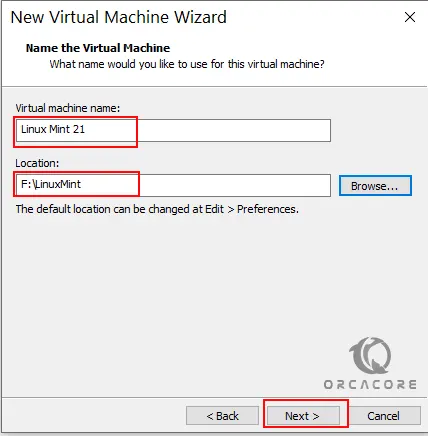
Give a name to your Virtual Machine, select your desired directory that has enough space, and click Next.
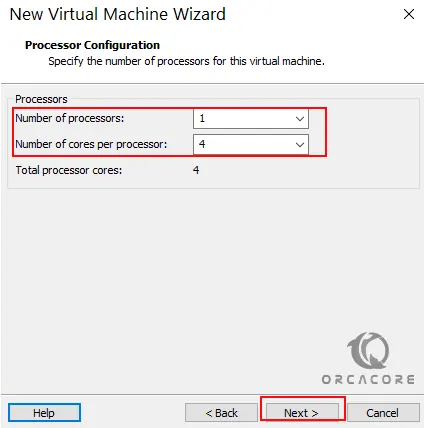
Now you must define your processor numbers for Linux Mint 21 in the VMware workstation and click Next.
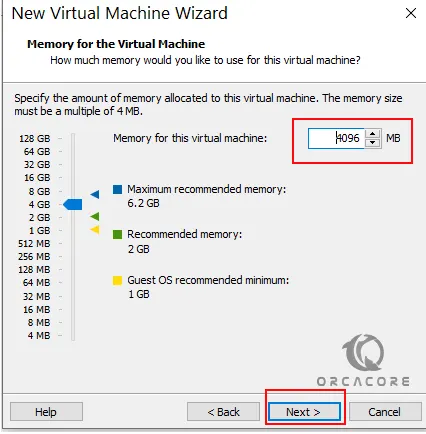
Next, you must choose the memory for your VM. You can keep the default value and click Next.
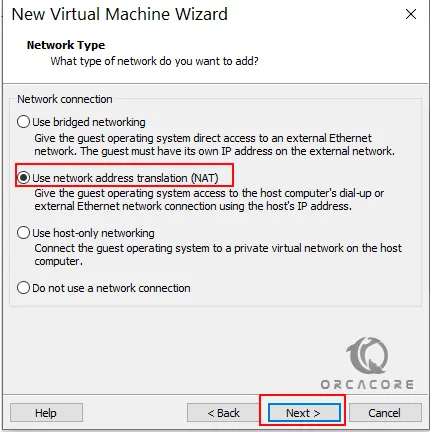
Then, choose the network address translation (NAT) and click Next.
Select the I/O controller type which is recommended and click Next.

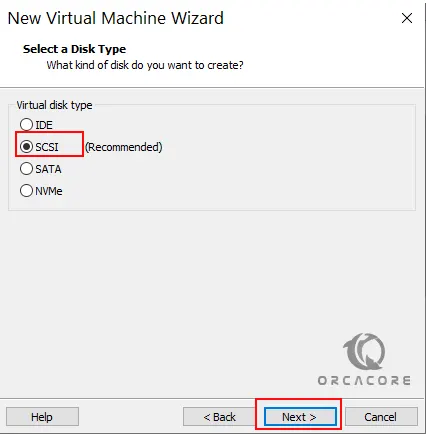
Also, select the disk type which is recommended by default and click Next.
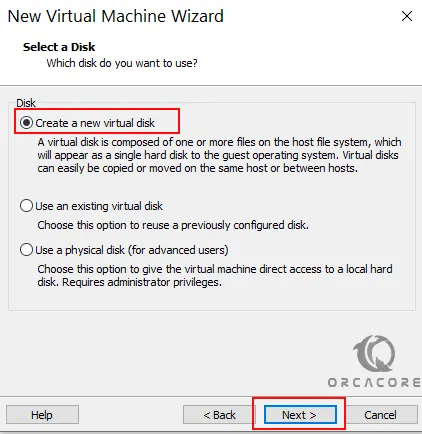
Now you can create a new virtual disk and click Next.
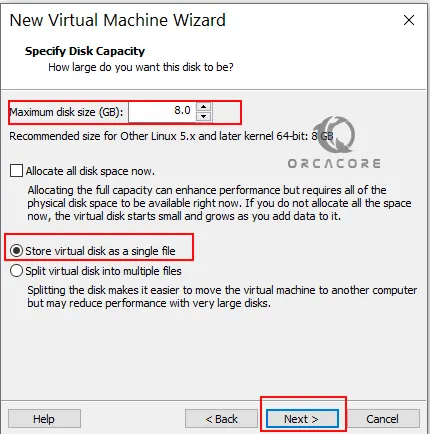
At this point, you can select the store virtual disk as a single file and click Next. Remember to give your hard disk enough space for the installation of Linux Mint 21. It is better to have 20GB and above.
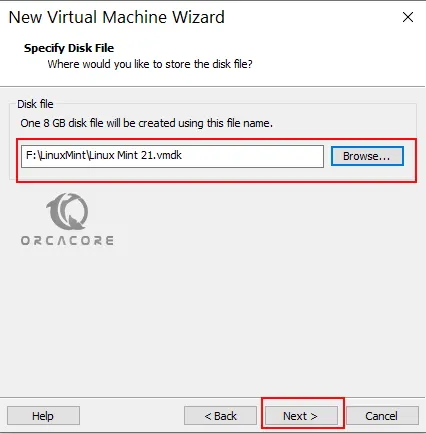
Then, choose the path you want to store this file and click Next.
Here you can read the summary of your configuration and click Finish.

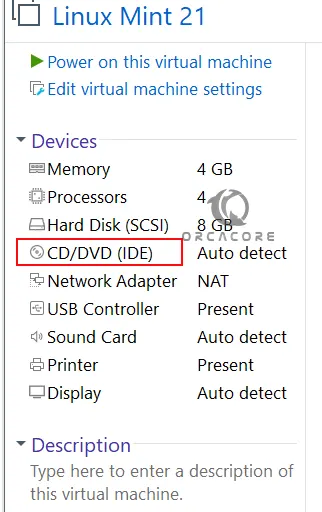
Now from your Linux Mint 21 VMware workstation click on CD/DVD (IDE).
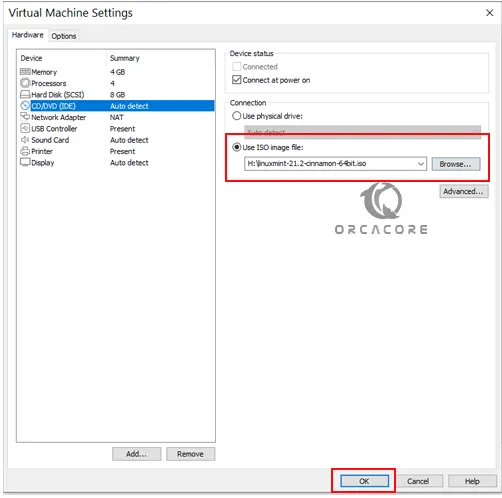
Use the ISO Image file, add your downloaded image, and click OK.
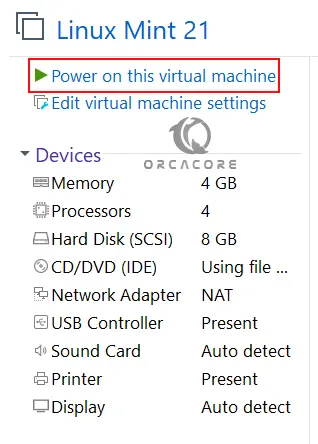
Finally, click on Power On the Virtual Machine.
Note: If you Power On your Virtual machine, and you face this error:
Error
This host Supports Intel VT-x, but Intel VT-x is disabled
You can resolve this issue by visiting Fix VMware Workstation Error Intel VT-x is disabled.
Step 3 – Install Linux Mint 21.2 Victoria
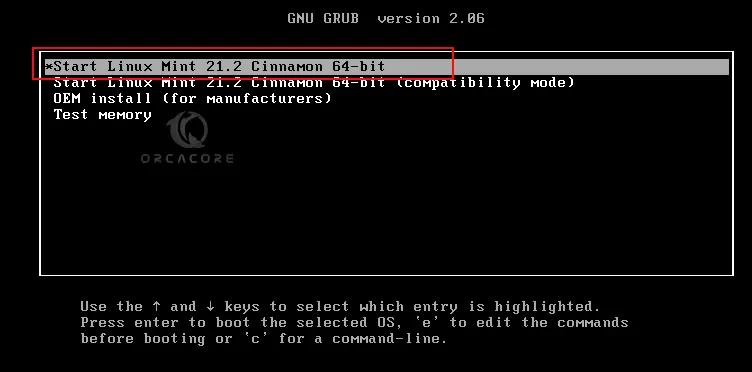
At this step of Linux Mint 21 Cinnamon Setup on VMware Workstation, once you start your virtual machine, you can choose Start Linux Mint 21.2 Cinnamon 64-bit and press enter.
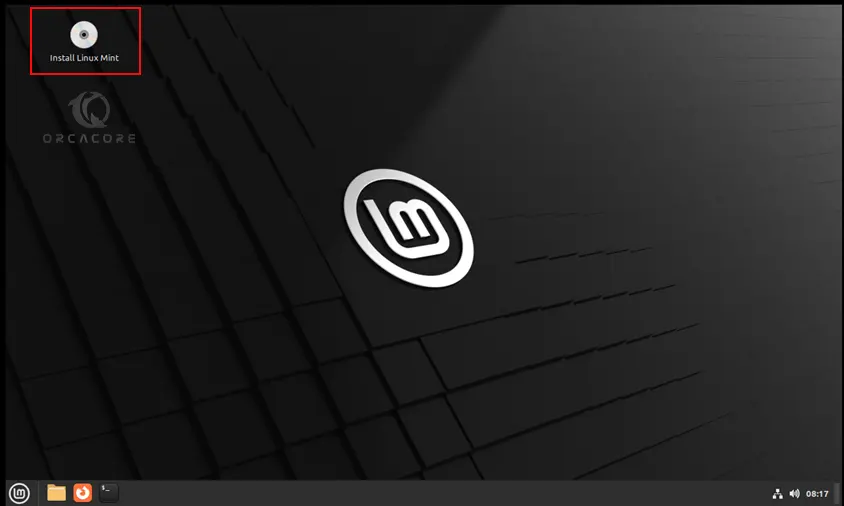
Finally, you have your Live Linux Mint 21 on the VMware workstation and you can start using it. But if you prefer to install it, you should click on Install Linux Mint.
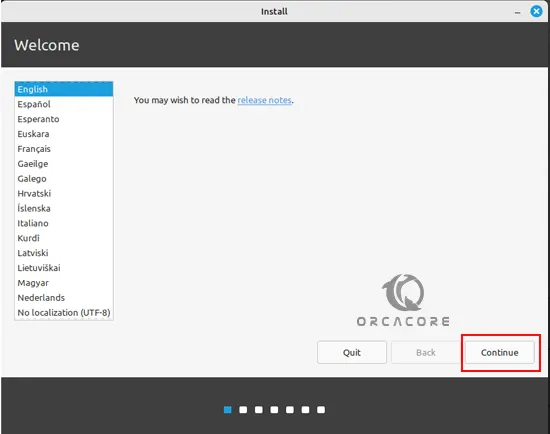
From there, choose your desired language and click Continue.
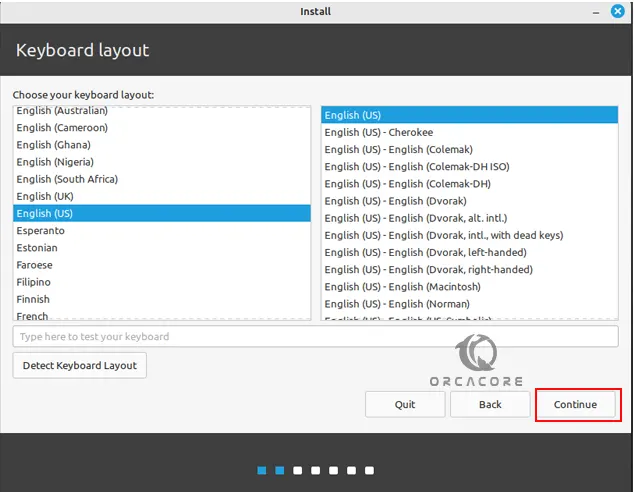
Then, choose your keyboard layout and click Continue.
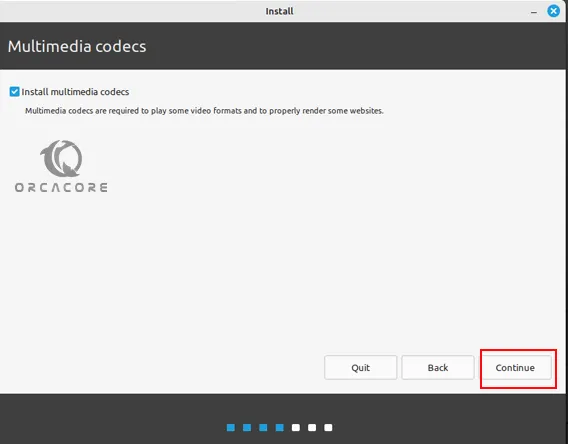
At this point, you need to check the box next to install multimedia codecs and click Continue.
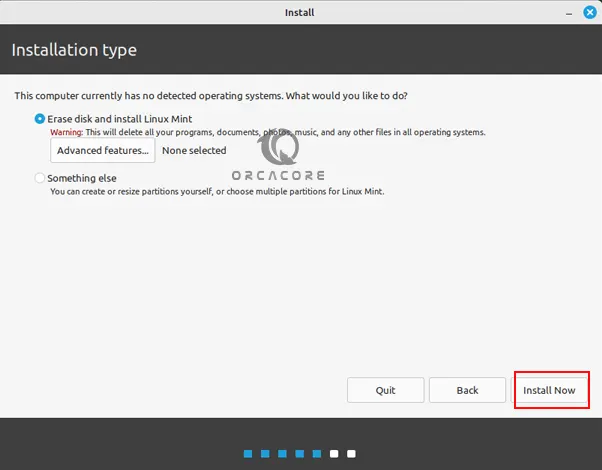
Now you need to select the erase disk and install Linux Mint and click Install Now.
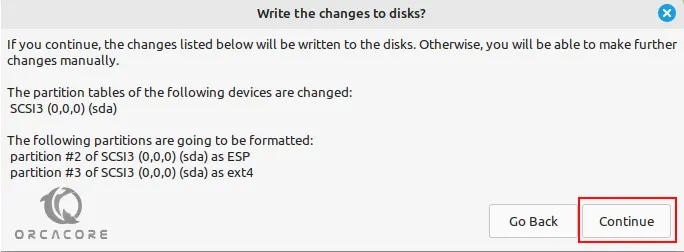
You will asked to write the changes to disks, click Continue.
Then, select your location and click Continue.

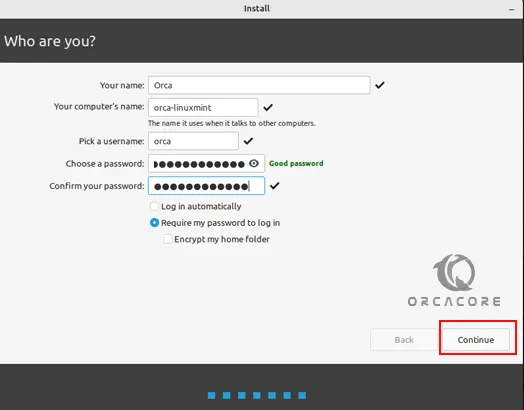
Now define your username and computer name for Linux Mint cinnamon, choose a strong password, and click Continue.
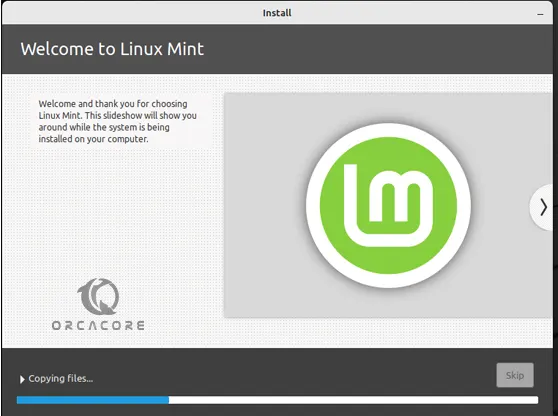
At this point, you must wait until your Linux Mint installation is completed.
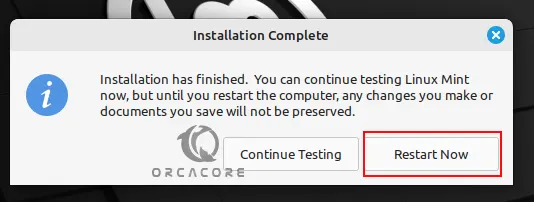
When your installation is completed, restart your Linux Mint cinnamon.
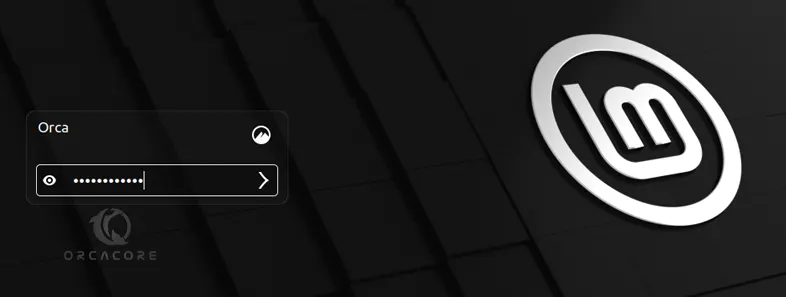
Now you will see your user login screen. Enter the password you have defined for it and press enter.
Finally, you have your Linux Mint 21 Cinnamon desktop and you can start using it.
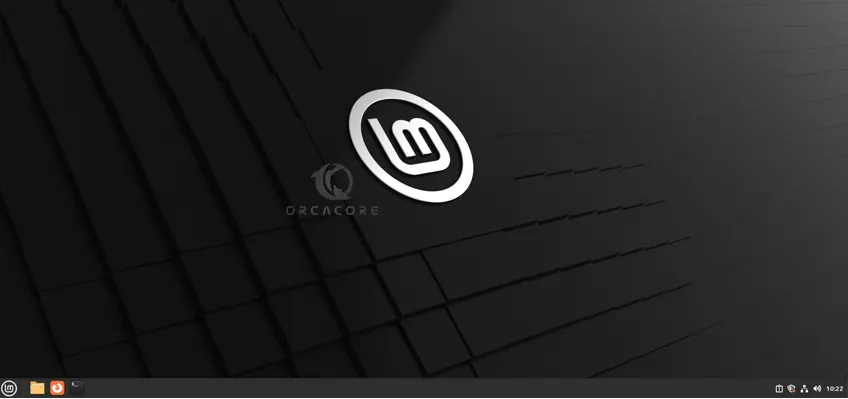
That’s it, you are done.
Conclusion
At this point, you have learned Linux Mint 21 Cinnamon Setup Installation on VMware Workstation. You can easily create a new virtual machine, add your Linux Mint Iso image to your VM, start your installation steps, and access the Linux Mint 21.2 cinnamon desktop.
Hope you enjoy using it. Also, you may like to read the following guides: