Share your love
Easy Steps To Install Fedora Linux 39 on VMware Workstation

This tutorial will show you the Complete Steps to Install Fedora Linux 39 on VMware Workstation. As you may know, Fedora 39 is the latest version of Fedora published nowadays. It comes with amazing features and improvements and also it comes with Gnome 45. You can get more information, by visiting Fedora Linux 39 is Officially Released with Gnome 45.
Now follow the steps below provided by the Orcacore team to see how to install Fedora Linux 39 on VMware Workstation.
Table of Contents
Complete Steps To Install Fedora Linux 39 on VMware Workstation
Before installing, you must visit the official website and download the Fedora Workstation For Intel and AMD x86_64 systems Iso Image. Or you can download your desired system ISO image. When you are done, proceed to the following steps to Install Fedora Linux 39 on VMware Workstation.
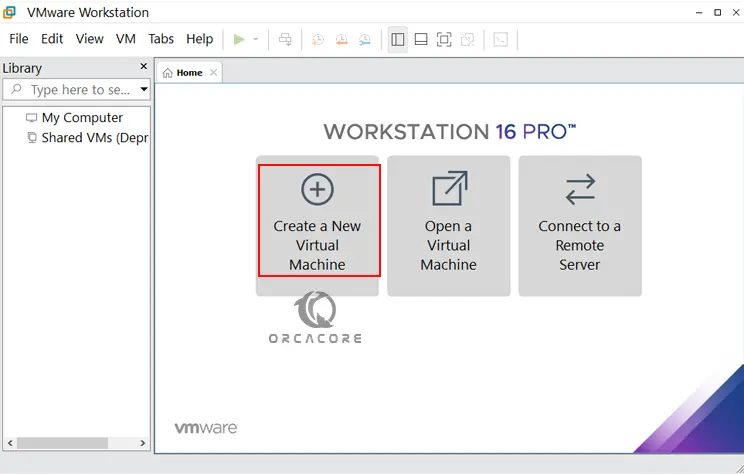
Step 1 – Create a New VM on VMware Workstation
First, you must open your VMware workstation and click on Create a new virtual machine.
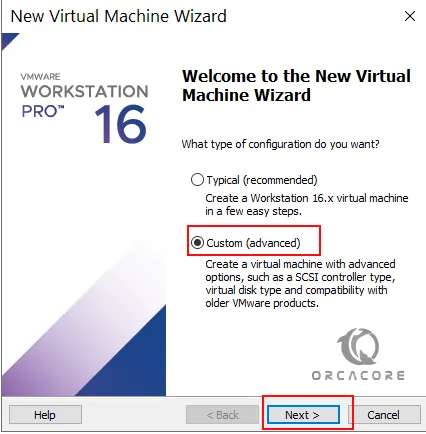
Step 2 – Complete VM Fedora Linux 39 Setup
Now from your setup wizard, click on the Custom (advanced) option and click Next.
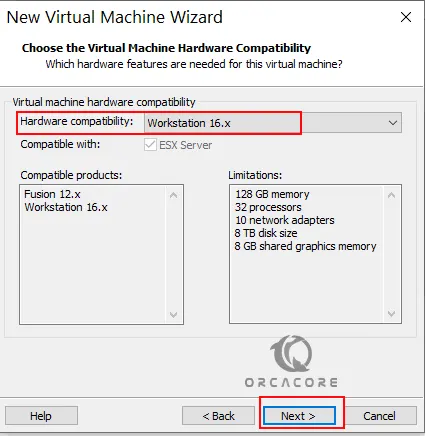
Next, you need to choose the virtual machine hardware compatibility. You can keep it by default and click Next.
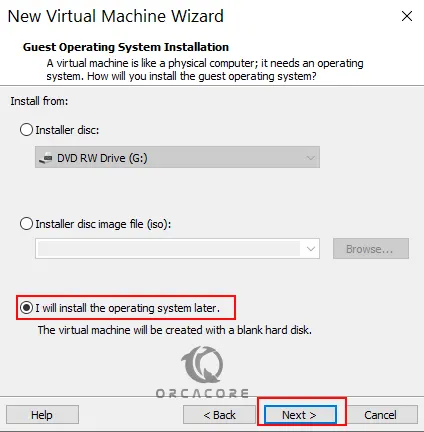
Then, you need to choose the operating system to install. Here you can click on I will install the operating system later and click Next.
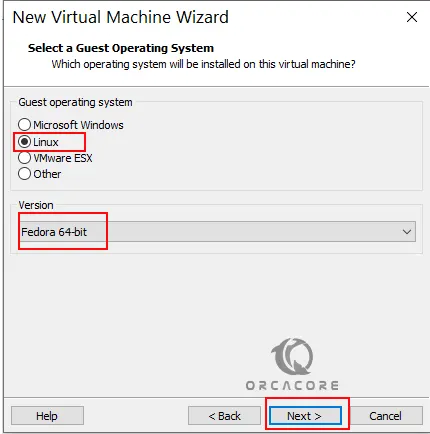
At this point, choose the operating system you want to install and its version. For this purpose, you can choose Linux and Fedora 64-bit and click Next.
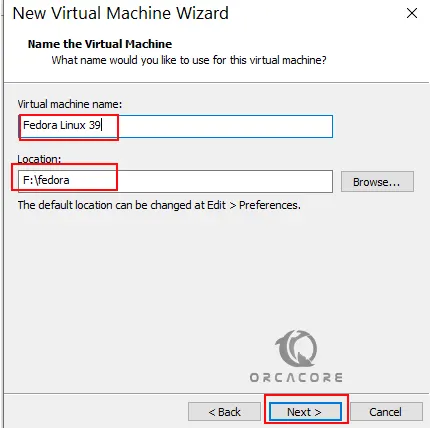
Give a name to your Virtual Machine, select your desired directory that has enough space, and click Next.
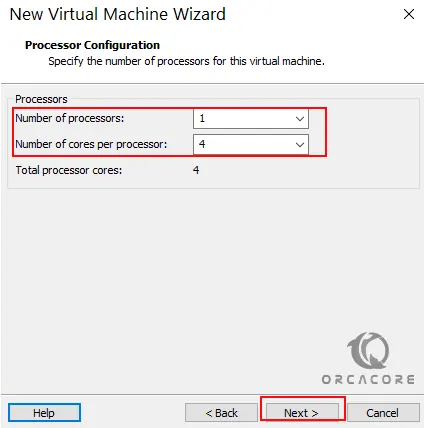
Now you must define your processor numbers for Fedora Linux 39 in the VMware workstation and click Next.
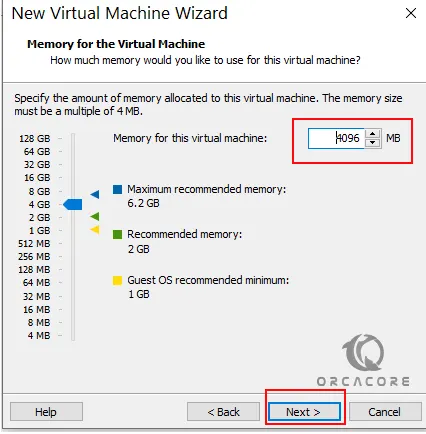
Next, you must choose the memory for your VM. You can keep the default value and click Next.
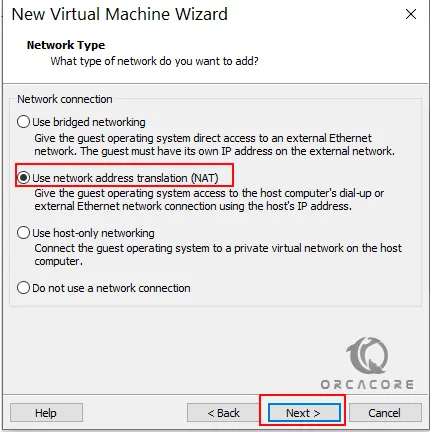
Then, choose the network address translation (NAT) and click Next.
Select the I/O controller type which is recommended and click Next.

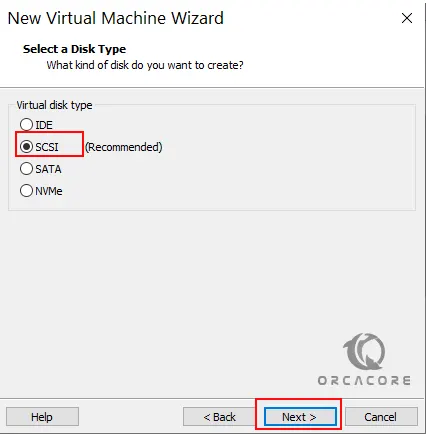
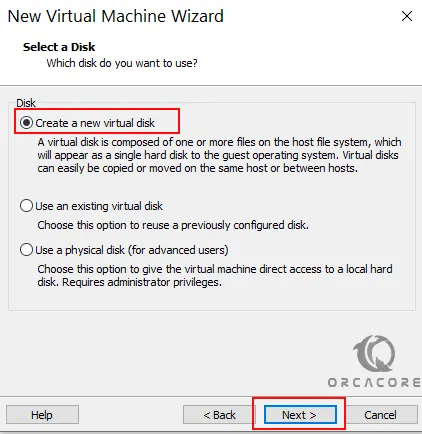
Also, select the disk type which is recommended by default and click Next.
Now you can create a new virtual disk and click Next.
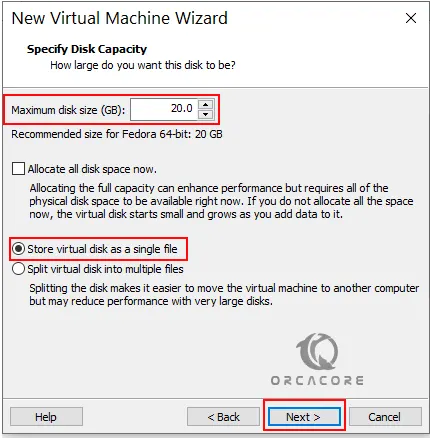
At this point, you can select the store virtual disk as a single file and click Next.
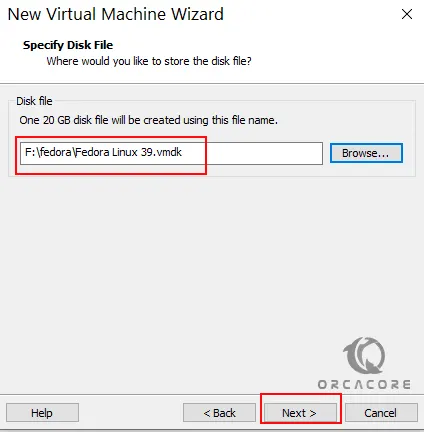
Then, choose the path you want to store this file and click Next.
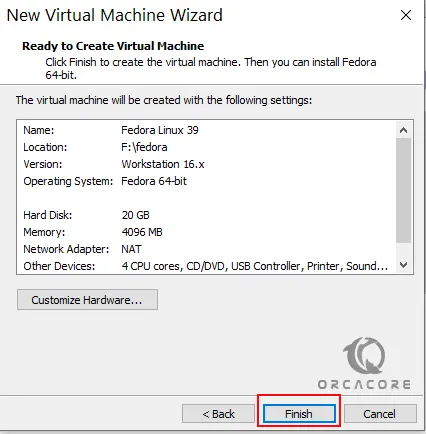
Here you can read the summary of your configuration and click Finish.
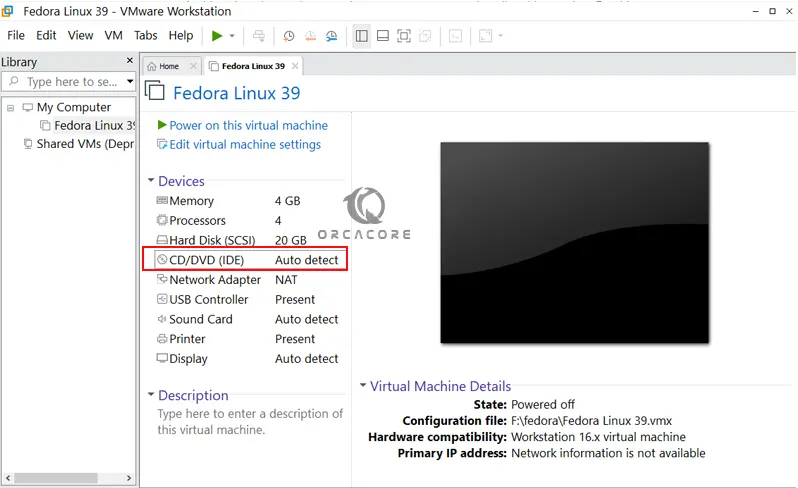
Now from your Fedora Linux 39 VMware workstation click on CD/DVD (IDE).
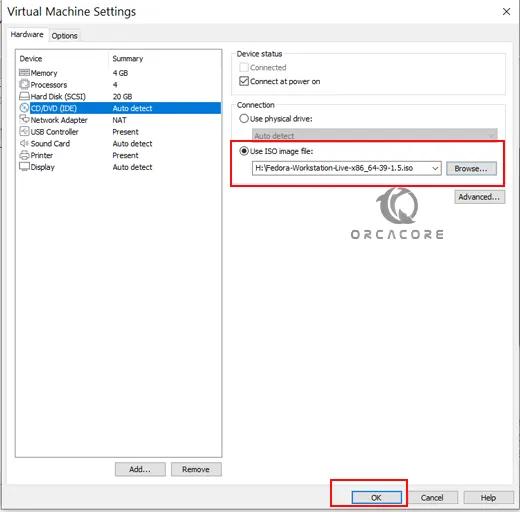
Use the ISO Image file, add your downloaded image, and click OK.
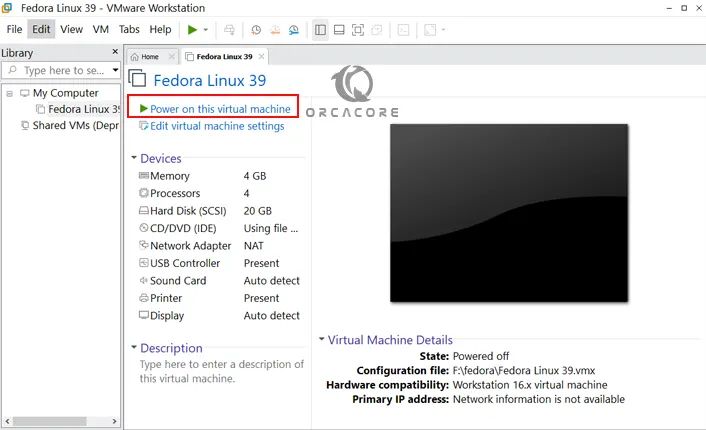
Finally, click on Power On the Virtual Machine.
Note: If you Power On your Virtual machine, and you face this error:
Error
This host Supports Intel VT-x, but Intel VT-x is disabled
You can resolve this issue by visiting Fix VMware Workstation Error Intel VT-x is disabled.
Step 3 – Install Fedora Linux 39 Step by Step
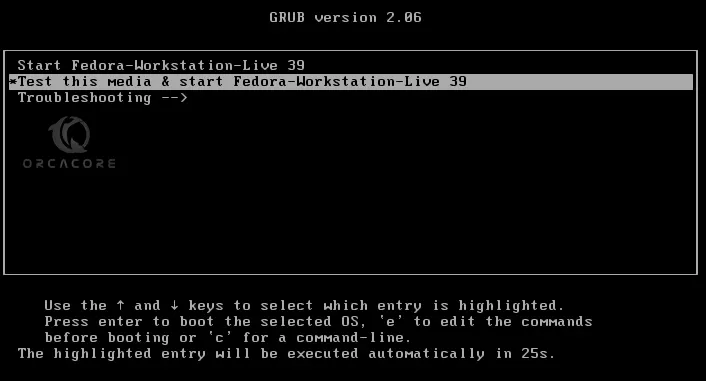
Once you start your virtual machine, you can choose your desired option and press enter. Here we choose Test the media and then start Fedora Linux 39. Wait until the checking process is finished.
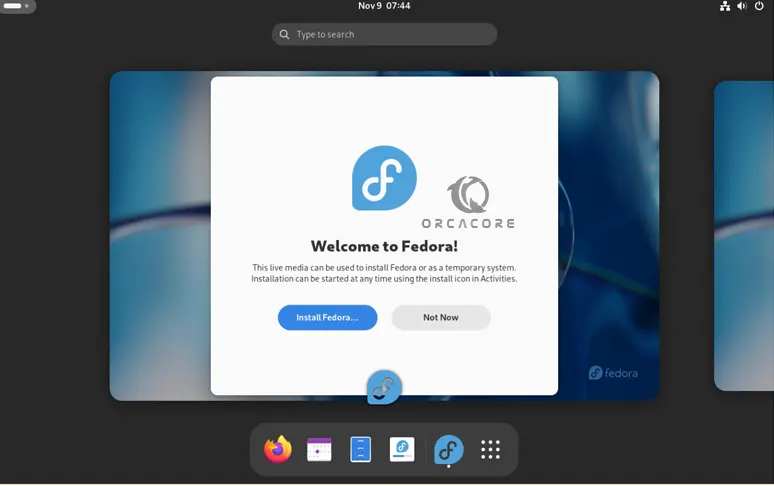
Finally, you have your Live Fedora Linux 39 Desktop with Gnome 45 on the VMware workstation and you can start using it. But if you prefer to install it, you should click on Install Fedora.
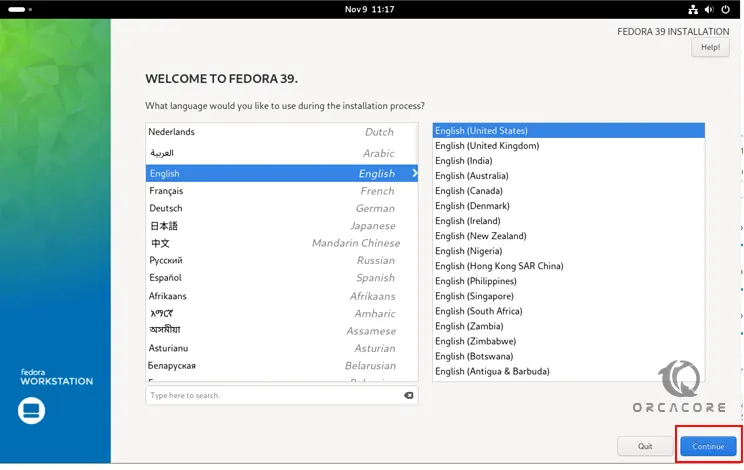
Select your desired language and click Continue.
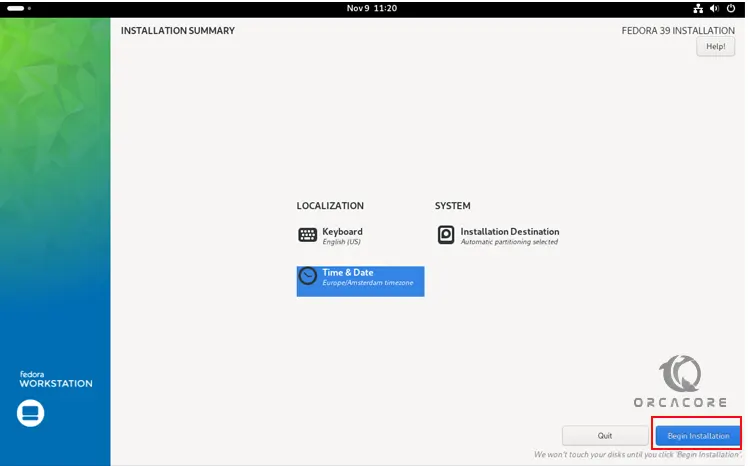
Then, read your summary installation, you can set the automatic hard disk partitions, and click begin the installation. Wait until your installation process is completed.
When your installation is completed, you can reboot your system and start to use Fedora Linux 39.
Step 4 – Fedora Linux 39 Desktop Setup
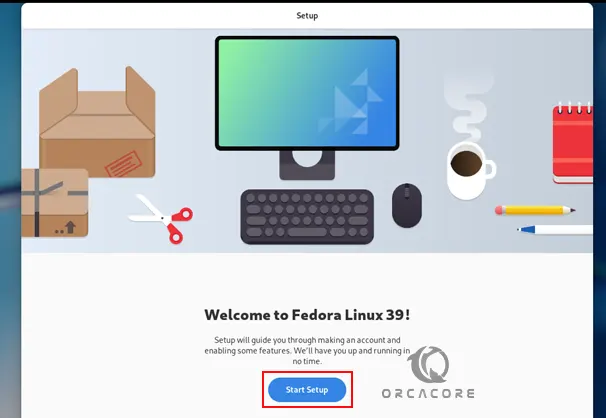
Once you reboot your system, you have your Fedora Linux 39 desktop. Now you must do some basic setup. First, click on Start Setup.
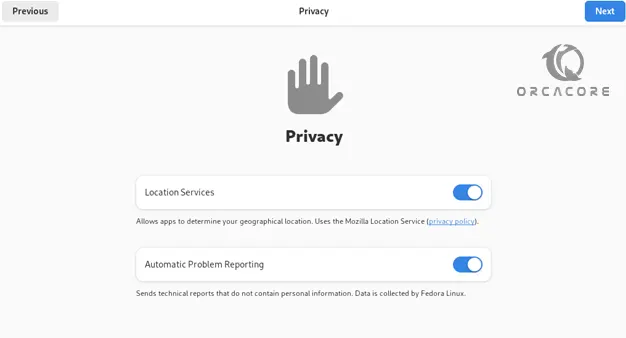
Then, you can enable some privacy settings and click Next.
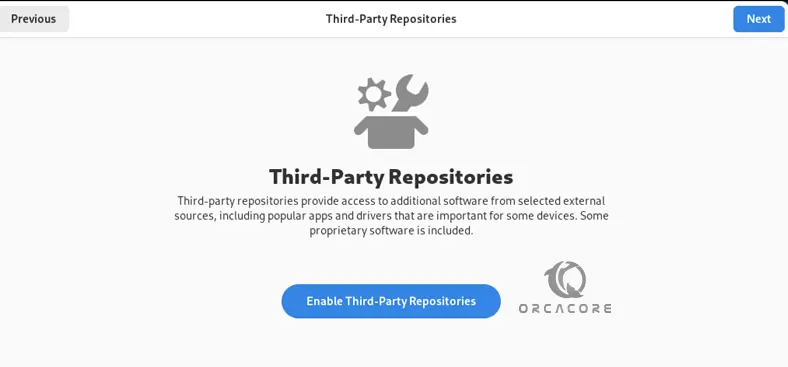
Also, you can enable some third-party repositories.
Then, you can connect your online accounts or skip this part.

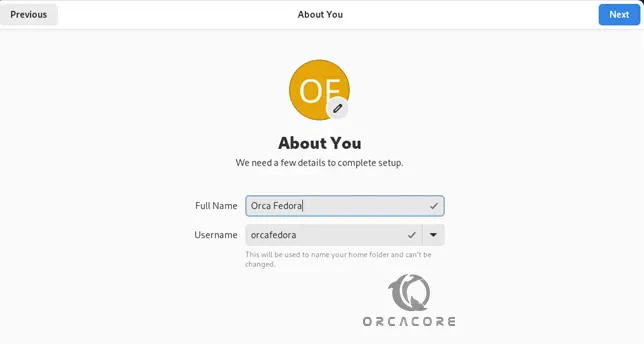
Next, enter a username for your Fedora Linux 39 user.
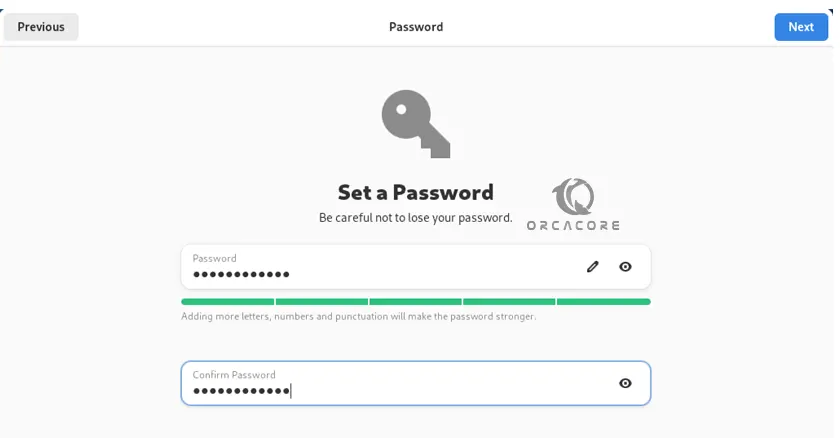
Set a password for it.
That’s it. You have learned to Install Fedora Linux 39 on VMware Workstation. Now you can start using your Fedora Linux 39 and make your changes and settings from your desktop.

Conclusion
At this point, you have learned to create a new virtual machine which is Fedora Linux 39 on a VMware workstation by using the Fedora Linux 39 iso image. Then, you have learned to complete your virtual machine setup and access your Fedora Linux 39 Live desktop. From there, you have learned toInstall Fedora Linux 39 on VMware Workstation, make your setup configuration, and start using it.
Hope you enjoy it. Also, you may like to read the following guides: