Share your love
Create virtual machine in VMware Workstation 17 pro: Best Steps

In this article from the Virtualization tutorials, We want to teach you how to Create virtual machine in VMware Workstation 17 pro step by step.
As you know, VMware Workstation is a hypervisor software that can be installed on Windows clients/Software.
With the Workstation, you can install other OS on your Windows and work with it.
Table of Contents
Easily Create virtual machine in VMware Workstation 17 pro
I want to give you an example first so that you can better understand the functionality of the VMware Workstation
Imagine, you need to work with another operating system, but you don’t want to install operating systems in dual boot mode.
Thanks to the Workstation, you can install an operating system inside another operating system and use all its advantages as a secondary system.
VMware Workstation is a powerful software that gives you that possibility and saves you from buying a new PC, Laptop, or dual boot.
Create a virtual machine in Workstation 17
First, Download and Install the VMware Workstation on your computer and Open it on your computer.
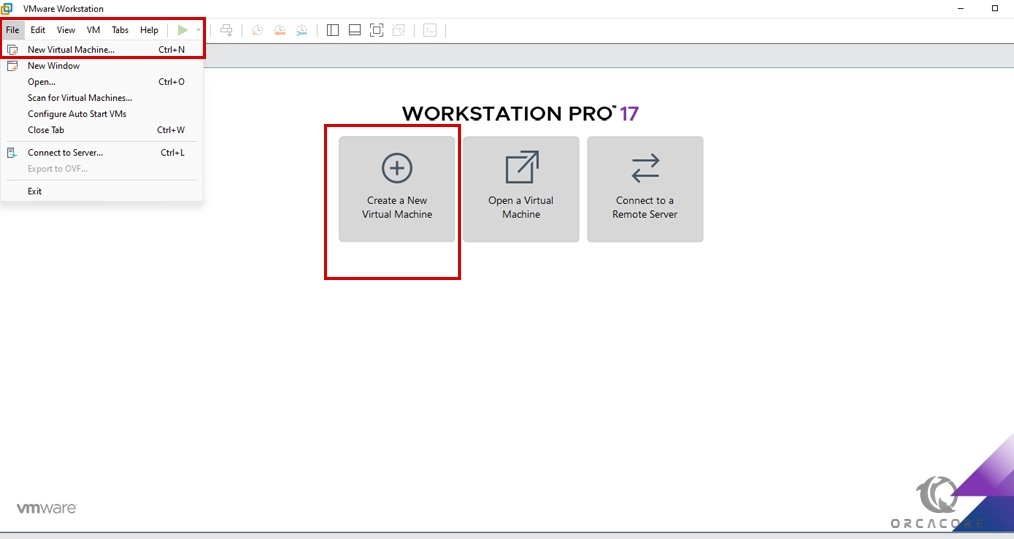
- After opening the Workstation, you will see a window similar to the below picture.
Click on Create a New Virtual Machine.
Point: If you don’t see these options, Click on File Menu and choose New Virtual Machine.
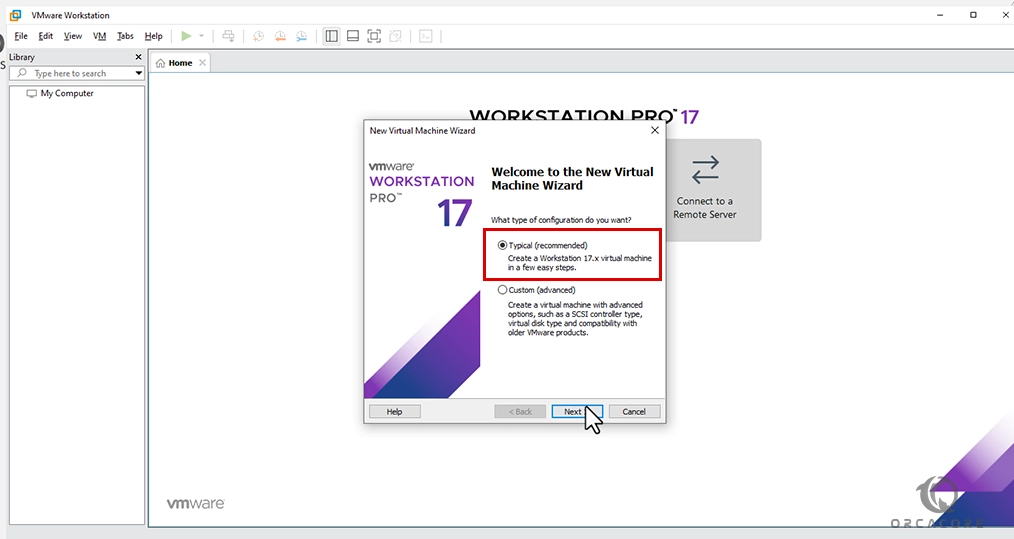
- Choose the Typical option and click Next
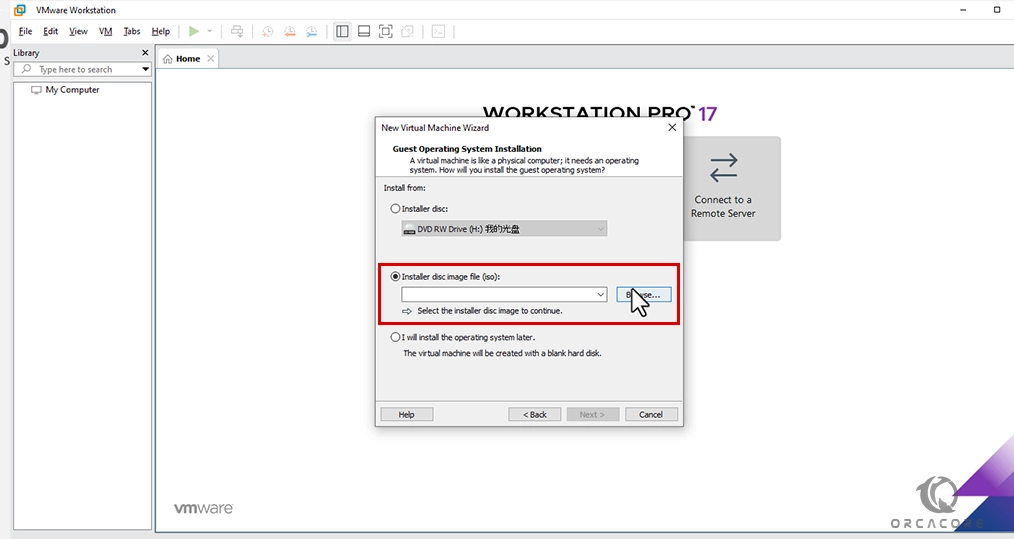
- In this step, you have three options to choose
Installer Disk: You need to put the OS disk on your DVD drive on your PC.
Installer disk image file: You must browse your hard disk’s OS image.
I will install the operating system later: This option helps to skip this window.
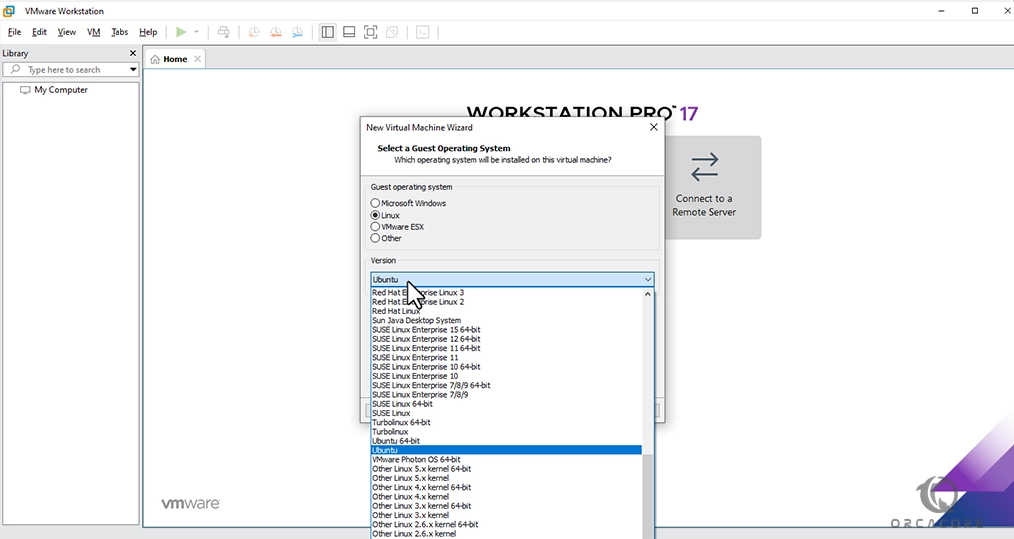
- After selecting the ISO file in the previous step, If VMware can detect your OS, the window shows you other options but if it doesn’t, you will see this window for choosing OS.
Select your Guest operating system and version on this window and click next.
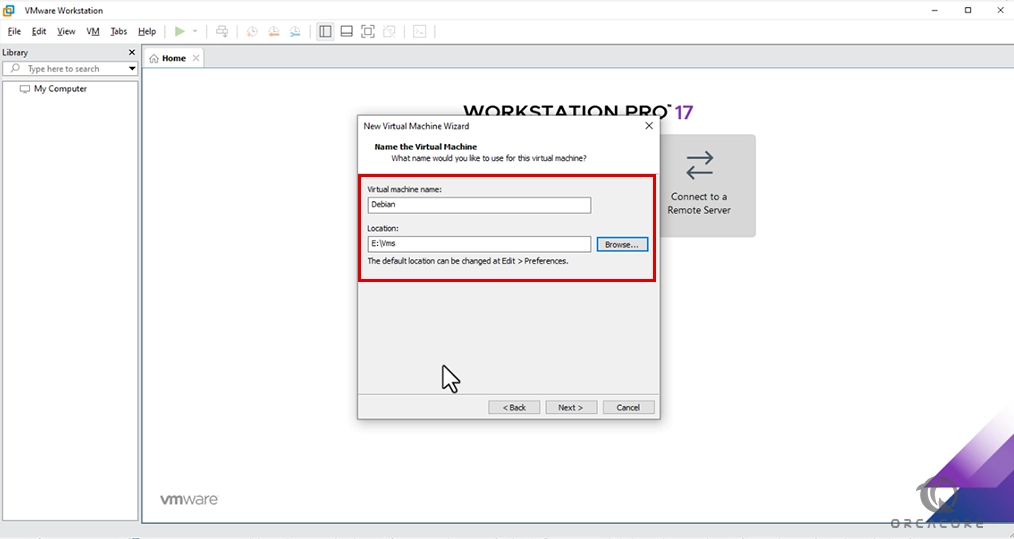
- The next step in Creating a virtual machine in VMware Workstation 17 tutorials, you need to type the virtual machine name and select the VM location to save data.
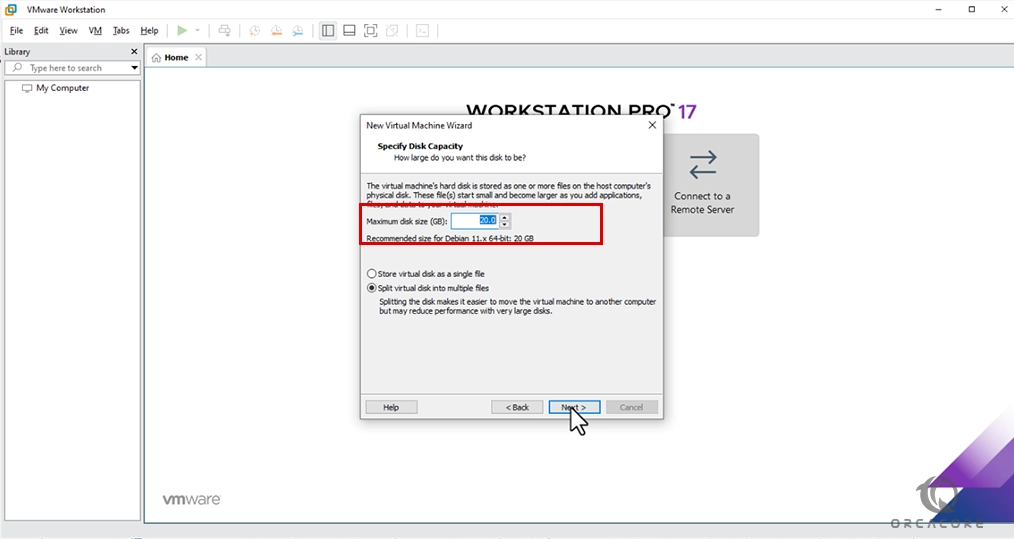
- Specify the amount of storage space and click Next.
- In the last window, you will see a summary of the VMware configuration.
you can click on finish or if you want to customize hardware click on customize hardware.
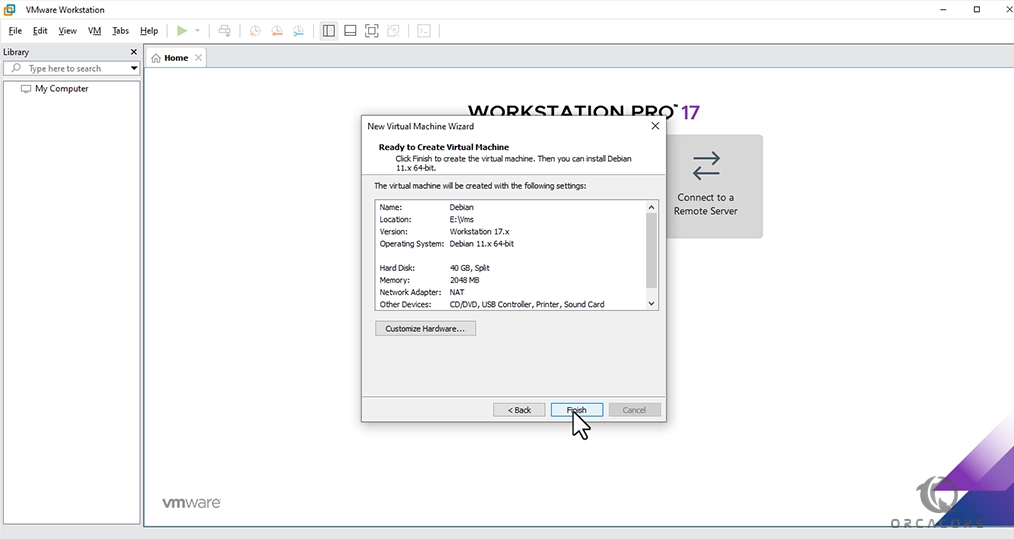
That’s It. You have successfully created a virtual machine in Workstation 17 Pro and you can use it.
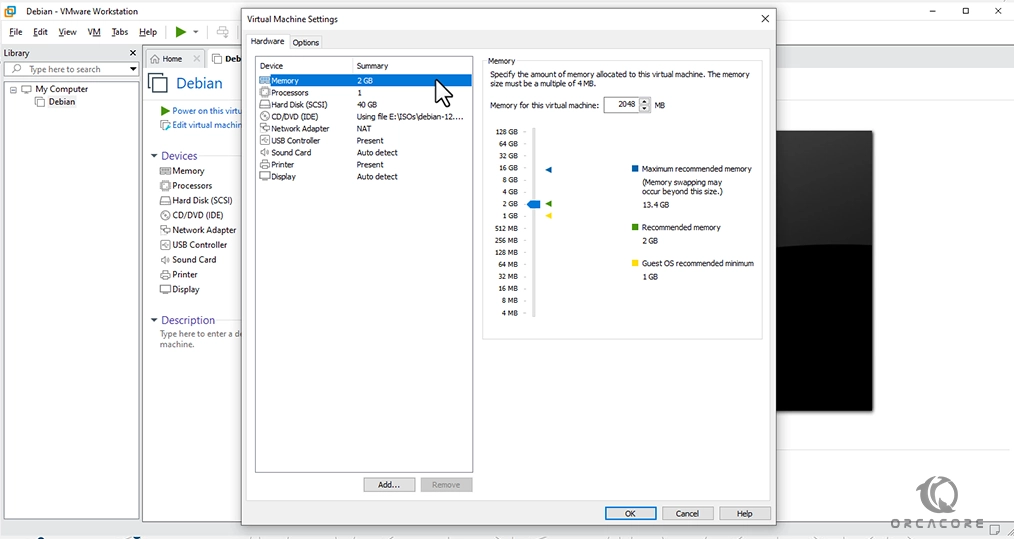
Increase/Decrease RAM on VMware workstation 17 pro
If you need to add more RAM to your virtual machine or you want to decrease it, follow these steps.
First, Go to Edit virtual machine from the VM menu and click settings, or press CTRL+D buttons on your keyboard.
click on Memory from the left panel, and set your desired amount from the right panel.
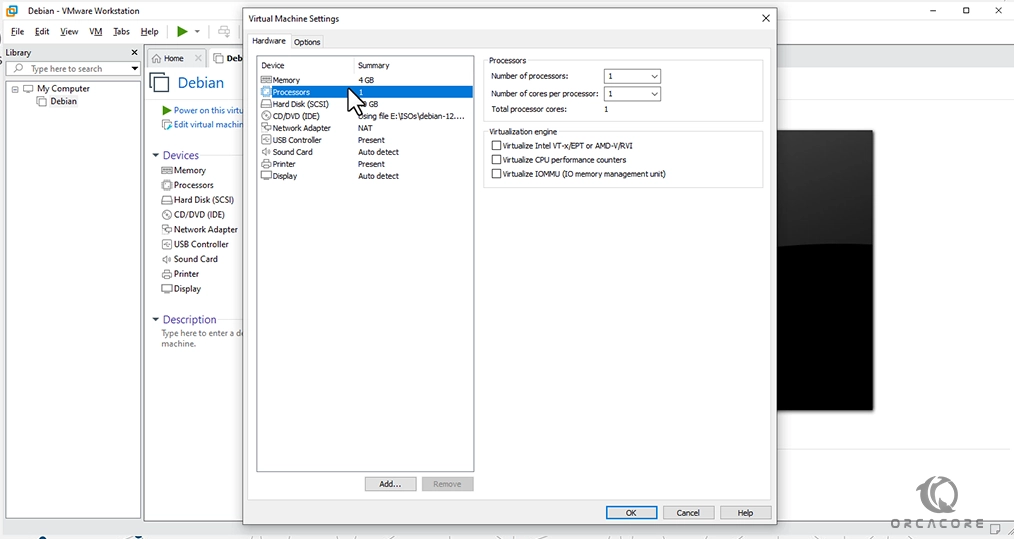
Increase/Decrease CPU Core on VMware workstation 17 pro
If you want to change the CPU core for the virtual machine, you can select processors from the left panel and select a new value from the right panel.
Conclusion of Create a Virtual Machine in Workstation 17 Pro article
In this tutorial, we teach you how to Create virtual machine in VMware Workstation 17 pro step by step with some customized settings.
The Orcacore team plans to publish other tutorials related to VMware Workstation in the future.
If you have any questions or suggestions, leave us a comment.