Share your love
Set up AIDE on Ubuntu 22.04: Best file and directory integrity checker

This article intends to teach you to Set up AIDE on Ubuntu 22.04. Advanced Intrusion Detection Environment (AIDE) is a file and directory integrity checker, which creates a database from the regular expression rules that it finds in the config files. Once this database is initialized it can be used to verify the integrity of the config files.
AIDE has several message digest algorithms that it uses to check the integrity of the config files, and it can also check file attributes for inconsistencies.
Running AIDE will have a performance impact. Therefore you may want to disable AIDE checks or schedule them to run at specific times. Mounted network and external file systems in /mnt are automatically excluded from the AIDE scans.
Now follow the guide steps below on the Orcacore website to complete the AIDE file system integrity setup on Ubuntu 22.04.
Table of Contents
Steps To Set up AIDE on Ubuntu 22.04
To complete the AIDE file system integrity setup for Ubuntu 22.04, you must log in to your server as a non-root user with sudo privileges. To do this, you can follow our guide on Initial Server Setup with Ubuntu 22.04. Then, follow the steps below.
Install AIDE on Ubuntu 22.04
AIDE packages are available in the default Ubuntu repository. First, update your local package index with the following command:
sudo apt updateThen, use the following command to install AIDE:
sudo apt -y install aideDuring the installation, you will be asked to choose general mail configuration, here we choose Internet Site and click ok. Then, you need to choose a system mail name and continue your installation.
When your installation is completed, verify it by checking its version:
aide -v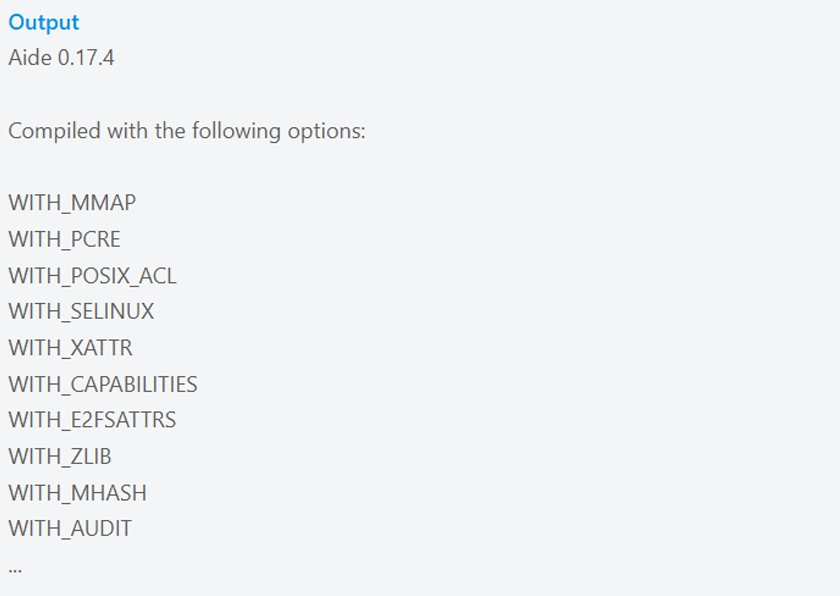
AIDE Configuration on Ubuntu 22.04
Configuring AIDE is easy because you only have to edit the configuration file. Open the config file with your favorite text editor, here we use the vi editor:
sudo vi /etc/aide/aide.confHere, you will find the various sections to modify the working of AIDE.
# AIDE conf

# set environment for executable config files included by x_include
@@x_include_setenv UPAC_settingsd /etc/aide/aide.settings.d

# The daily cron job depends on these paths
database_in=file:/var/lib/aide/aide.db
database_out=file:/var/lib/aide/aide.db.new
database_new=file:/var/lib/aide/aide.db.new
gzip_dbout=yes

# Set to no to disable report_summarize_changes option.
report_summarize_changes=yes

# Set to no to disable grouping of files in report.
report_grouped=yes

# Set verbosity of aide run and reports
log_level=warning
report_level=changed_attributes

# Ignore e2fs attributes that cannot be set manually
report_ignore_e2fsattrs=EhI
...
You can edit the given information as per your requirements and save this AIDE configuration file on Ubuntu 22.04.
How To Use AIDE File System Integrity?
At this point, you can create a new AIDE File System Integrity database by using the command below:
sudo aideinit
This command creates the AIDE database file /var/lib/aide/aide.db.new as per the currently available file system.
Then, to install the new AIDE database, you must copy it to your database file location:
sudo cp /var/lib/aide/aide.db.new /var/lib/aide/aide.db
Now you can start your AIDE scan process by using the command below:
sudo aide --checkConclusion
AIDE helps detect unauthorized changes like modified or deleted files, which could indicate a security issue. This makes it useful for protecting systems from tampering or intrusions. At this point, you have learned to Set up AIDE on Ubuntu 22.04.
Hope you enjoy it. Please subscribe to us on Facebook and Twitter.
Also, you may like to read the following articles:
Use Artificial Intelligence in Homes
Zabbix LTS Setup on Ubuntu 24.04