Share your love
Set up and Configure Laravel on Ubuntu 20.04
In this article, we want to teach you How To Set up and Configure Laravel on Ubuntu 20.04.
Laravel is an open-source PHP framework, which is robust and easy to understand. It follows a model-view-controller design pattern. Laravel reuses the existing components of different frameworks which helps in creating a web application.
How To Set up and Configure Laravel on Ubuntu 20.04
To install Laravel on Ubuntu 20.04, you need some requirements first.
Requirements
You need to log in to your server as a non-root user with sudo privileges. To do this, you can follow our article the Initial Server Setup with Ubuntu 20.04.
And you need to have Apache installed on your server. To do this, you can check our article How To Install Apache on Ubuntu 20.04.
Now follow the steps below, to set up Laravel on your server.
Install PHP and PHP extensions on Ubuntu 20.04
Laravel requires PHP 7.3 or above. So, install PHP and the PHP extensions with the command below:
sudo apt install php libapache2-mod-php php-mbstring php-cli php-bcmath php-json php-xml php-zip php-pdo php-common php-tokenizer php-mysqlVerify your PHP installation by checking its version:
PHP -v
In your output you will see:
Output
PHP 8.0.13 (cli) (built: Nov 22 2021 09:50:43) ( NTS )
Copyright (c) The PHP Group
Zend Engine v4.0.13, Copyright (c) Zend Technologies
with Zend OPcache v8.0.13, Copyright (c), by Zend Technologie
Here you need to create a database for the Laravel application. To do this, you need to install MariaDB or MySQL on Ubuntu 20.04.
Install MariaDB and Create a Database for Laravel on Ubuntu 20.04
At this step, you will install MariaDB as a database engine for Laravel.
You can use the following command to install MariaDB:
sudo apt install mariadb-serverWhen your installation is completed, log in to your MariaDB shell prompt by running the following command:
sudo mysql -u root -pEnter your root password you will see your MariaDB shell “MariaDB [(none)]>”.
Now create your Laravel database with the following command, here we use the laravel_db name, you can choose your own name for it:
CREATE DATABASE laravel_db;Then, you need to create a Laravel user, here we named it laravel_user, and remember to replace the password with a strong password of your choice:
CREATE USER 'laravel_user'@'localhost' IDENTIFIED BY 'secretpassword';Next grant all the privileges to your user with the command below:
GRANT ALL ON laravel_db.* TO 'laravel_user'@'localhost';Flush the privileges:
FLUSH PRIVILEGES;Now exit from your MariaDB shell:
QUIT;Install Composer on Ubuntu 20.04
A composer is a tool for dependency management in PHP. It allows you to declare the libraries your project depends on and it will manage (install/update) them for you.
To install Laravel on Ubuntu 20.04, you need to install Composer.
First, download the Composer installer with the following command:
curl -sS https://getcomposer.org/installer | phpIn your output you will see:
Output
All settings correct for using Composer
Downloading...

Composer (version 2.1.14) successfully installed to: /root/composer.phar
Use it: php composer.phar
As you can see this command downloads the composer.phar file.
You need to move the file into the usr/local/bin path with the command below:
sudo mv composer.phar /usr/local/bin/composerThen, set the correct permissions for it:
sudo chmod +x /usr/local/bin/composerVerify your Composer installation on Ubuntu 20.04 by checking its version:
composer --versionIn your output you will see:
Ouput
Composer version 2.1.14 2021-11-30 10:51:43
Install Laravel on Ubuntu 20.04
To set up Laravel, first, switch to the webroot directory with the following command:
cd /var/www/htmlThen, use the Composer command to install Laravel on Ubuntu 20.04:
sudo composer create-project laravel/laravel laravelappThis command will create a directory called laravelapp and install all the files and directories for Laravel.
Now change the ownership of the Laravel directory and set the correct permissions with the commands below:
sudo chown -R www-data:www-data /var/www/html/laravelapp
sudo chmod -R 775 /var/www/html/laravelapp/storage
Next, switch to your laravelapp directory:
cd laravelappVerify your Laravel installation by using the following command on Ubuntu 20.04:
php artisanIn your output you will see:
Output
Laravel Framework 8.76.2
Usage:
  command [options] [arguments]
Options:
  -h, --help            Display help for the given command. When no command is given display help for the list command
  -q, --quiet           Do not output any message
  -V, --version         Display this application version
...
Configure Apache to Work with Laravel
At this [point, you need to set up Apache to host the Laravel site. To do this, you need to create a virtual host file with your favorite text editor, here we use vi:
sudo vi /etc/apache2/sites-available/laravel.confAdd the following contents to the file:
<VirtualHost *:80>
ServerName example.com
ServerAdmin admin@example.com
DocumentRoot /var/www/html/laravelapp/public
<Directory /var/www/html/laravelapp>
AllowOverride All
</Directory>
ErrorLog ${APACHE_LOG_DIR}/error.log
CustomLog ${APACHE_LOG_DIR}/access.log combined
</VirtualHost>
Remember to replace the example.comServerName directive with the FQDN or public IP of the server.
When you are done, save and close the file.
Here use the following commands to enable the Laravel site and Apache rewrite module:
sudo a2ensite laravel.confsudo a2enmod rewriteThen, restart Apache on Ubuntu 20.04 to apply the changes:
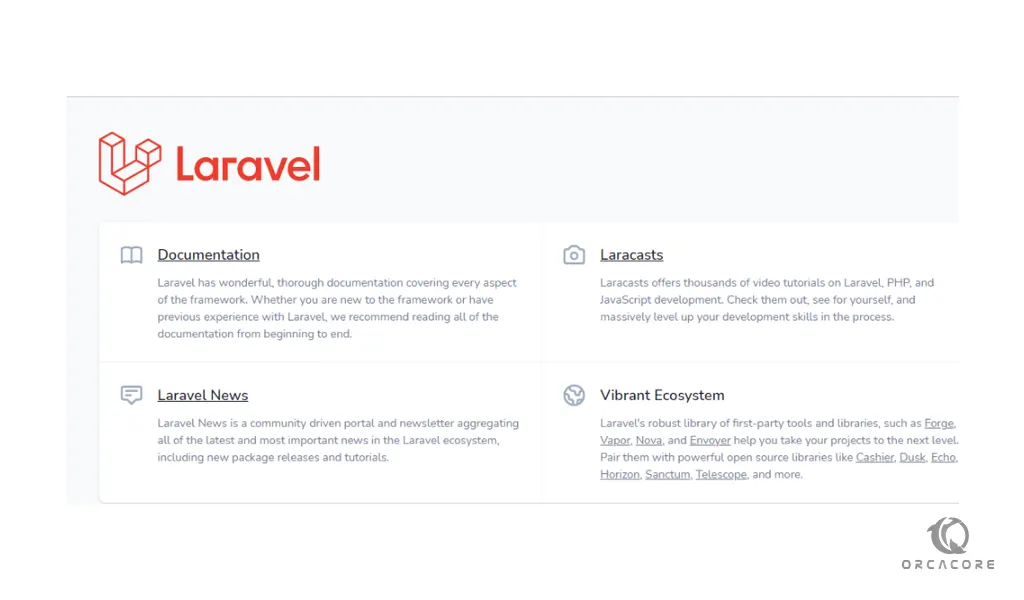
sudo systemctl restart apache2Access Laravel Web Interface
At this point, you can access the Laravel web interface by typing your server’s IP address in your web browser:
http://your-domain-or-server-ip-address
You will see:
Conclusion
At this point, you learn to install and configure Laravel on Ubuntu 20.04.
Hope you enjoy using it.