Share your love
Install Apache on Ubuntu 20.04

In this article, we want to teach you How to Install Apache on Ubuntu 20.04.
Apache HTTP server is the most widely used web server software. Developed and maintained by Apache Software Foundation, Apache is open-source software available for free. Now you can follow the rest of the article to complete Apache installation on Ubuntu 20.04.
Requirements
Before we start to teach you how to install Apache you need to log in to your server with a non-root user with root privileges. To do this, you can check our article about the Initial server setup with Ubuntu 20.04.
Steps To Install Apache Web Server on Ubuntu 20.04
After you have finished the Initial server setup with Ubuntu 20.04 you can easily install Apache on your server. Follow the steps below.
Step 1 – Command for Installing Apache on Ubuntu 20.04
Apache is available in Ubuntu’s default software repository. You just need to update the local package index and then install Apache.
Run the following command to update the packages:
sudo apt updateThen, install the apache2 package with the command below:
sudo apt install apache2After your installation is completed, proceed to the next step to adjust the firewall for Apache on Ubuntu 20.04.
Step 2 – Adjust the UFW firewall for Apache on Ubuntu 20.04
Apache registers itself with UFW to provide a few application profiles that can be used to enable or disable access to Apache through the firewall.
You list available applications with the following command:
sudo ufw app listYour output should be like this:
Output:
Available applications:
Apache
Apache full
Apache secure
OpenSSH
Allow Apache with the following command:
sudo ufw allow 'Apache'You can see the active status and a List of allowed HTTP traffic with the following command:
sudo ufw statusOutput
Status: active
To Action From
-- ------ ----
Apache ALLOW Anywhere
Apache (v6) ALLOW Anywhere (v6)Then, reload the firewall to apply the new rules:
sudo ufw reloadAt this point, you have installed Apache on Ubuntu 20.04 and now you can check your web server status.
Step 3 – Check Apache Webserver Status
You can check that the Apache service is running with the following command:
sudo systemctl status apache2Output
● apache2.service - The Apache HTTP Server
Loaded: loaded (/lib/systemd/system/apache2.service; enabled; vendor prese>
Active: active (running) since Wed 2021-08-25 08:21:32 CEST; 7min ago
Docs: https://httpd.apache.org/docs/2.4/
Main PID: 1926 (apache2)
Tasks: 55 (limit: 2282)
Memory: 6.6M
...It’s better to request a page from Apache to test it. To do this, you need your server’s IP address. You can get your IP with the following command:
hostname -IOr you can use the icanhazip tool to get your IP. Run the following command:
curl -4 icanhazip.comEnter your server’s IP address in your favorite browser:
http://your_server_ipyou will see the page like the image below:
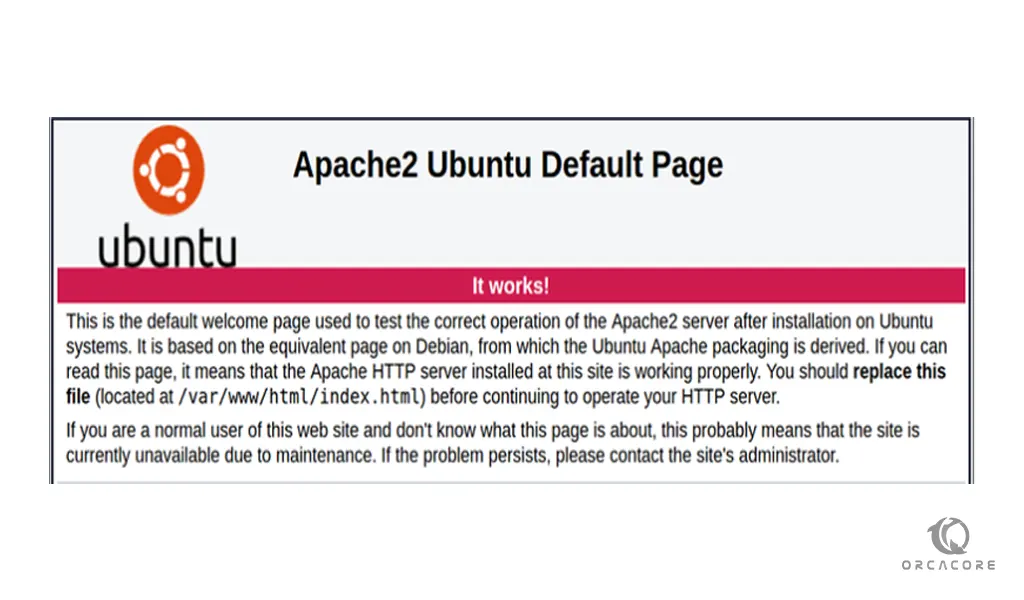
When you see this page it means that the Apache is working correctly. Here we go to see some basic information about the Apache process.
Step 4 – Manage The Apache Process on Ubuntu 20.04
When you are done with installing Apache, you can learn some basic management commands.
You can stop your web server with the following command:
sudo systemctl stop apache2To start it again, you can use:
sudo systemctl start apache2Also, you can stop and then start the service with:
sudo systemctl restart apache2If you have made some configuration changes you need to reload your service after doing that with the following command:
sudo systemctl reload apache2To disable the service, run the following command:
sudo systemctl disable apache2Then, you can re-enable it to start the service every time the server boots:
sudo systemctl enable apache2Conclusion
By following the steps that we said in the article you can easily Install your Apache webserver on Ubuntu 20.04. Don’t forget to check the Initial server setup on the Linux Tutorials before you start your Apache installation.
I hope you enjoy it.