Share your love
Set up Gnome Desktop on Rocky Linux 9

In this guide, we intend to teach you to Set up a Gnome desktop environment on Rocky Linux 9. Gnome is a popular, free, and open-source desktop environment that is used for most Linux distributions. The easiest way to install Gnome on Roxky Linux 9 is to use the “Server with GUI“ group. Follow the rest of the article to complete your Gnome setup on your server.
How To Set up Gnome Desktop on Rocky Linux 9?
To install Gnome GUI on Rocky Linux 9, you must have access to your server as a non-root user with sudo privileges. To do this, you can visit this guide on Initial Server Setup with Rocky Linux 9.
Then, follow the steps below to complete this guide.
Step 1 – Available Environment Groups on Rocky Linux 9
First, you need to run the system update by using the following command:
sudo dnf update -yBy default, the packages you need to install the Gnome Desktop environment are available in the default Rocky Linux repository.
You can search what are the available groups with the following command:
sudo dnf group listOutput
Available Environment Groups:
Server with GUI
Server
Workstation
Custom Operating System
Virtualization Host
...From the output, you will see a list of a couple of groups to install on your Linux system. The “Server with GUI“ group will be used to install the stable version of Gnome on your server.
Step 2 – Install Server With GUI Gnome on Rocky Linux 9
At this point, you can simply run the command below to install Gnome- Server GUI package:
sudo dnf groupinstall "Server with GUI"This will take some time to complete.
Step 3 – Set Graphical Interface on Rocky Linux 9
At this point, you need to use the following command to set the graphical interface instead of the command line interface. To do this, you can use the following command:
sudo systemctl set-default graphical.targetOutput
Removed /etc/systemd/system/default.target.
Created symlink /etc/systemd/system/default.target → /usr/lib/systemd/system/graphical.target.Finally, reboot your server and you will see the Gnome Graphical login instead of the command line:
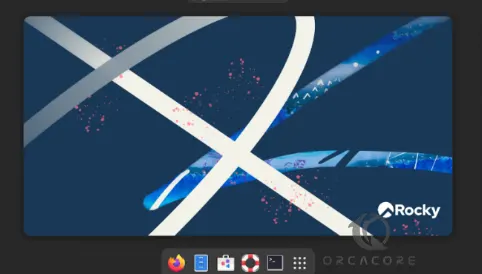
rebootThat’s it, you are done. Once you logged back you have your Gnome Desktop on Rocky Linux 9.

Conclusion
At this point, you have learned to Set up a Gnome desktop environment on Rocky Linux 9 by using the “Server with GUI“ group that has the latest stable Gnome. And set the graphical target instead of the command line.
Hope you enjoy it. You may be interested in these articles:


