Share your love
Set up IIS on Windows Server 2019
In this part of the Windows Tutorials, we want to teach you How To Set up IIS on Windows Server 2019.
The term “IIS” stands for Internet Information Services, which is a general-purpose webserver that runs on the Windows operating system.
It hosts the applications, websites, and other standard services needed by users and allows developers to make websites, applications, and virtual directories to share with their users.
How To Set up IIS on Windows Server 2019
To install IIS on your Windows server 2019 follow the steps below.
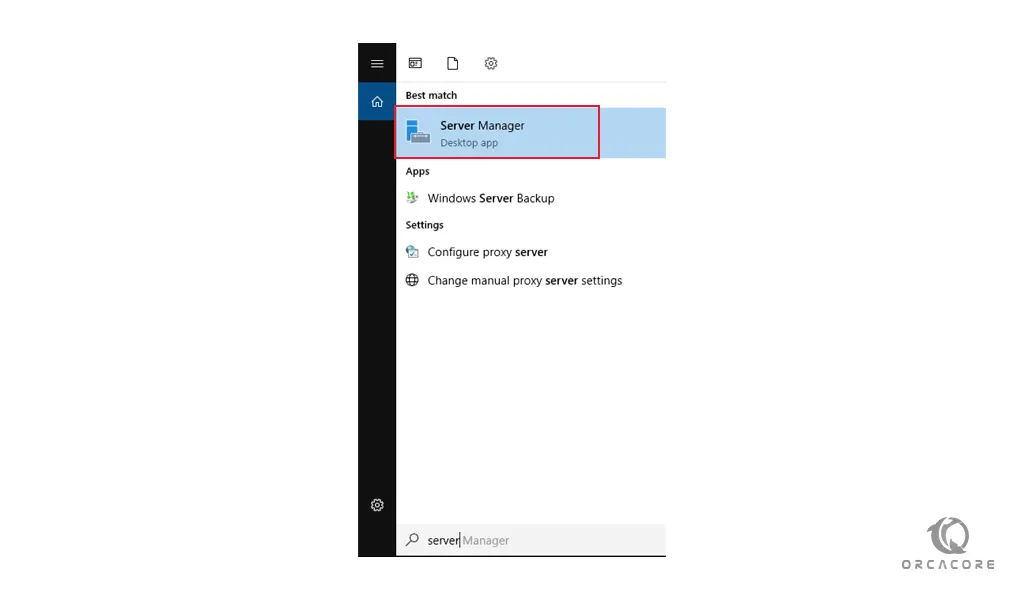
1- From your start menu, type server manager and open it:
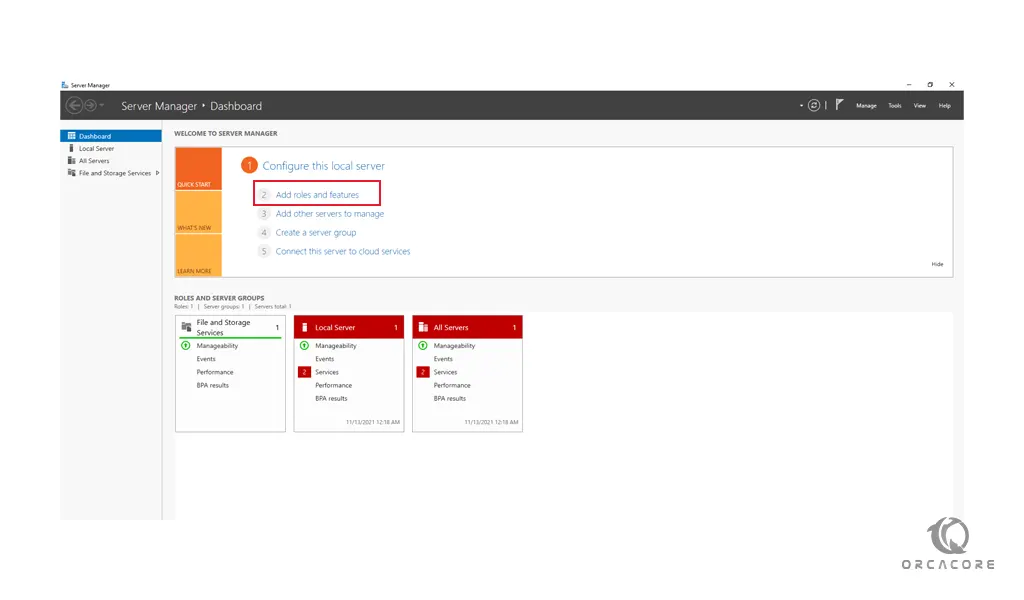
2- In your server manager dashboard click on the Add roles and features:
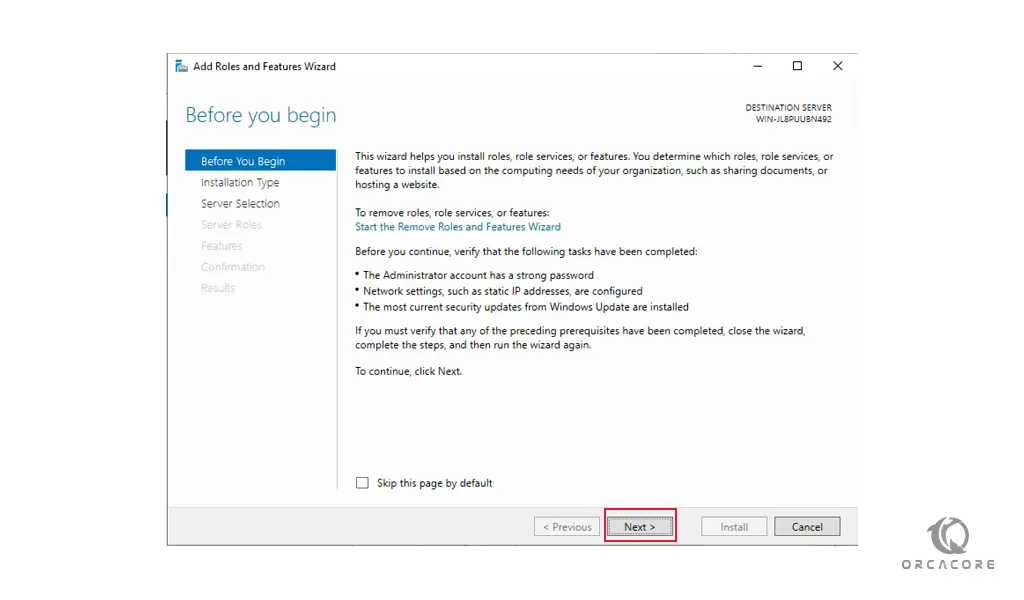
3- Click next to continue on the Before you begin window:
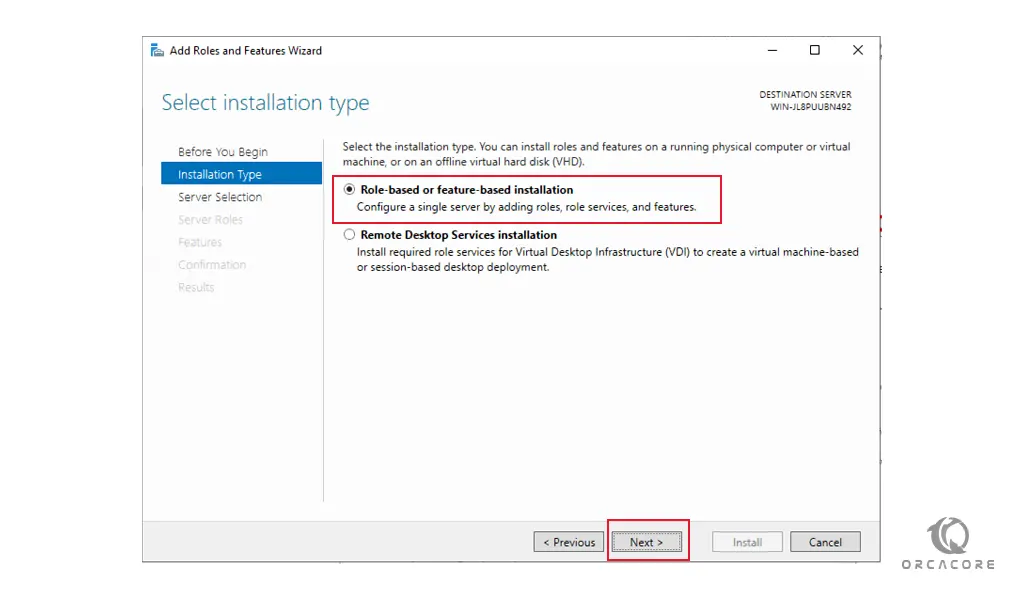
4- In the Select installation type window, you should click on the Role-based or feature-based installation and press next to continue:
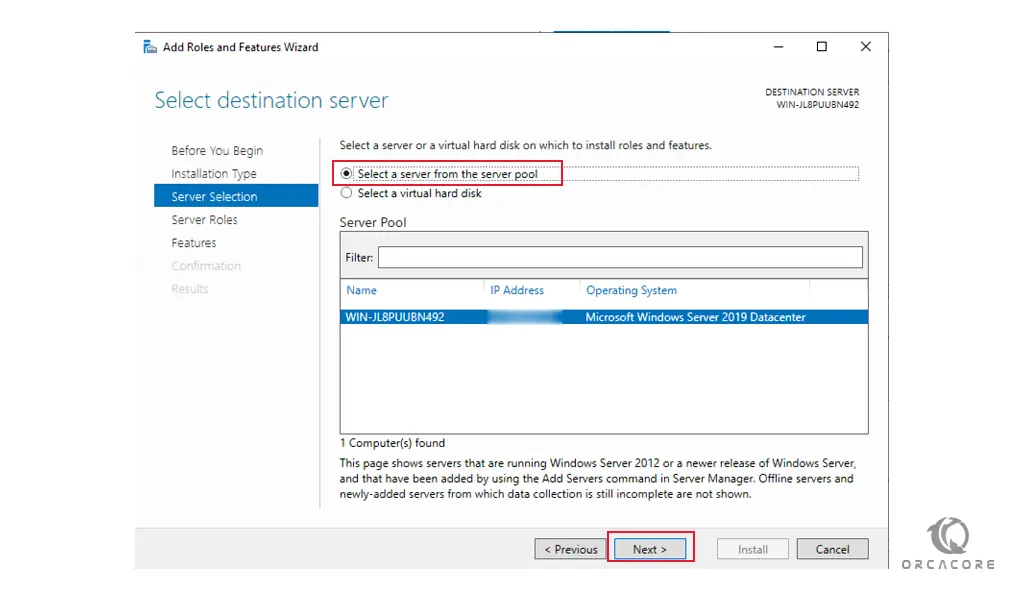
5- At this step, you need to select the destination server. As you are set up IIS on your local machine, choose the Select a server from the server pool and press next.
On the other hand, you can select another server that you are managing from here or a VHD.
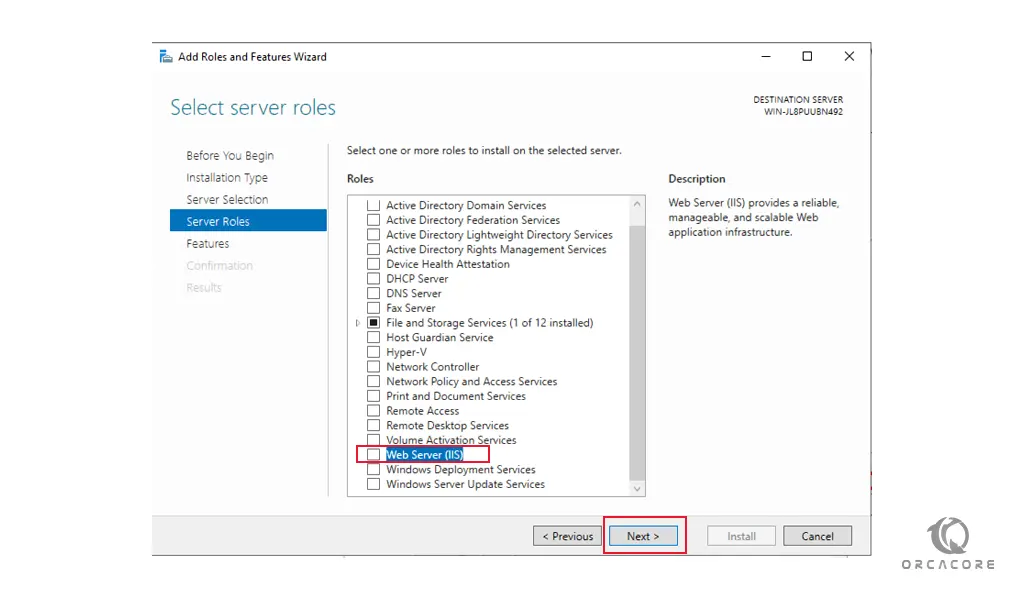
6- Now on the Select server roles check the box next to the Web Server (IIS):
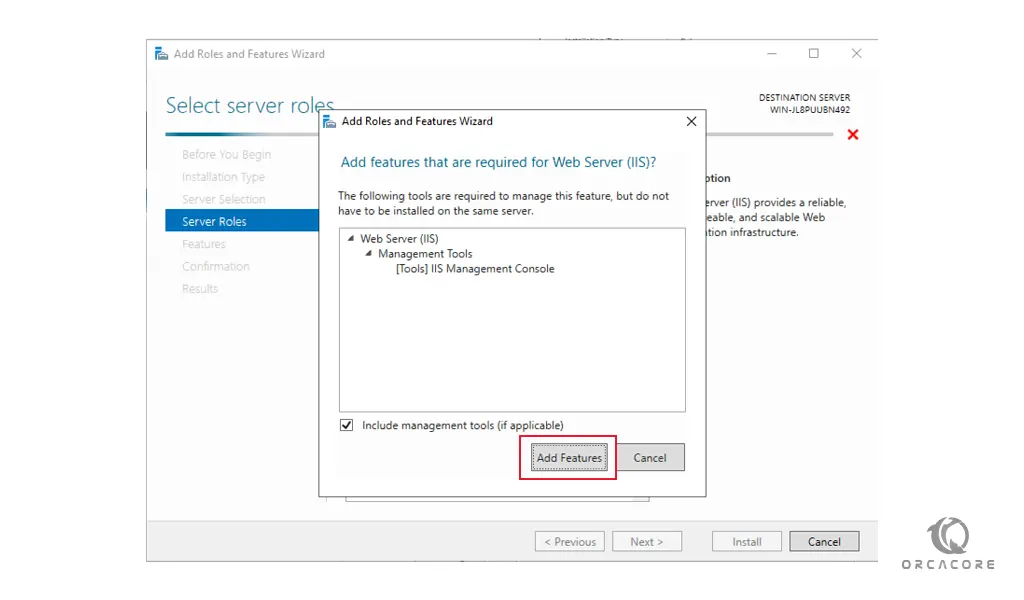
6- This will open a new window advising that additional features are required, click the Add Features button to install these as well. Click Next back on the Select Server roles menu when this is complete:
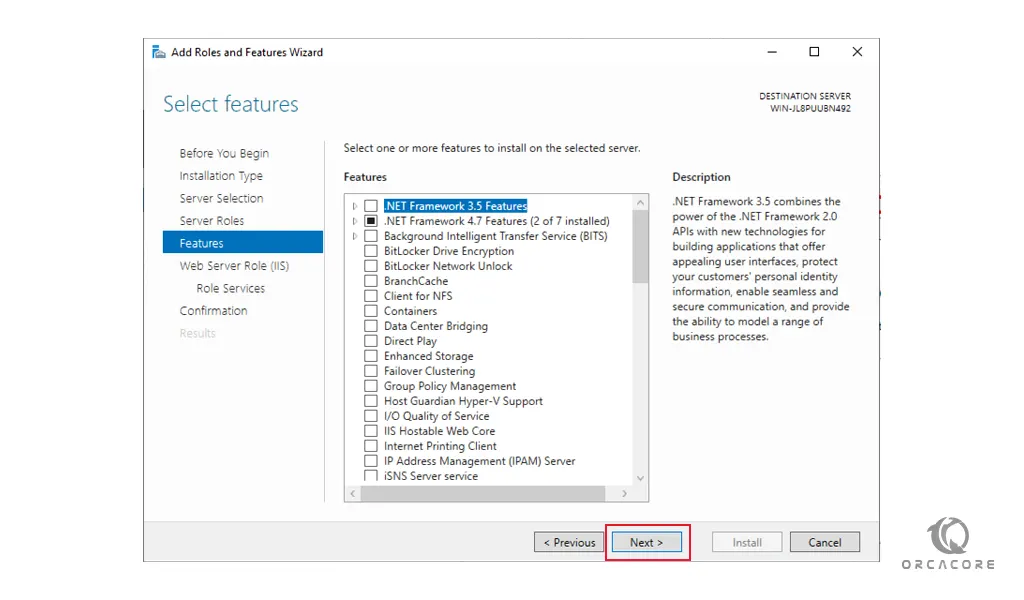
7- At this point, you don’t need to install any additional features. So click next to continue:
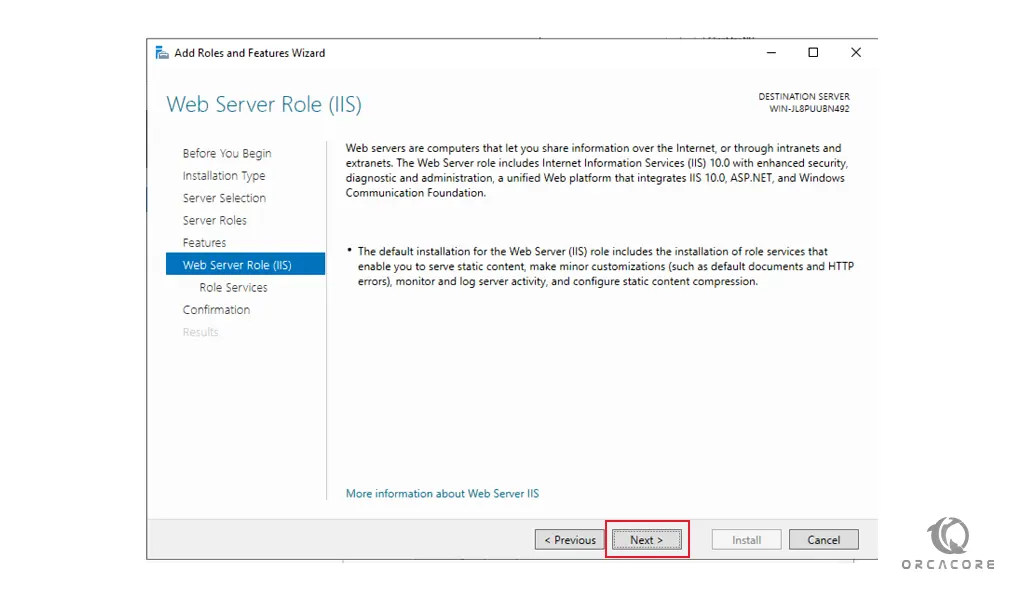
8- Read the information about the IIS web server role and press next:
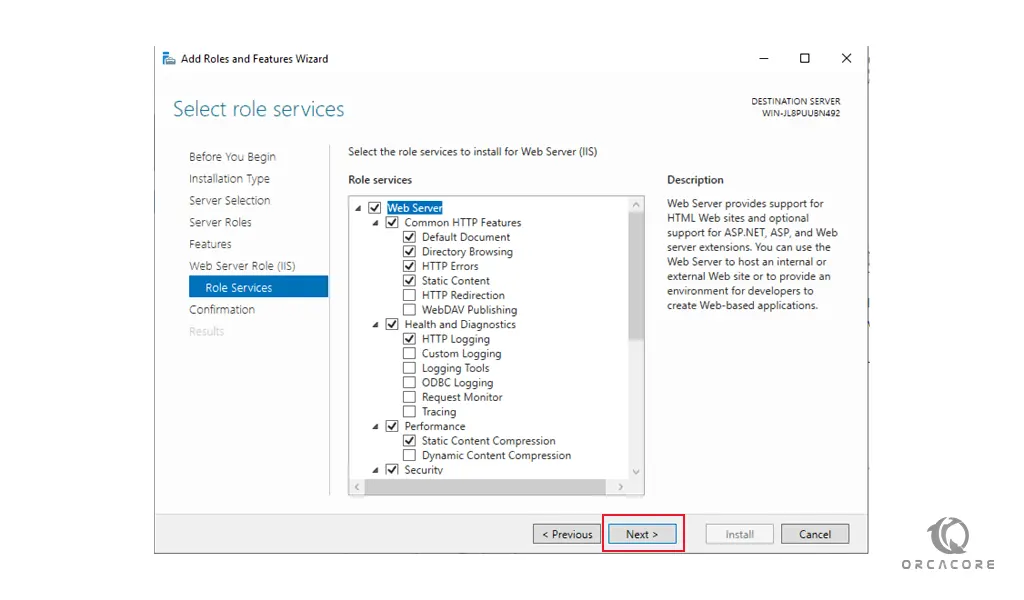
9- Here on the Select role services window, you can install additional services for IIS. You can always come back and add more later, so press next to install the defaults:
10- In the Confirm installation selections window, review the items that are to be installed and click Install when you’re ready to proceed with installing the IIS web server on your Windows server 2019:
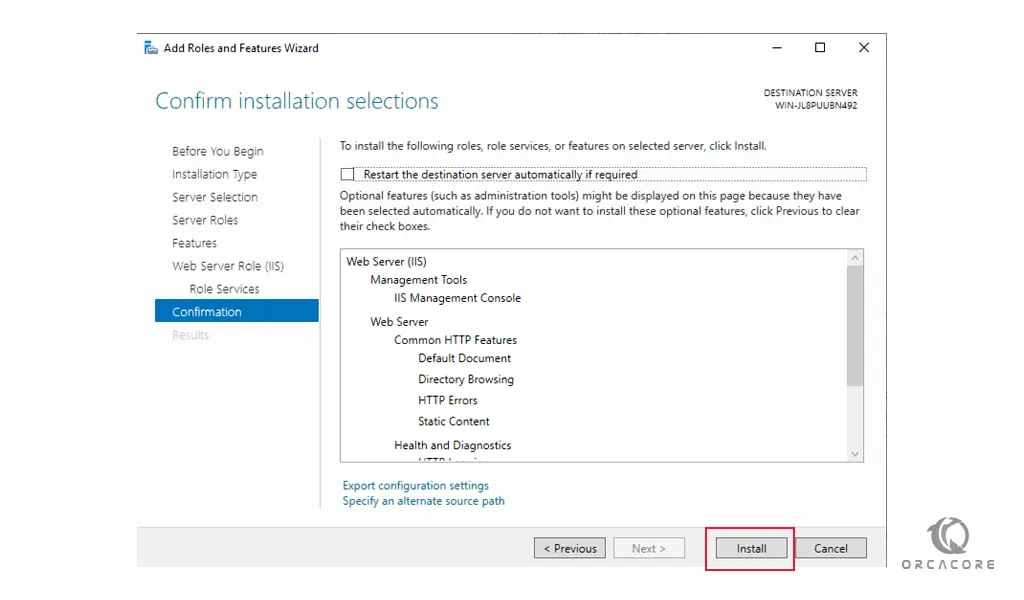
Note: With the standard IIS installation, no reboot should be required. If you remove the role a reboot will be needed.
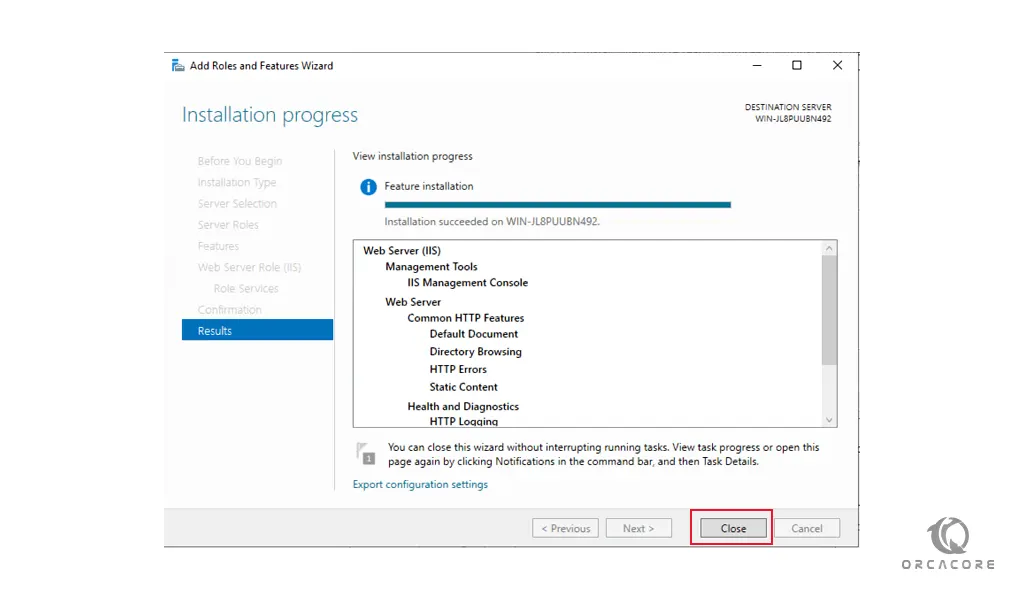
11- When your IIS installation is completed, press the close button:
Access IIS on Windows Server 2019
At this point, IIS should be running on port 80 by default with the firewall rule HTTP traffic enabled in Windows firewall automatically.
Now you can access the default IIS page by typing your server’s IP address in your web browser:
http://server-ip-address
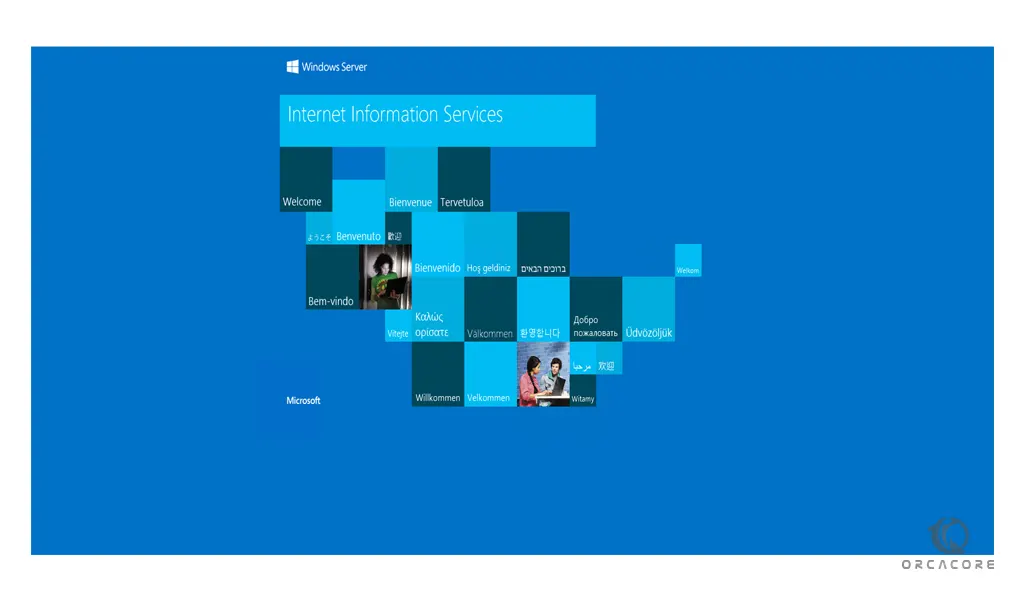
If you see this page means that you have set up IIS on your Windows server 2019 correctly.
Conclusion
IIS is compared with Apache, which is also a kind of web server that is freely available to everyone. We can simply say that both work the same except that Apache can be used almost on any operating system such as Windows, Linux, and Mac, While the IIS is only available for Windows.
Here you learn to Set up IIS on your Windows server.
Hope you enjoy it.