Share your love
How To Set up Plesk on AlmaLinux 8

In this article, we want to teach you How To Set up Plesk on AlmaLinux 8.
Plesk is a web-based control panel that is increasingly becoming the preferred choice for web hosting companies.
The simple configuration in Plesk allows the web hosting provider to easily manage thousands of virtual hosts on a single server.
Set up Plesk on AlmaLinux 8
Before you start to install Plesk on AlmaLinux 8, you need to log in to your server as a non-root user with sudo privileges and set up a basic firewall. To do this, you can follow our article the Initial Server Setup with AlmaLinux 8.
Now you can follow the steps below to set up Plesk on your server.
Install Plesk on AlmaLinux 8
You can install Plesk in different ways. In this guide, you will install Plesk on your AlmaLinux 8 by using the installer console.
First, update your local package index with the following command:
sudo dnf -y update
Next, install the wget tool with the command below:
sudo dnf install wget
Then, you can use the wget command to download the Plesk installer on AlmaLinux 8:
sudo wget https://autoinstall.plesk.com/plesk-installer
When your download is completed, you need to make your file executable with the following command:
sudo chmod +x plesk-installer
Now run the script with the command below to install the Plesk:
sudo ./plesk-installer
You will be asked some questions. First, you need to agree with the terms of services by pressing F. Second, to send information about upgrading and installation issues, enter Y or N by your will.
In the next step, you need to choose the type of Plesk installation on AlmaLinux 8. Enter F for the recommended installation.
Then, Enter F for upgrading software packages.
When your installation is completed, in your output you will see:
Output
Components and product check results:
Installation is finished
                                   Congratulations!
        The installation has been finished. Plesk is now running on your serve
        To complete the configuration process, browse either of URLs:
          * https://amazing-borg.server-ip-address.plesk.page/login?secret=ZnE_85M09M2gxLYPfn1lOQGO-v6DkIHnXQbVC3qqkWuKGw
          * https://server-ip-address/login?secret=ZnE_85M0aH9M2gxLYPfn1lOQGO-v6DkIXQbVC3qqkWuKGw
        Use the username 'admin' to log in. To log in as 'admin', use the 'ple login' command.
        You can also log in as 'root' using your 'root' password.
        Use the 'plesk' command to manage the server. Run 'plesk help' for morinfo.
        Use the following commands to start and stop the Plesk web interface:
        'service psa start' and 'service psa stop' respectively.
        If you would like to migrate your subscriptions from other hosting pan
        or older Plesk version to this server, please check out our assistance
        options: https://www.plesk.com/professional-services/
The changes were applied successfully.
Note: Remember that the URL link provided above on AlmaLinux 8 will be used to access the Plesk web interface for the first time.
Configure Plesk
Now you need to check the PSA systemd service file and edit it to avoid PSA problems on startup.
Open the file with your favorite text editor, here we use vi:
sudo vi /etc/systemd/system/multi-user.target.wants/psa.service
Under the service section, change the type directive to the simple:
...
[Service]
Type=simple
RemainAfterExit=yes
ExecStart=/bin/true
When you are done, save and close the file.
Reload the system daemon with the command below:
sudo systemctl daemon-reload
Start your Plesk service on AlmaLinux 8 with the command below:
sudo systemctl start psa.service
Check that your service is active and running on your server with the command below:
sudo systemctl status psa.service
In your output you will see:
Output
psa.service - Plesk Panel
Loaded: loaded (/usr/lib/systemd/system/psa.service; enabled; vendor prese>
Active: active (exited) since Sat 2021-12-25 03:43:12 EST; 27min ago
Main PID: 116431 (code=exited, status=0/SUCCESS)
Tasks: 0 (limit: 11409)
Memory: 0B
CGroup: /system.slice/psa.service
We assumed that you have enabled firewalld from the requirements. Now you need to allow HTTP traffic through the firewall with the command below:
sudo firewall-cmd --permanent --add-service=http
Reload the firewall to apply the new rules:
sudo firewall-cmd --reload
Access Plesk Web Interface
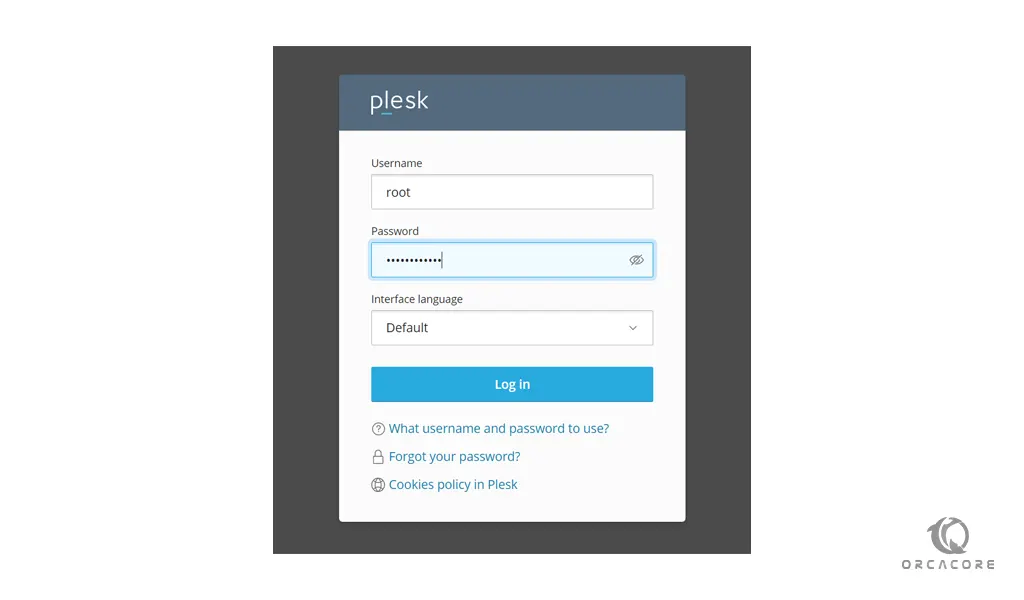
At this point, you can use the URL provided during your installation on almaLinux 8 to access the Plesk web interface.
You will see the Plesk login screen. You can enter your server’s root user and password and press login to continue.
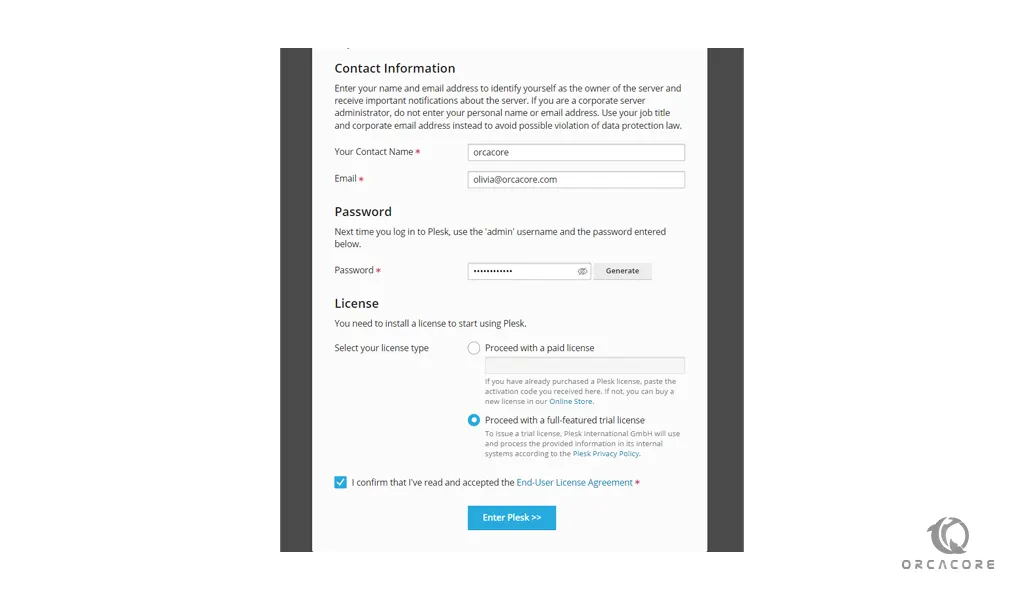
In the next window, you need to set your contact details. Also, you need to set a password for the admin user that next time you want to log in, you can use your Admin user and password.
Next, you will be required to provide the License or continue with the free version(trial version). Then, press the Enter Plesk button.
You will see Plesk welcome dashboard:
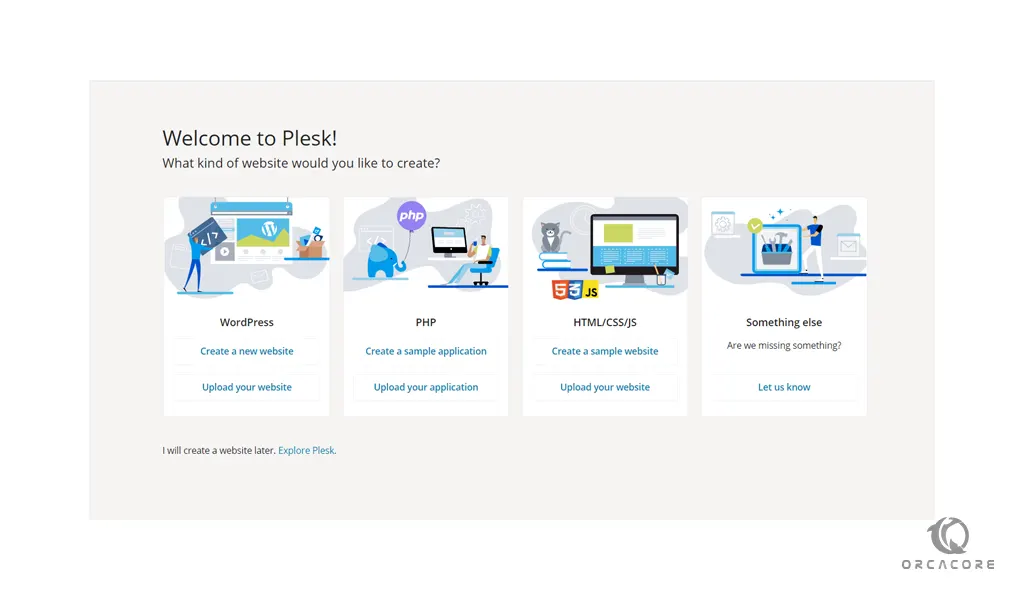
You can skip the introduction and proceed to the Plesk dashboard by clicking “Explore Plesk”.
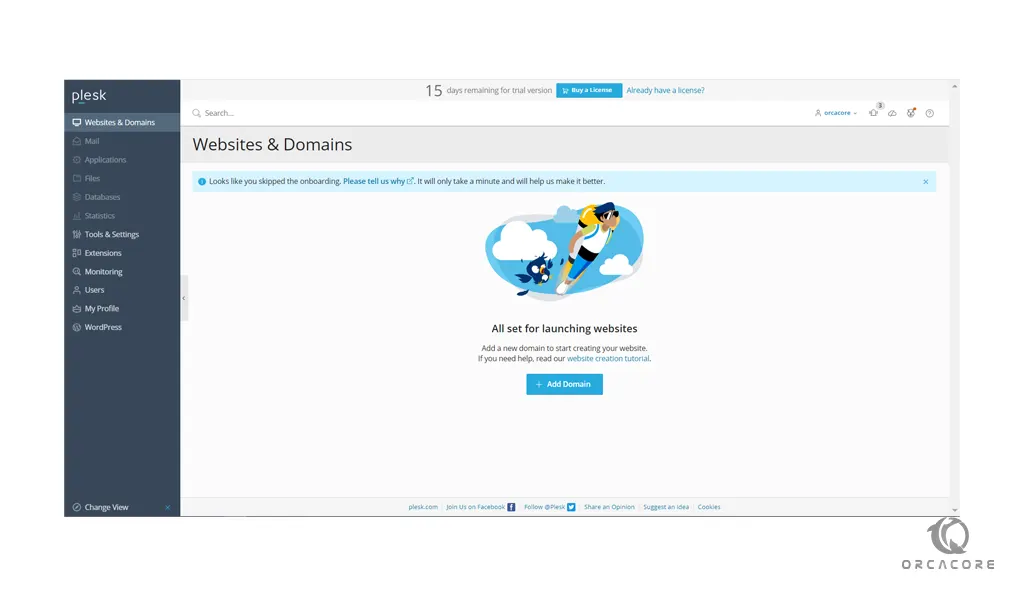
That’s it. From here you can add your domains and enjoy using your Plesk.
Conclusion
At this point, you learn to set up Plesk on AlmaLinux 8.
Hope you enjoy it.
Maybe you will be interested in these articles:
Install and Configure an SVN Server on AlmaLinux 8
Install and Configure GlassFish on AlmaLinux 8