Share your love
Best Steps To Add Slave Server in Virtualizor

In this article, We want to learn how we can Add Slave Server in Virtualizor and manage it from a master server. The master server can manage all items in the slave. therefore, it can add media, create and manage VPS, etc.
Table of Contents
How to add a server to a Virtualizor?
Here we want to describe and clarify how you can Add Slave Server in Virtualizor panel. A master server can control everything on a slave server and there is no need to complete Post-installation items from the slave server. You can do everything from the master. Please enter the master ServerIP:4085 on a browser and log in with the credentials. Then please follow the below steps to Add Slave Server in Virtualizor.
Step 1 – Add Server Group / Region to Virtualizor
In Virtualizor, All servers should be divided into groups. Before adding a slave server, We should create a group. Navigate to the “Servers >> Add Server Group / Region” menu.
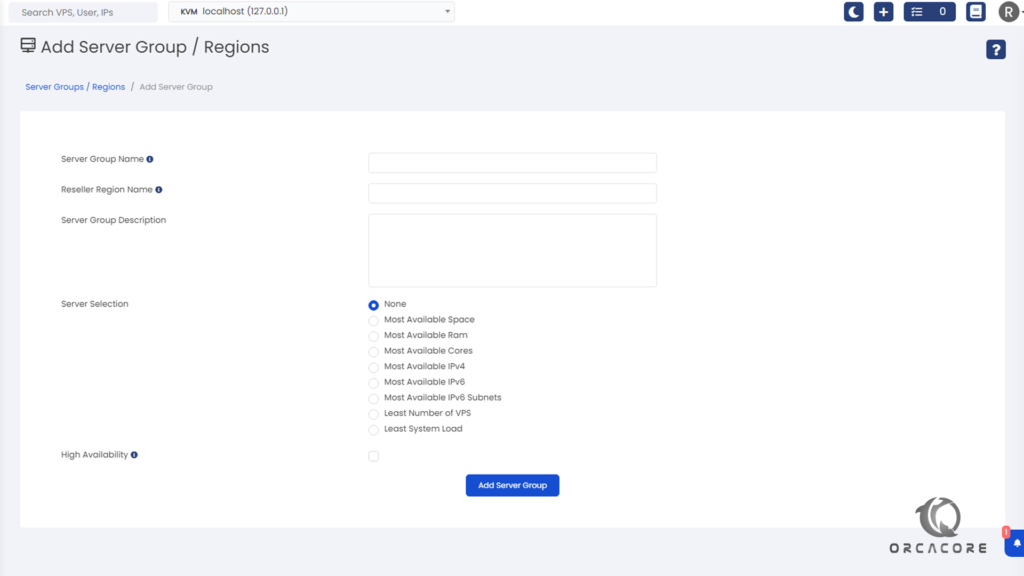
As you see in the image, Define a name for “Server Group Name” based on your division. Also, you can define “Reseller Region Name” that shows this name for our Reseller users.
Now, define a description of this group in the “Server Group Description” box.
Let’s assume we have some servers in this group, If we want to create a new VPS, On which server it should be installed?
You can define a priority from “Server Selection” and a new VPS will be created based on this item.
For installing a new VPS on all servers in this group and it works like a cluster, Please check the “High Availability” option.
Then click on “Add Server Group” to save the created group. Therefore, You can see all groups and regions by selecting the “Servers >> Server Group / Regions” menu.
Step 2 – How to Get Slave Server API
The second step on Add Slave server in Virtualizor shows how to get the slave server API information. It is needed to connect the slave server to our master server. Please enter the slave ServerIP:4085 on a browser and complete login credentials to log in.
On the slave server, Navigate to “Configuration >> Server Info” to get information.
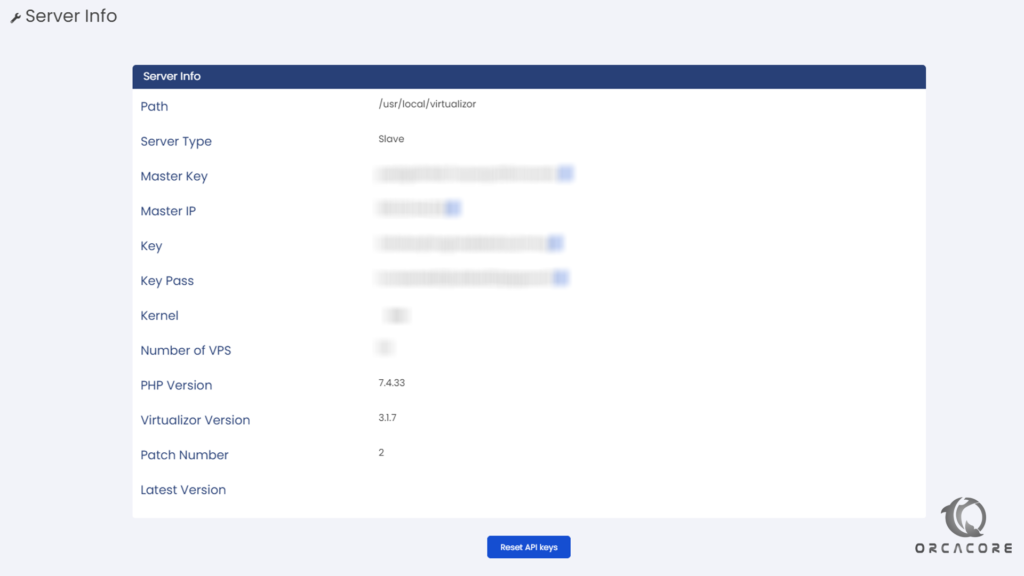
Copy the key pass and save it. We will need it in the next step to connect the slave server to the master Server.
Step 3 – How to add a server to Master Server
Finally, we get all the information, and it’s time to add the Salve server to the master. In the master server navigate to “Servers >> Add server”. Therefore, we are going to complete the information.
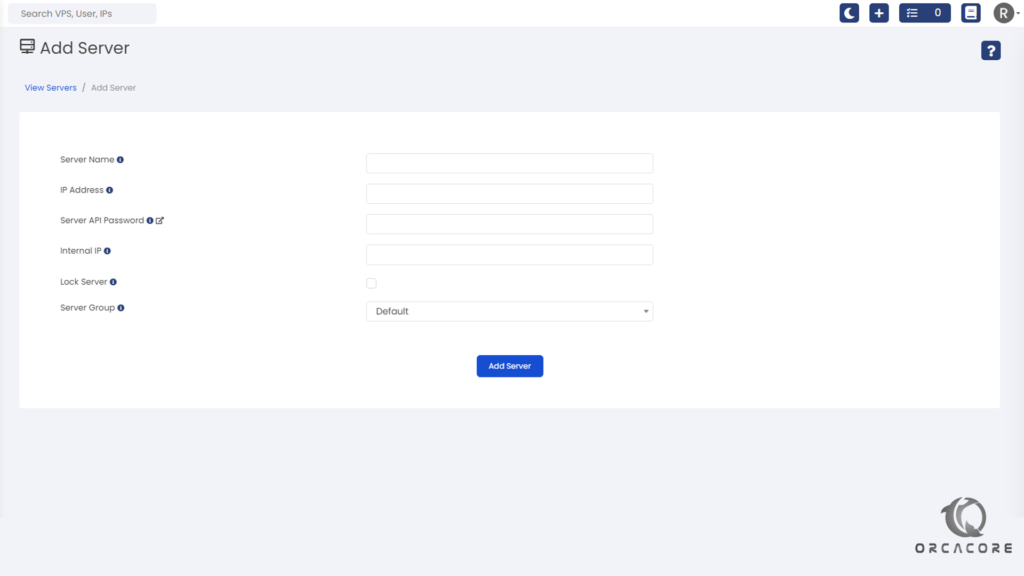
Please enter the “Server Name” as you want. Then enter the slave server “IP Address”. From the previous step, complete the “Server API Password” and if you want to define “Internal IP”, You can enter the IP in the field.
Click on the “Lock Server” checkbox if you want to lock the slave server. This option allows you to lock the slave server and avoid any new VPS installation until the server will be ready.
At the end, select “Server Group” from the drop-down list. (Defined in Step 1).
Click on “Add Server” to add the new slave server in Virtualizor. Also, you can see all servers in the “Servers >> List Server” menu.
Conclusion
In this tutorial from the Virtualizor tutorials section, we learned how to create a server group and region, Get slave server information, and add a slave server to the master. Please don’t hesitate to contact us by commenting post if you have any questions about this post.