Share your love
Easy Steps To Change Mouse Speed on Windows 10
In this, guide on the Orcacore website, you will learn How To Change Mouse Speed on Windows 10. Mouse Speed determines how fast the cursor moves in response to the movements of the mouse. With increased sensitivity, the mouse moves faster and requires less effort to get across the screen. With a low mouse sensitivity, a mouse moves slower and requires more effort to get across the screen, but offers better precision for users not familiar with a mouse.
Table of Contents
Steps To Change Mouse Speed on Windows 10
To complete this guide for changing Windows Speed Cursor, you must log in to your Windows Client and follow the steps below.
Change Windows Mouse Settings
Using the mouse properties under the Windows settings, you can make the mouse move faster or slower.
Windows Settings (formerly PC settings) is a component of Microsoft Windows. It allows users to adjust their user preferences, configure their operating system, and manage their connected devices.
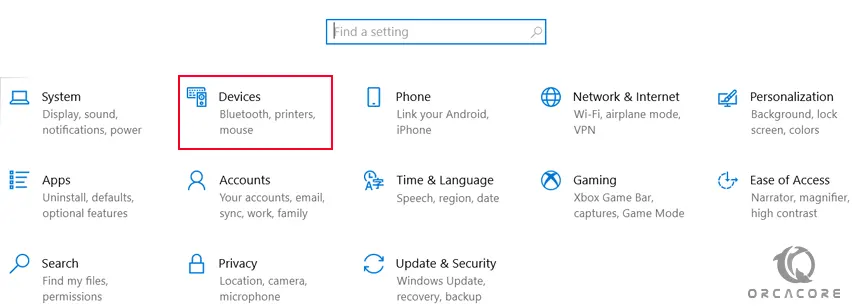
First, search for Settings App from your search bar and Go to the Devices category.
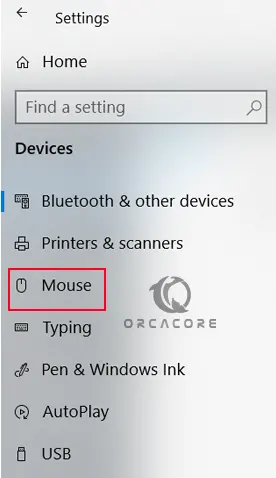
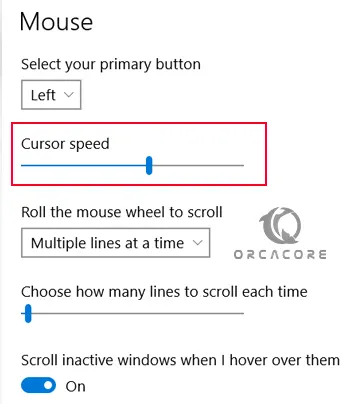
From the Device setting, click Mouse.
From there, you can adjust the pointer speed slider on Windows 10 as shown in the below image.
That’s it, you are done.
Note: When increasing the mouse speed you don’t have to move your hand so far to move the mouse across the screen. If you are working on graphic designing software, photoshop, for example, a slower mouse speed might work better for you.
You can always reset the changes by using the same instructions.
Conclusion
At this point, you have learned to Change Mouse Speed Settings or Cursor Speed on Windows 10. Adjusting the mouse speed in Windows 10 helps improve accuracy, comfort, and productivity. It allows smoother navigation, better control for gaming or graphic design, and reduces strain on your wrist during extended use.
Hope you enjoy it. Please subscribe to us on Facebook, YouTube, and X.
You may also like these articles:
How To Install Python on Windows 10
Set up Multiple RDP sessions on Windows Server 2022
Install Wireshark on Windows Server 2025
Install ClamAV on Windows 10 / 11
Disable Real-time Protection on Windows 11
FAQs
Why is my mouse too fast or too slow?
This can be due to wrong sensitivity settings, a dirty sensor, or an outdated driver. Adjust the speed in settings or clean the mouse for better performance.
Does changing mouse speed affect gaming?
Yes, gamers often customize DPI (Dots Per Inch) and Windows pointer speed for precise aiming and smoother gameplay.
What if my mouse speed changes randomly?
This could be due to driver issues, Windows updates, or software conflicts. Try reinstalling the mouse driver or checking for malware.