Share your love
Configure Default Site in IIS Server 2019
In this article, we want to teach you How To Configure the Default Site in IIS Server 2019.
By installing IIS, a website called Default Web Site is created by default, which can be used to test the health of IIS.
This website is configured to respond to user requests from the HTTP protocol over port 80.
In this guide, you are going to use the default site by getting to know where its document root is and how to host a simple website within it.
How To Configure the Default Site in IIS Server 2019
First, you need to install IIS on your Windows server. To do this, you can follow our article about setting up IIS on Windows Server 2019.
To configure the default site in IIS, follow the steps below.
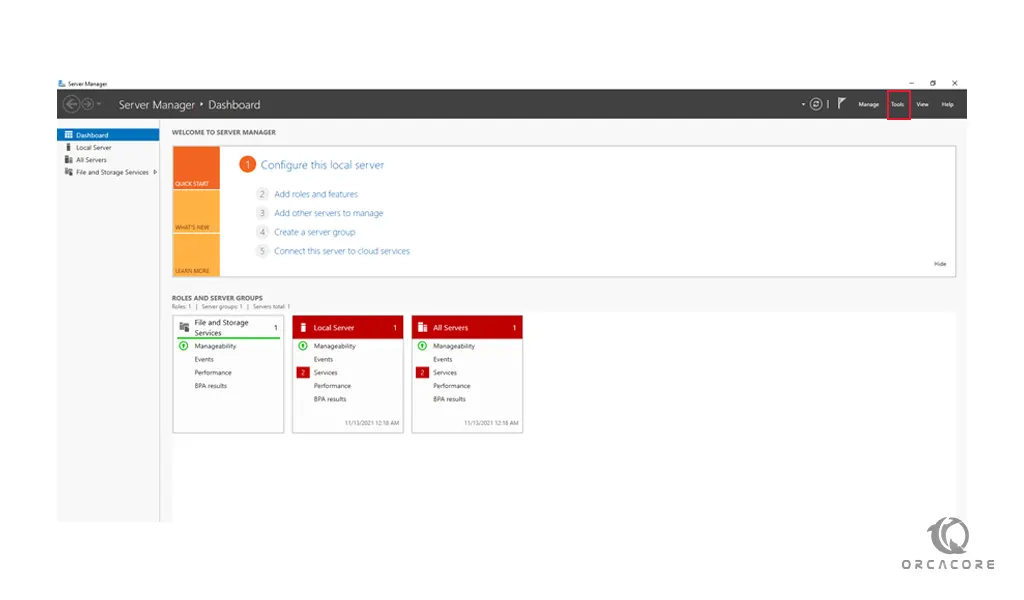
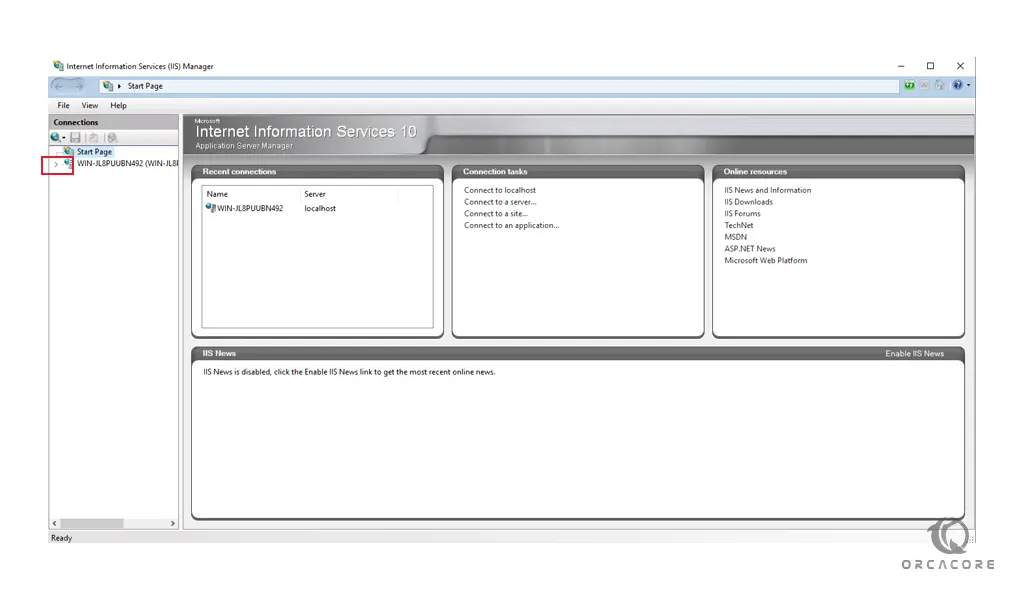
1- Open your server manager click on the tools option and choose the Internet Information Services (IIS) Manager.
2- You need to expand the server name:
3- Then, expose the default site on the IIS server 2019:
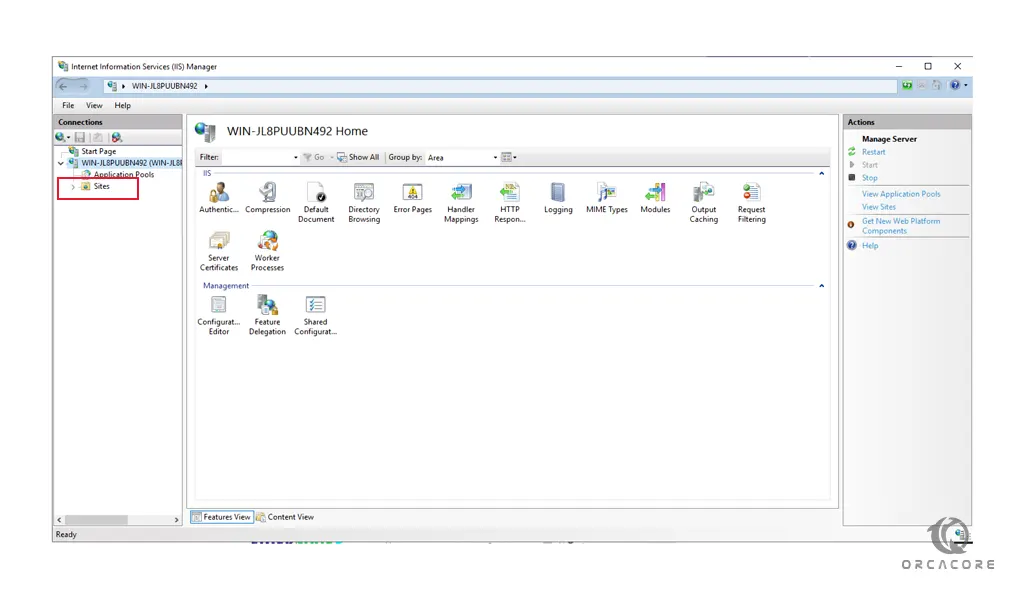
You will see the Default website icon:
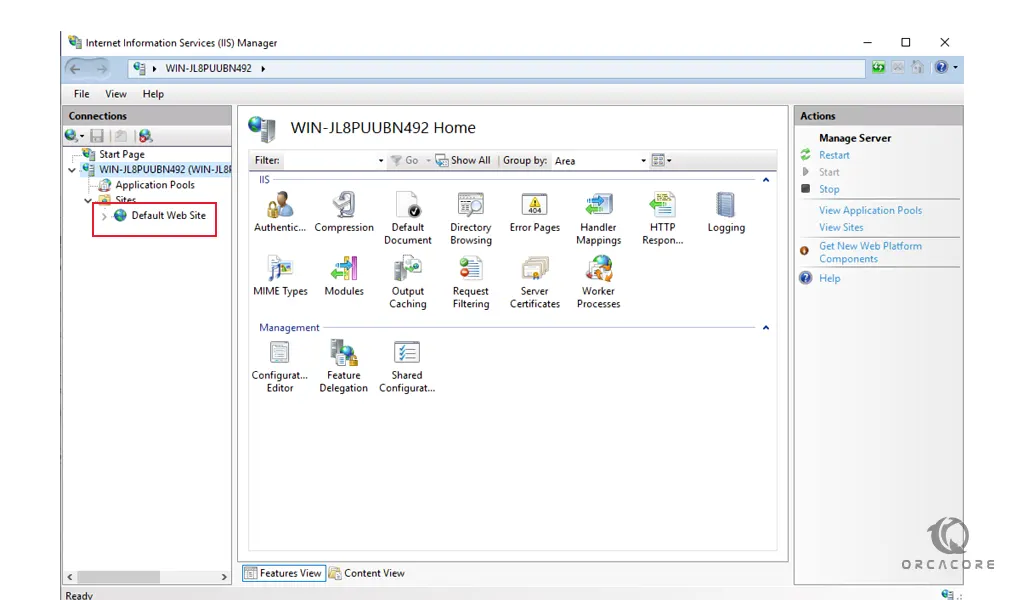
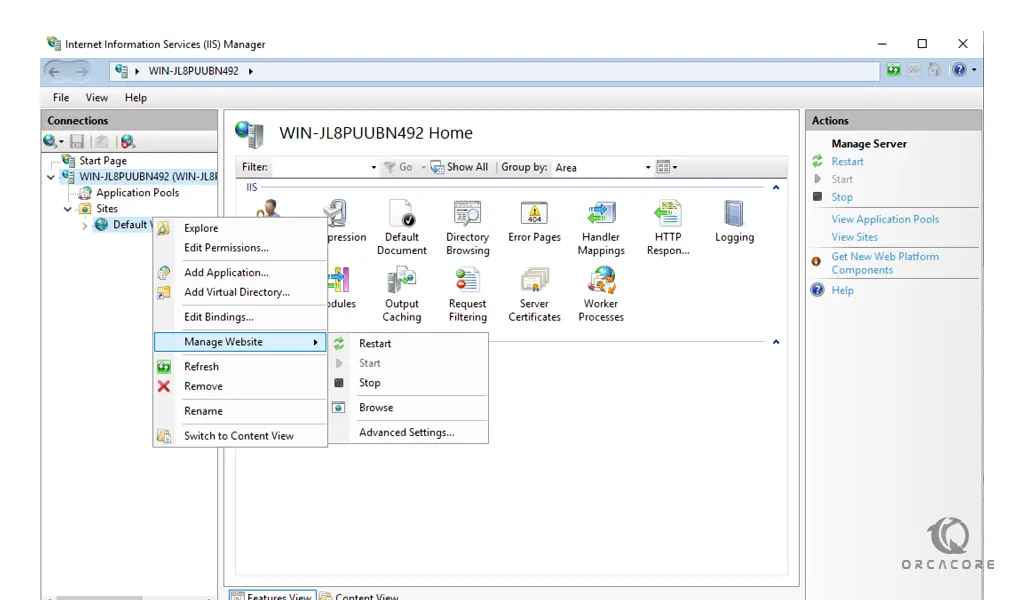
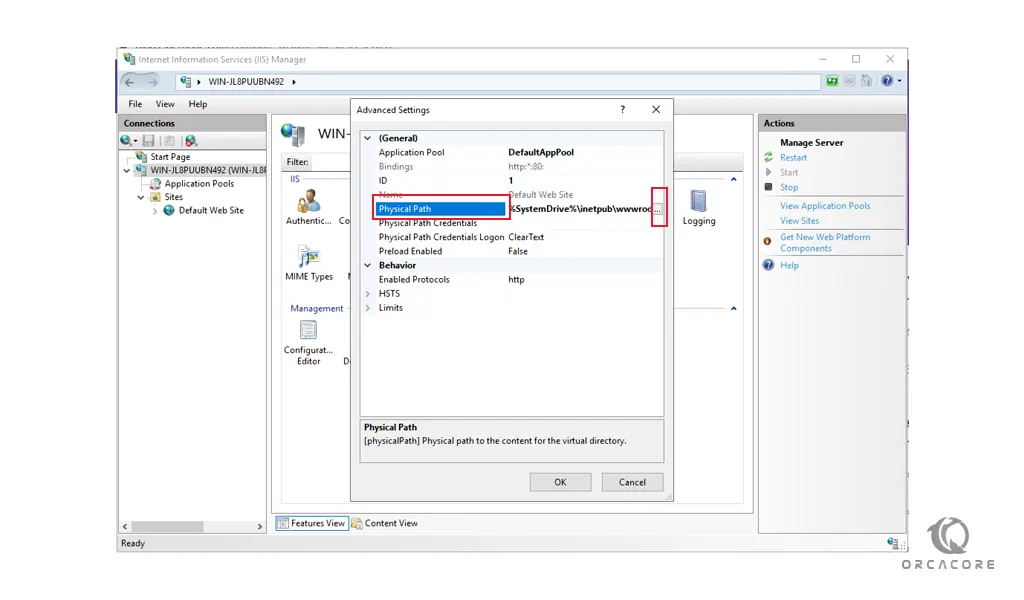
The default site on IIS server 2019 stores its files in a particular directory. To display this information, double click on it, choose the Manage Website then, choose the Advanced settings:
This will open a window with all of the Default Sites information such as files or Document Root. If you click on “Physical Path”, you can choose a different document root.
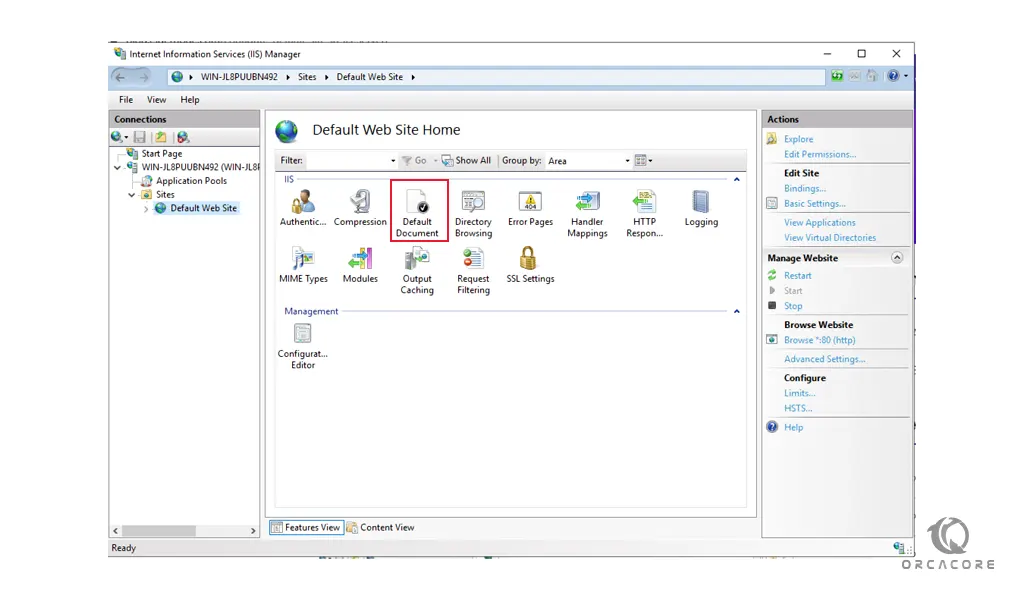
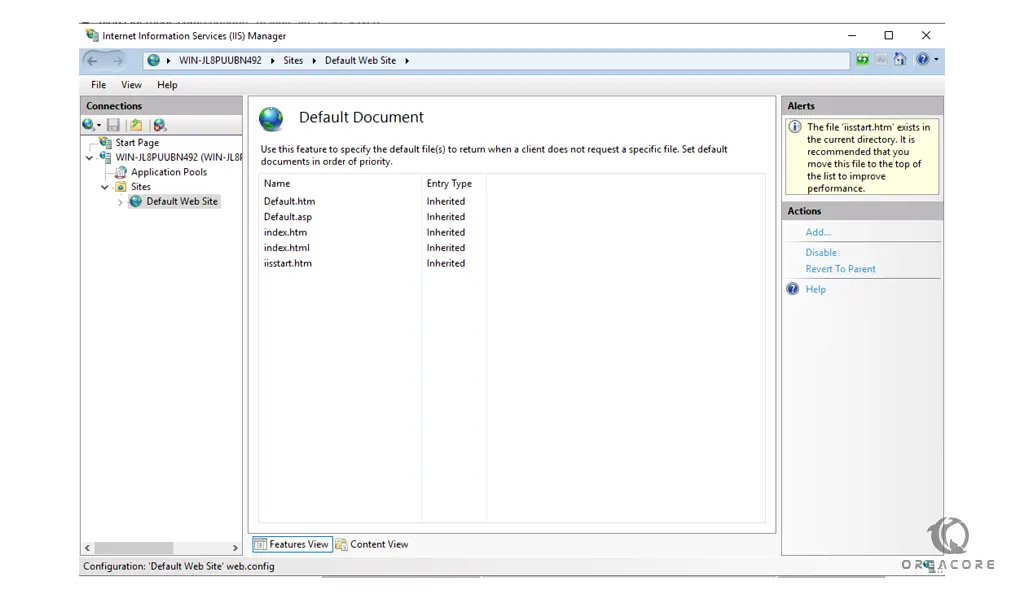
4- The “Default documents” feature in IIS Server 2019 helps you specify the default files to return when a client does not request a specific file from the web server. Double-click on it to check the files shown.
You will see:
5- Now create an index.html file in the document root and check if it gets loaded in the IIS server 2019.
To do this, open your notepad and add the following HTML code to it:
<html>
<head>
<title>Welcome To IIS!</title>
</head>
<body>
<h1>Success! It is working correctly!</h1>
</body>
</html>
Then, save it to the below path:
This PC>Local Disk(C):>inetpub>wwwrootIn your web browser type your server’s IP address:
http://server-ip-addressYou will see a page like this:

If you see this page means that it loaded successfully.
Conclusion
At this point, you learn to Configure the Default Site in IIS Server 2019 to test the health of IIS.
Hope you enjoy it.