Share your love
How To Create a cPanel account on WHM

In this article, we want to teach you How To Create a cPanel account on WHM.
cPanel is an online Linux-based graphical interface (GUI) used as a control panel to simplify website and server management.
It allows you to publish websites, manage domains, organize web files, create email accounts, and more.
cPanel has two interfaces, a user interface called cPanel and a server management interface called Web Host Manager (WHM).
Create a cPanel account on WHM
You can follow the steps below to create a cPanel account.
First, you need to log in to your WHM as a root user.
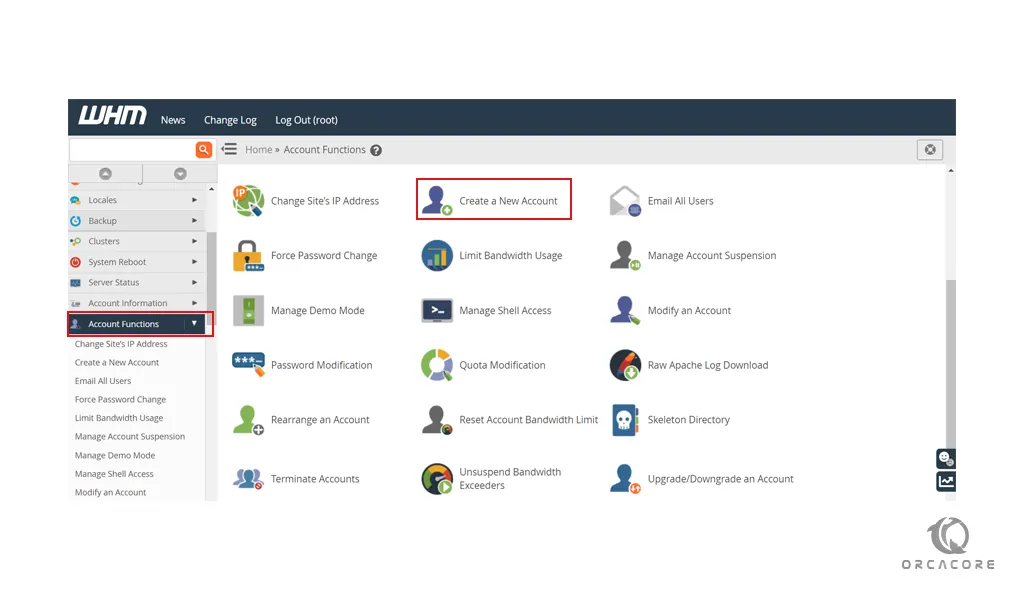
Then, from your WHM search for the Account functions and click on Create a new Account.
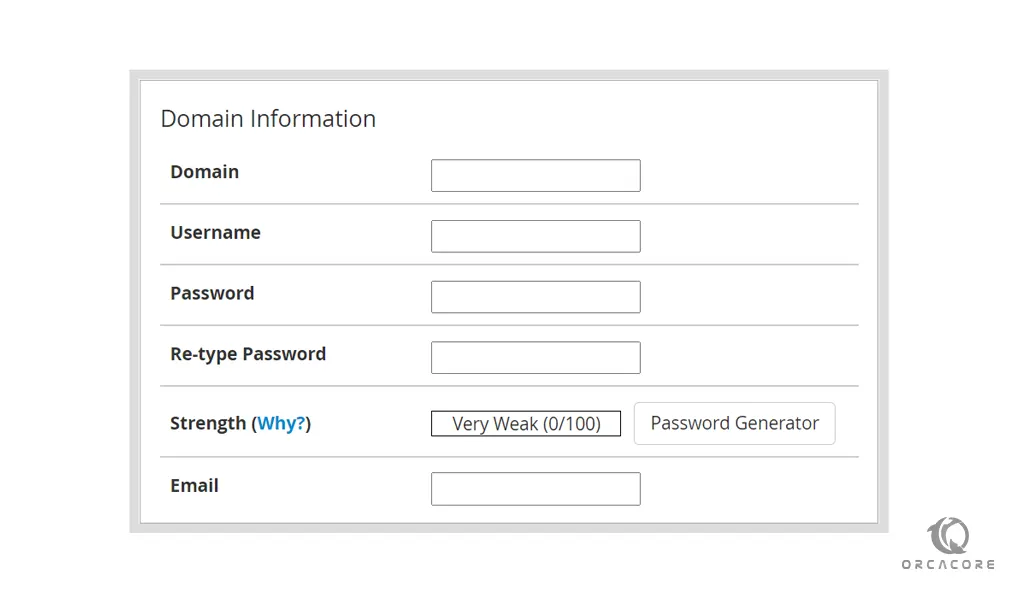
The first section is for your Domain Information. Set your Domain and username and password and provide your email address.
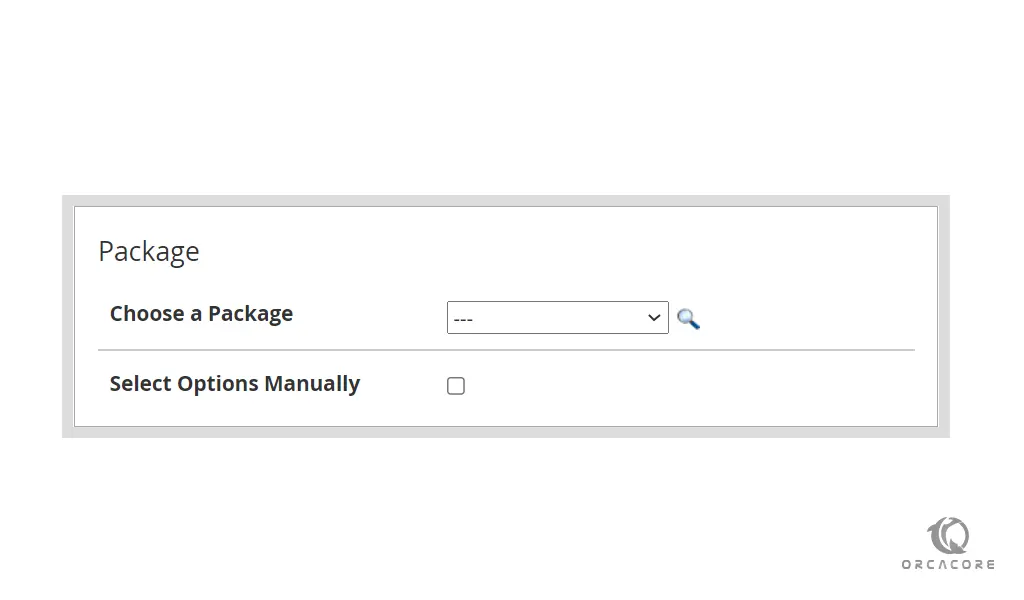
In the next section, you need to choose a package for your cPanel account. You can set your package manually too.
If you want to know how to create a package you can follow our guide about How To create a Package on cPanel.
At this point, you will see some sections that are optional.
In the settings section, you can modify CGI Access, cPanel Theme, Locale, etc.
From the Mail Routing Settings, you can select your desired mail exchanger.
Next, in the Reseller settings, you can make your cPanel account a reseller.
A reseller account is a special cPanel account that gives unique privileges to its users. Essentially, it’s a cPanel account that sells other cPanel accounts.
In the end, in the DNS settings, you can enable or disable DKIM and SPF on your cPanel account and modify your nameservers.
When you are done, click on the Create button to create your cPanel account.
Conclusion
WHM gives you a lot more control and flexibility when managing either a few very popular and resource-intensive sites or a large number of sites.
At this point, you learn to create a cPanel account on WHM.
I hope you enjoy it.