Share your love
How To Install and Configure Cacti on Centos 7
In this tutorial, we want to teach you How To Install and Configure Cacti on Centos 7.
Cacti is an open-source, web-based network monitoring and graphing tool designed as a front-end application for the open-source, industry-standard data logging tool RRDtool. It allows a user to poll services at predetermined intervals and graph the resulting data.
Steps To Install and Configure Cacti on Centos 7
To install Cacti, you must log in to your server as a non-root user with sudo privileges. To do this, you can follow our guide the Initial Server Setup with Centos 7.
Then, you need to set up a basic firewall with firewalld. To do this, you can check our guide Set up a Firewall with firewalld on Centos 7.
Also, you must disable SELinux. You can follow How To Disable SELinux on Centos.
Now follow the steps below to complete this guide.
Enable Repos on Centos 7
At this point, you need to enable the Epel and Remi repositories on your server.
Install Epel Repository
First, visit the Fedora Downloads page and copy the latest download link of the Epel latest file and use the following command to enable it on your server:
sudo rpm -Uvh https://dl.fedoraproject.org/pub/epel/epel-release-latest-7.noarch.rpm
Install Remi Repository
Then, copy the link of Remi and get the Remi repository:
sudo wget http://rpms.famillecollet.com/enterprise/remi-release-7.rpm
Next, run the command below to install the Remi Repository on Centos 7:
sudo rpm -Uvh remi-release-7.rpm
Update your local package index:
sudo yum update -y
List your repositories with the command below:
sudo yum repolist
Output
repo id repo name status
base/7/x86_64 CentOS-7 - Base 10,072
*epel/x86_64 Extra Packages for Enterprise Linux 7 - x86_64 13,754
extras/7/x86_64 CentOS-7 - Extras 512
remi-safe Safe Remi's RPM repository for Enterprise Linux 7 - x86_ 4,822
updates/7/x86_64 CentOS-7 - Updates 3,875
repolist: 33,035
Install Apache, MariaDB, and PHP on Centos 7
At this point, you must install the Apache web server, MariaDB, and PHP on your server.
First, use the following command to install Apache:
sudo yum install httpd httpd-devel
Enable and Start the Apache service by running the commands below:
# sudo systemctl enable httpd
# sudo systemctl start httpd
Then, use the command below to install MariaDB on Centos 7:
sudo yum install mariadb-server
Enable and Start the MariaDB service:
# sudo systemctl enable mariadb
# sudo systemctl start mariadb
Now you need to run the secure script for your MariaDB:
mysql_secure_installation
Enter current password for root (enter for none):
Set root password? [Y/n] y
New password:
Re-enter new password:
Remove anonymous users? [Y/n] y
Disallow root login remotely? [Y/n] y
Remove test database and access to it? [Y/n] y
Reload privilege tables now? [Y/n] y
Finally, install PHP and the required packages on Centos 7 with the following command:
sudo yum-config-manager --enable remi-php81
sudo yum -y install php
sudo yum install php-mysql php-pear php-common php-gd php-devel php-mbstring php-cli php-intl php-snmp
Install SNMP and RRDTool on Centos 7
At this point, you must install the SNMP and RRDTool with the commands below:
sudo yum install net-snmp net-snmp-utils net-snmp-libs rrdtool
Enable and start your SNMP service:
#sudo systemctl enable snmpd
#sudo systemctl start snmpd
Create a Cacti Database on Centos 7
At this point, you need to create a Cacti database and user. To do this, log in to your MariaDB shell with the command below:
sudo mysql -u root -p
You need to create a database named Cacti from the MariaDB console on Centos 7 with the following command:
MariaDB [(none)]> CREATE DATABASE cacti;
Now create a user named cacti_user and choose a strong password for your user with the following command:
MariaDB [(none)]> GRANT ALL ON cacti.* TO cacti_user@localhost IDENTIFIED BY 'password';
Then, flush the privileges with the following command:
MariaDB [(none)]> FLUSH PRIVILEGES;
Exit from the MariaDB console with the following command:
MariaDB [(none)]> exit
Here you need to create a database user who should have access to the mysql.time_zone_name Table. So you should import the mysql_test_data_timezone.sql to the MySQL database first:
mysql -u root -p mysql < /usr/share/mysql/mysql_test_data_timezone.sql
Next, log in to your MariaDB shell again:
sudo mysql -u root -p
Grant access to the cacti database user and flush privileges:
MariaDB [(none)]> GRANT SELECT ON mysql.time_zone_name TO cacti_user@localhost;
MariaDB [(none)]> flush privileges;
MariaDB [(none)]> exit
Configure MariaDB settings for Cacti
At this point, you need to modify database parameters for better performance. Open the following file with your favorite text editor, here we use vi:
sudo vi /etc/my.cnf.d/server.cnf
Add the following lines to the [mysqld] section.
collation-server = utf8mb4_unicode_ci
init-connect='SET NAMES utf8'
character-set-server = utf8mb4
max_heap_table_size = 128M
max_allowed_packet = 16777216
tmp_table_size = 64M
join_buffer_size = 64M
innodb_file_per_table = on
innodb_buffer_pool_size = 512M
innodb_doublewrite = ON
innodb_additional_mem_pool_size = 80M
innodb_lock_wait_timeout = 50
innodb_flush_log_at_trx_commit = 2
innodb_file_format = Barracuda
innodb_large_prefix = 1
When you are done, save and close the file.
Restart the MariaDB service to apply the changes:
sudo systemctl restart mariadb.service
Set up Cacti Network Monitoring Tool on Centos 7
At this point, you can use the following command to install Cacti:
sudo yum -y install cacti
When your installation is completed, Import the default cacti database file to the created database. Switch to your Cacti directory:
cd /usr/share/doc/cacti-1.2.21
Import Default Cacti Database
Then, import the SQL database file with the following command:
mysql -u root -p cacti < cacti.sql
Now you need to edit the Cacti configuration file on Centos 7. Open the file with your favorite text editor, here we use vi:
sudo vi /usr/share/cacti/include/config.php
Modify database details.
$database_type     = 'mysql';
$database_default  = 'cacti';
$database_hostname = 'localhost';
$database_username = 'cacti_user';
$database_password = 'password';
$database_port     = '3306';
$database_ssl      = false;
When you are done, save and close the file.
At this point, you need to set cron for Cacti on Centos 7.
Open the Cacto cron file:
sudo vi /etc/cron.d/cacti
Uncomment the following line.
*/5 * * * * apache /usr/bin/php /usr/share/cacti/poller.php > /dev/null 2>&1
When you are done, save and close the file.
Configure Apache for Cacti on Centos
At this point, you need to configure apache to work with Cacti.
Open the Cacti configuration file:
sudo vi /etc/httpd/conf.d/cacti.conf
Change “Require host localhost” to “Require all granted” and “Allow from localhost” to “Allow from all.”
<Directory /usr/share/cacti/>
<IfModule mod_authz_core.c>
# httpd 2.4
Require all granted
</IfModule>
<IfModule !mod_authz_core.c>
# httpd 2.2
Order deny,allow
Deny from all
Allow from all
</IfModule>
</Directory>
When you are done, save and close the file.
Edit php.ini file on Centos
Here you need to edit the php.ini file and change the time zone.
sudo vi /etc/php.ini
date.timezone = your-timeZone
Also, Find the lines below and change the values as shown below:
memory_limit = 512M
max_execution_time = 300
When you are done, save and close the file.
Restart apache, MariaDB, and SNMP to apply the changes:
sudo systemctl restart httpd.service
sudo systemctl restart mariadb.service
sudo systemctl restart snmpd.service
Configure Firewall for Cacti
At this point, you need to allow HTTP traffic through the firewall:
firewall-cmd --permanent --zone=public --add-service=http
Reload firewall:
firewall-cmd --reload
Access Cacti Web Interface
At this point, you can continue your Cacti installation on Centos 7 from the web interface by typing your server’s IP address in your web browser followed by cacti:
http://your-server-IP-address/cacti/
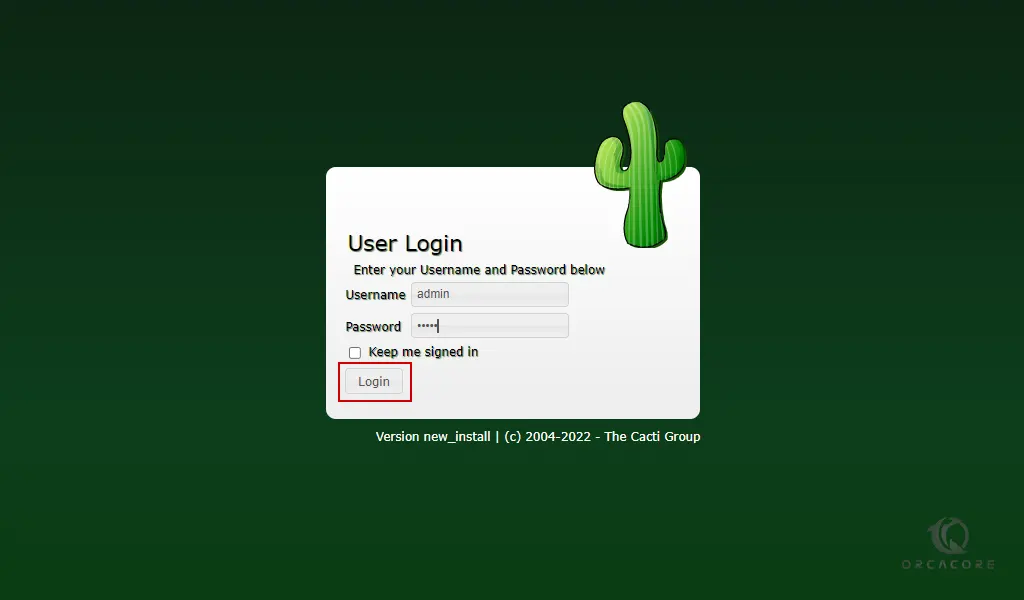
You will see the Cacti login screen. Enter the default username and password as admin and click Login.
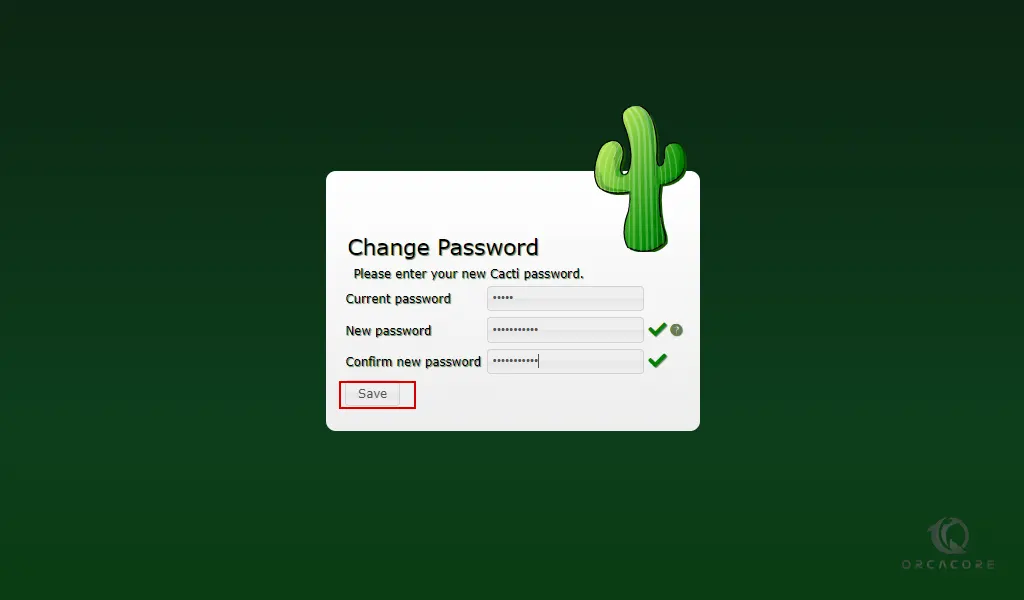
Then, you need to change the current default password for Cacti and click save.
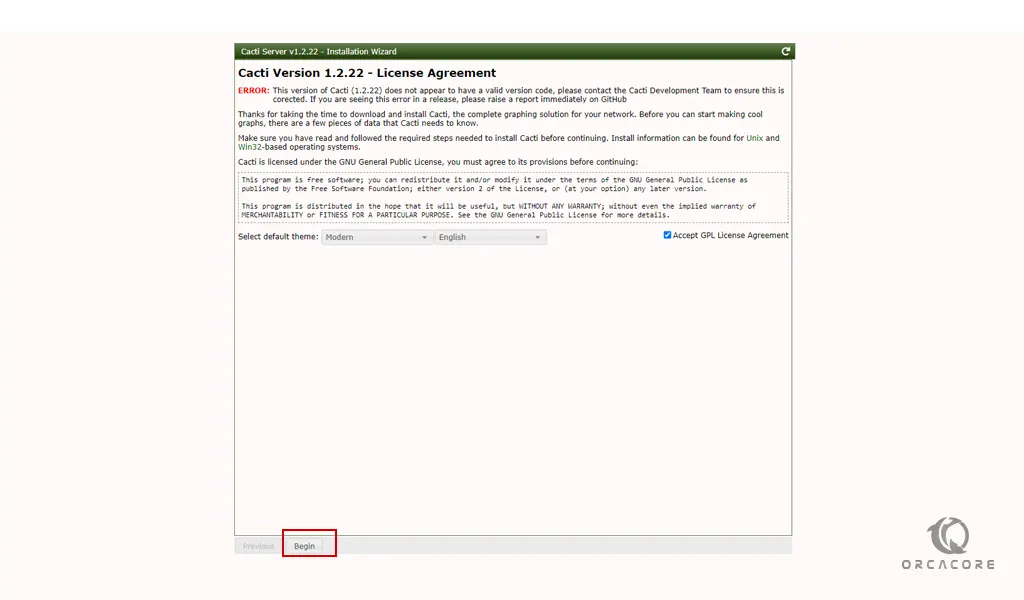
Next, you will see the license agreement screen. Select your desired theme, and language,
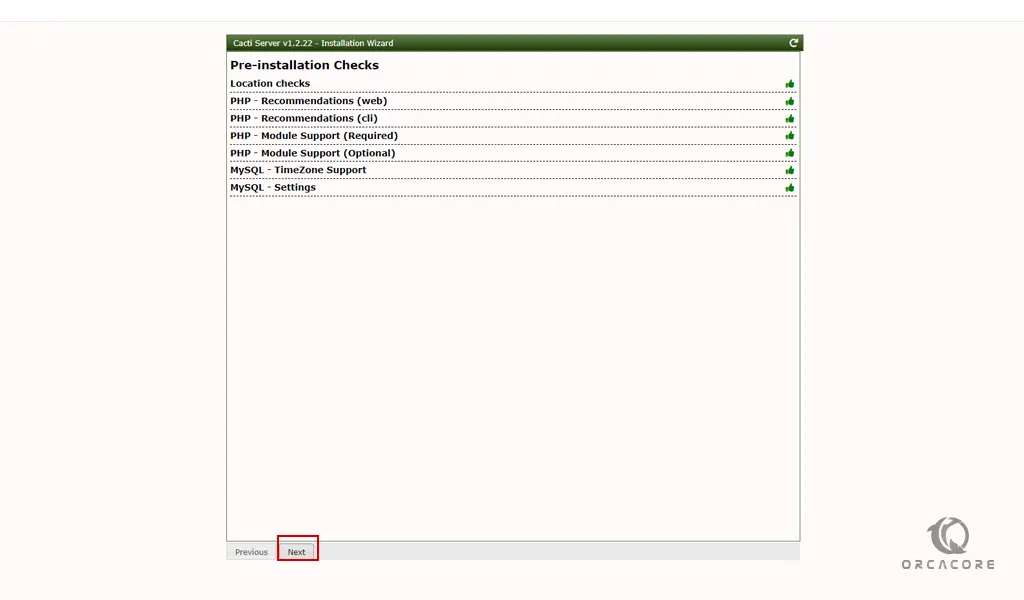
In the Next step, the installation wizard will check that all the required things for Cacti work are in place on Centos 7. If any of the requirements are not met the same will reflect on your screen. If we have to fulfill the same then only we will be able to move forward.
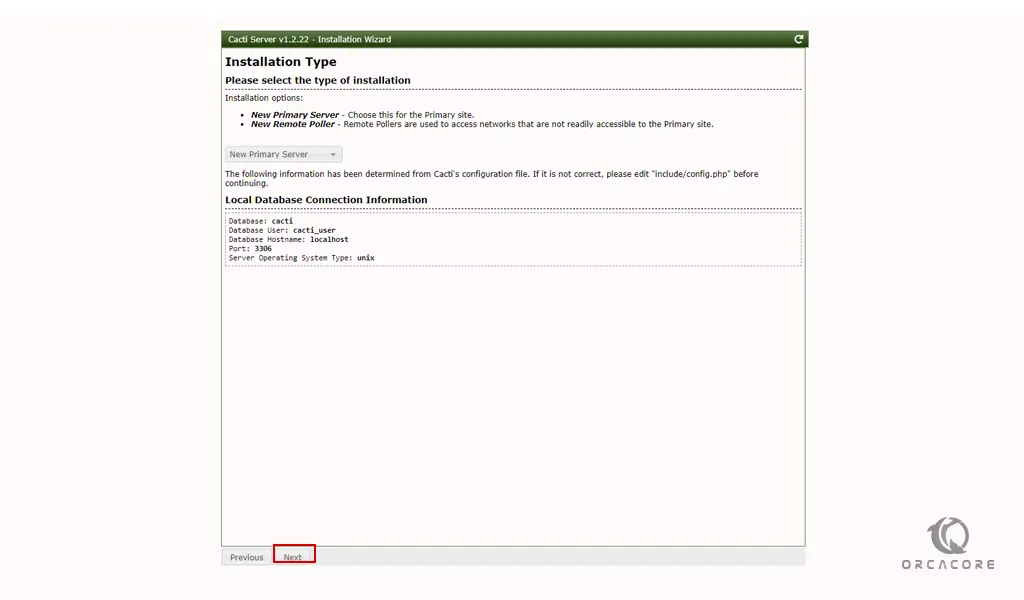
On the next screen, you will see that by default let the “New Primary Server” be selected because it is an initial server that is going to monitor other devices. Also, check your local database connection information, if everything is correct click Next to continue.
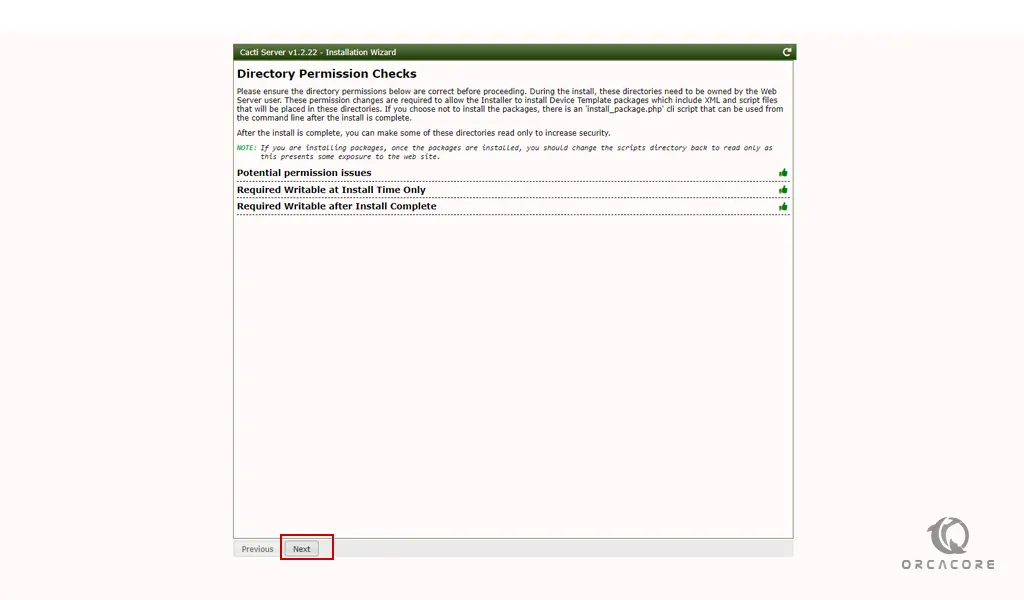
In the next step, the system will ensure all the necessary permissions required by Cacti to access files are set. Click next.
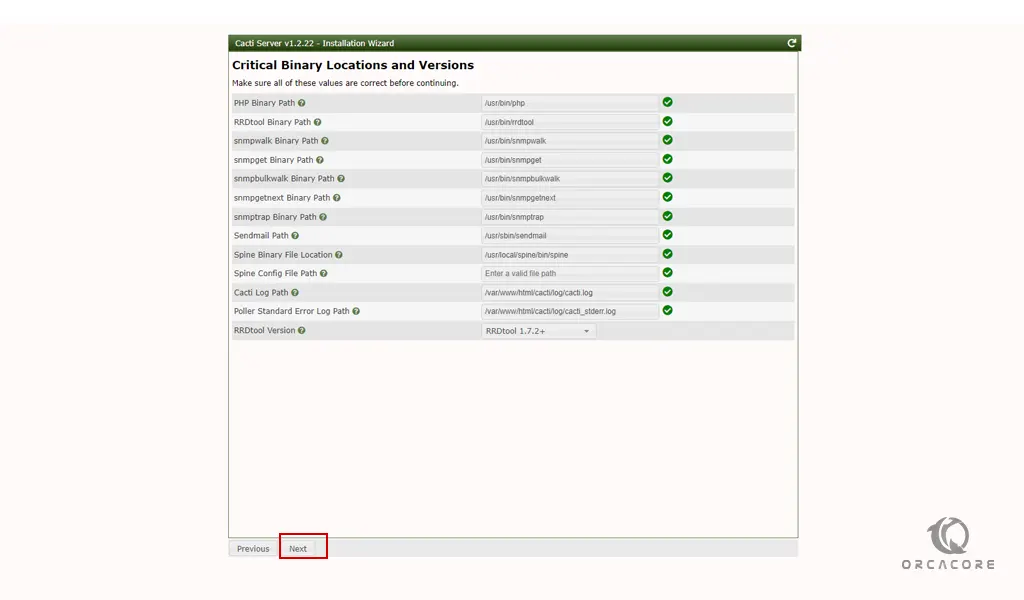
Then, you will see the Critical Binary Locations and Versions screen. Make sure all of these values are correct and click Next.
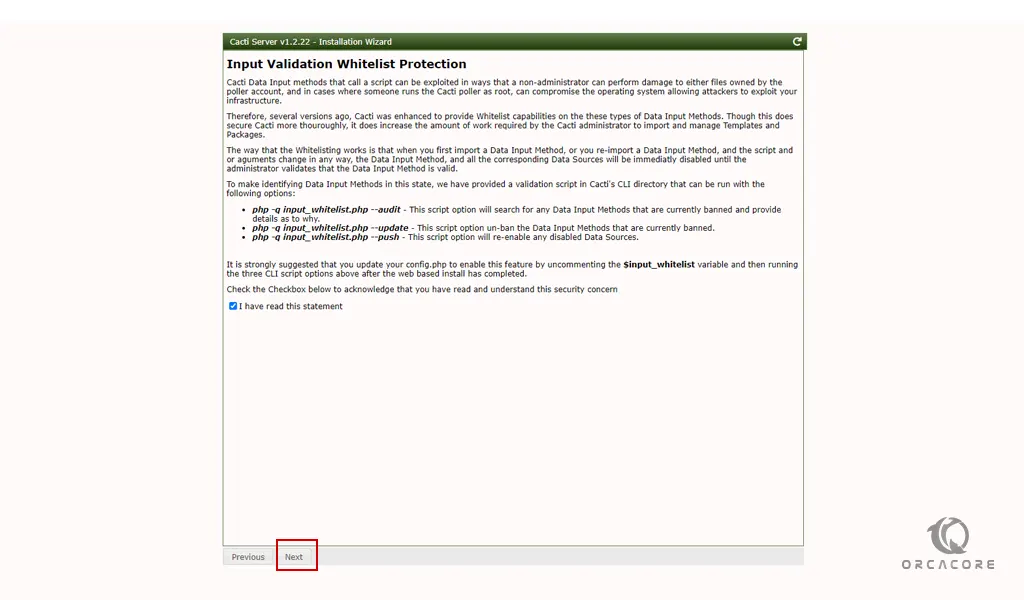
Next, check the box next to the I have read this statement to acknowledge that you have read and understand this security concern and click Next.
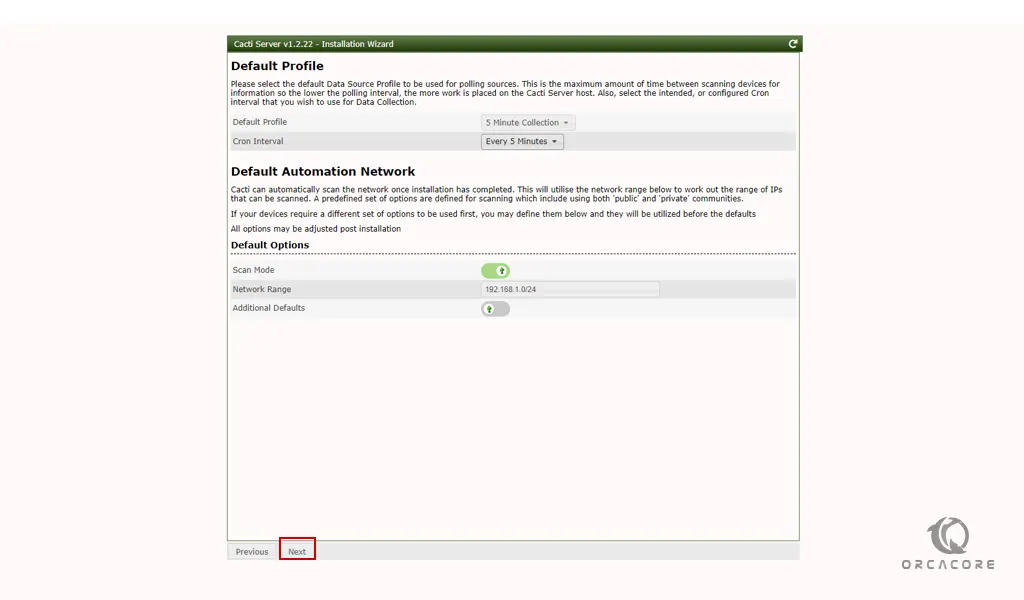
After that, choose the default profile for poller and network details and click Next.
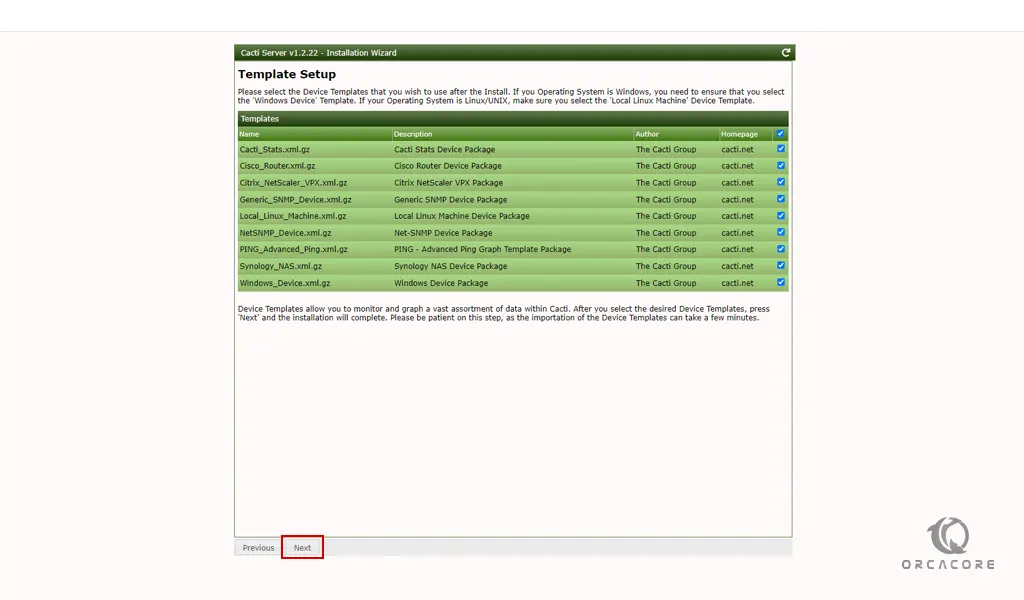
On the Template Setup, Please select the Device Templates that you wish to use after the Install and click Next.
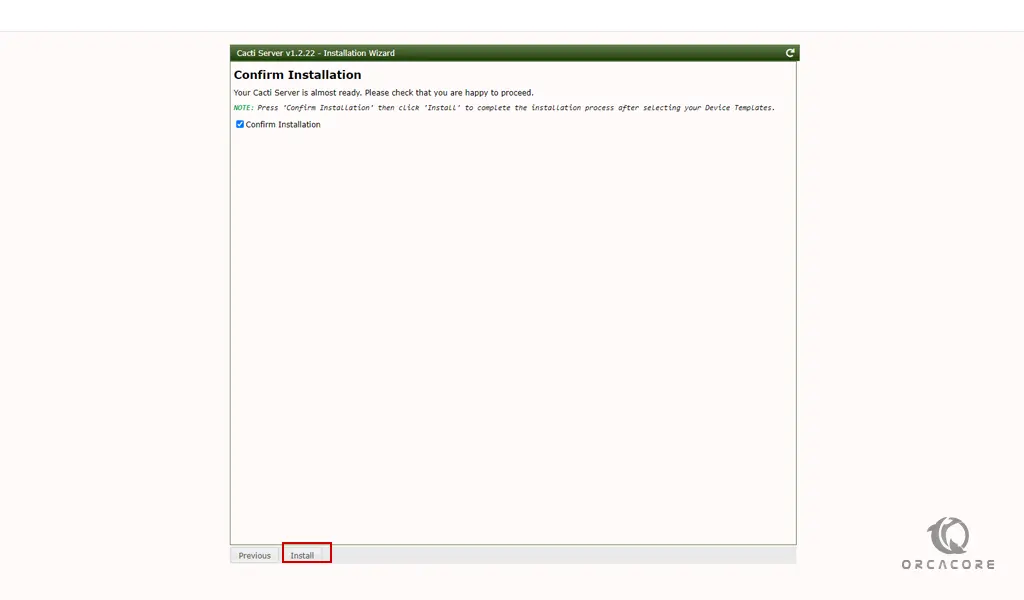
Confirm installation by checking the radio button then click “Install” to begin the installation process.
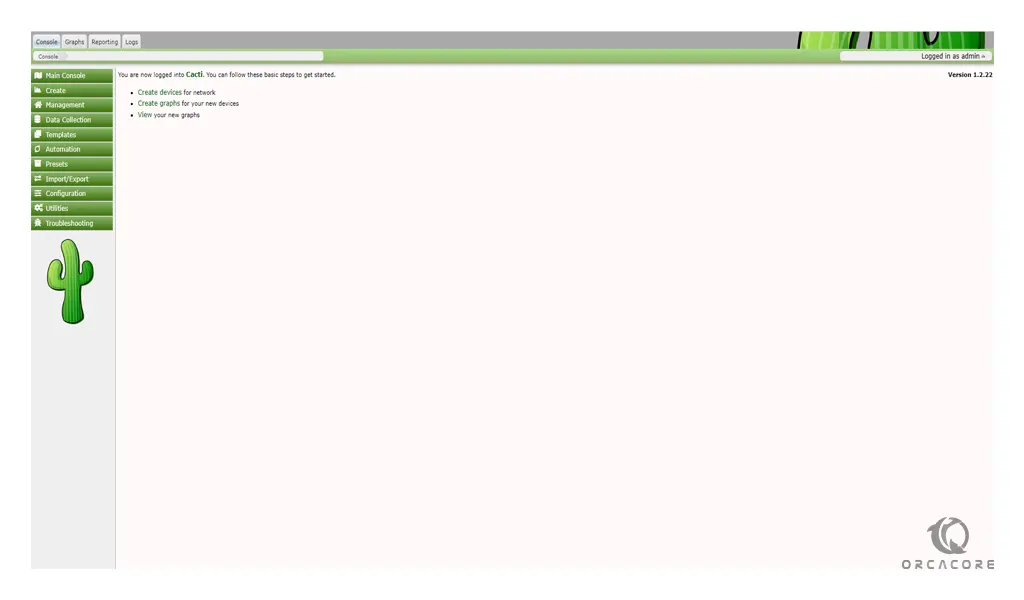
When it is completed, click on the Get Started button and you will see your Cacti dashboard.
Conclusion
Cacti allow users to check the services at an interval of time and resulting in the graph format.
At this point, you learn to install and Configure Cacti on Centos 7.
Hope you enjoy using it.
You may be like these articles: