Share your love
Best Zabbix 6.4 Installation Guide on Ubuntu 22.04 Server

In this tutorial, we want to teach you the Zabbix 6.4 Installation Guide on the Ubuntu 22.04 Server. Install and Configure Zabbix 6.4 on Ubuntu 22.04 and access to Zabbix dashboard through the web interface. Zabbix 6.4 is the new release of the Zabbix monitoring tool that has more improved features. Follow this guide on the Orcacore website to see how to install and access it on Ubuntu 22.
Table of Contents
Zabbix 6.4 Installation Guide on Ubuntu 22.04 Server
To complete Zabbix 6.4 Installation Guide on Ubuntu 22.04 Server, you need some requirements first.
Requirements for Zabbix 6.4
First, you must have access to your server as a non-root user with sudo privileges and set up a basic firewall. To do this, you can follow this guide on Initial Server Setup with Ubuntu 22.04.
Because we will install Zabbix with LAMP Stack, you can visit this guide on Install LAMP Stack on Ubuntu 22.04.
Then, proceed to the following steps to start Zabbix 6.4 Installation Guide on Ubuntu 22.04 Server.
Step 1 – PHP Configuration For Zabbix 6.4
First, you need to install some PHP extensions for Zabbix on Ubuntu 22.04 with the following command:
sudo apt install php-mbstring php-gd php-xml php-bcmath php-ldap php-mysql -yThen, you need to edit the php.ini file and make some configuration changes. Open the file with your favorite text editor, we use vi:
sudo vi /etc/php/8.1/apache2/php.iniIn the file, find the lines below and change the values as shown below:
memory_limit = 256M
upload_max_filesize 16M
post_max_size 16M
max_execution_time 300
max_input_time 300
Also, find the lines below and uncomment them by removing the “:” from the beginning of the line and setting them to:
max_input_vars 10000
date.timezone = Etc/UTCNote: Remember to set your correct timezone.
When you are done, save and close the file.
Then, restart Apache to apply the changes with the command below:
sudo systemctl restart apache2Step 2 – MariaDB for Zabbix 6.4 (Create Database User)
Now you need to create a database and user for the Zabbix on Ubuntu 22.04.
Log in to your MariaDB console with the command below:
sudo mysql -u root -pThen, from your MariaDB shell run the command below to create a Zabbix database:
MariaDB [(none)]> CREATE DATABASE zabbixdb character set utf8 collate utf8_bin;Next, run the following command to create a user with a strong password:
MariaDB [(none)]> CREATE USER 'zabbixuser'@'localhost' IDENTIFIED BY 'password';Here you need to grant all the privileges to the Zabbix database and database user with the following command and enable the log_bin_trust_function_creators option:
MariaDB [(none)]> GRANT ALL PRIVILEGES ON zabbixdb.* TO 'zabbixuser'@'localhost' WITH GRANT OPTION;
MariaDB [(none)]> set global log_bin_trust_function_creators = 1;
Flush the privileges and exit from your MariaDB console with the following commands:
MariaDB [(none)]> FLUSH PRIVILEGES;
MariaDB [(none)]> EXIT;
Step 3 – Install Zabbix 6.4 on Ubuntu 22.04 Server
To start the Zabbix 6.4 Installation Guide on Ubuntu 22.04 Server, you need to visit the Zabbix Downloads page and find your desired version.
Then, use the following commands to add the Zabbix 6.4 repository:
# sudo wget https://repo.zabbix.com/zabbix/6.4/ubuntu/pool/main/z/zabbix-release/zabbix-release_6.4-1+ubuntu22.04_all.deb
# sudo dpkg -i zabbix-release_6.4-1+ubuntu22.04_all.deb
Next, run the system update:
sudo apt updateNow use the following command to install the Zabbix server, frontend, and agent on Ubuntu 22.04:
sudo apt install zabbix-server-mysql zabbix-frontend-php zabbix-apache-conf zabbix-sql-scripts zabbix-agent -yStep 4 – Manage Zabbix Server Service on Ubuntu 22.04
At this point, you need to start and enable your Zabbix server to start on boot with the commands below:
# sudo systemctl start zabbix-server
# sudo systemctl enable zabbix-server
Verify that your Zabbix server is active and running on your Ubuntu 22.04:
sudo systemctl status zabbix-serverIn your output you will see:
Output
● zabbix-server.service - Zabbix Server
     Loaded: loaded (/lib/systemd/system/zabbix-server.service; enabled; vendor>
     Active: active (running) since Wed 2023-07-19 09:41:06 UTC; 11s ago
   Main PID: 16230 (zabbix_server)
      Tasks: 1 (limit: 4575)
     Memory: 3.2M
        CPU: 50ms
     CGroup: /system.slice/zabbix-server.service
             └─16230 /usr/sbin/zabbix_server -c /etc/zabbix/zabbix_server.conf
...
Step 5 – Import Zabbix 6.4 Database Schema
At this point, you need to import the Zabbix database schema.
To do this, use the following command to import the Zabbix database on Ubuntu 22.04:
zcat /usr/share/zabbix-sql-scripts/mysql/server.sql.gz | mysql --default-character-set=utf8mb4 -uzabbixuser -p zabbixdbEnter your database user password and wait to be finished.
Then, after importing your database, you need to disable the log_bin_trust_function_creators option. To do this, log in to your MariaDB console and run the command below:
sudo mysql -u root -p
MariaDB [(none)]> set global log_bin_trust_function_creators = 0;
MariaDB [(none)]> quit;
Step 6 – Zabbix 6.4 Configuration on Ubuntu 22.04
Here you need to edit the Zabbix default configuration file and define the database settings. Open the file with your favorite text editor, we use the vi editor:
sudo vi /etc/zabbix/zabbix_server.confFind the lines below and uncomment them by removing the “#” from the beginning of the line and changing them to your database settings.
DBHost=localhost
DBName=zabbixdb
DBUser=zabbixuser
DBPassword=password
When you are done, save and close the file.
Restart your Zabbix and Apache on Ubuntu 22.04 to apply the changes with the following commands:
# sudo systemctl restart zabbix-server
# sudo systemctl restart apache2
Step 7 – Configure Zabbix 6.4 Agent on Ubuntu 22.04 Server
At this point, you need to configure the Zabbix agent on your Ubuntu 22.04. Open the file with your favorite text editor, we use vi:
sudo vi /etc/zabbix/zabbix_agentd.confFind the lines below and change the values as shown below:
Server=127.0.0.1
ServerActive=127.0.0.1
Hostname=Zabbix Server
When you are done, save and close the file.
Start and enable the Zabbix agent to start on boot with the commands below:
# sudo systemctl start zabbix-agent
# sudo systemctl enable zabbix-agent
Verify that your Zabbix agent is active and running on your Ubuntu 22.04:
sudo systemctl status zabbix-agentIn your output you will see:
Output
● zabbix-agent.service - Zabbix Agent
     Loaded: loaded (/lib/systemd/system/zabbix-agent.service; enabled; vendor >
     Active: active (running) since Wed 2023-07-19 09:40:52 UTC; 6min ago
   Main PID: 15849 (zabbix_agentd)
      Tasks: 6 (limit: 4575)
     Memory: 6.3M
        CPU: 277ms
     CGroup: /system.slice/zabbix-agent.service
...
Step 8 – How To Access Zabbix 6.4 Dashboard?
At this point, you can access your Zabbix dashboard by typing your server’s IP address in your web browser followed by /Zabbix:
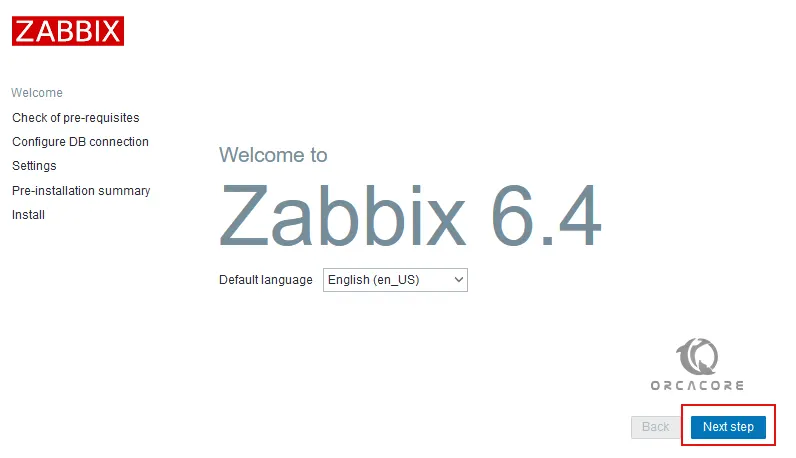
http://your-server-ip/zabbixYou will see the Zabbix welcome page, choose your desired language, and click on the next step.
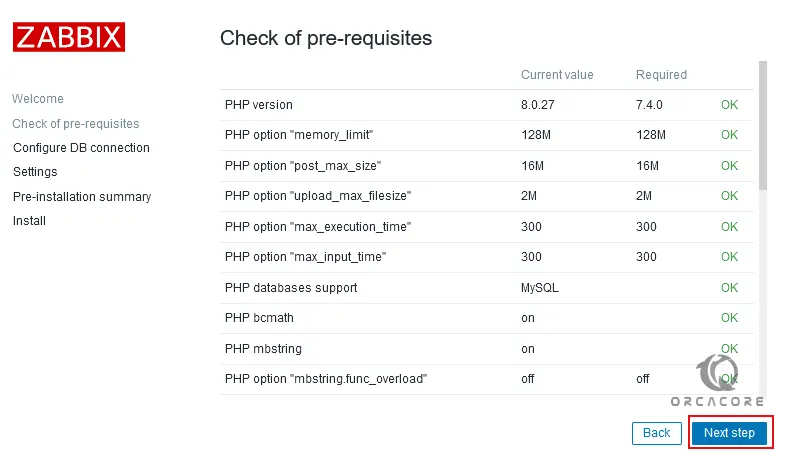
In the next window, you will see the check for the prerequisites. Make sure all the required PHP extensions are installed then click on the Next Step button.
Then, you will see the configure DB connection page. Set your database details and click on the next step.

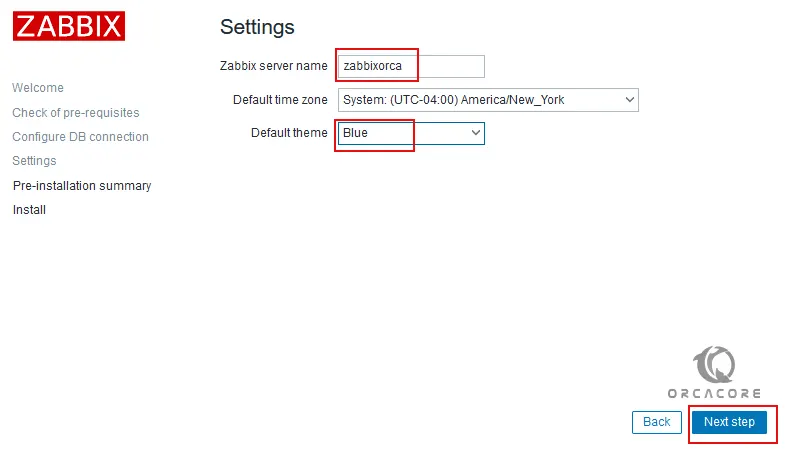
Next, you need to choose the server name and default theme and click the Next step.
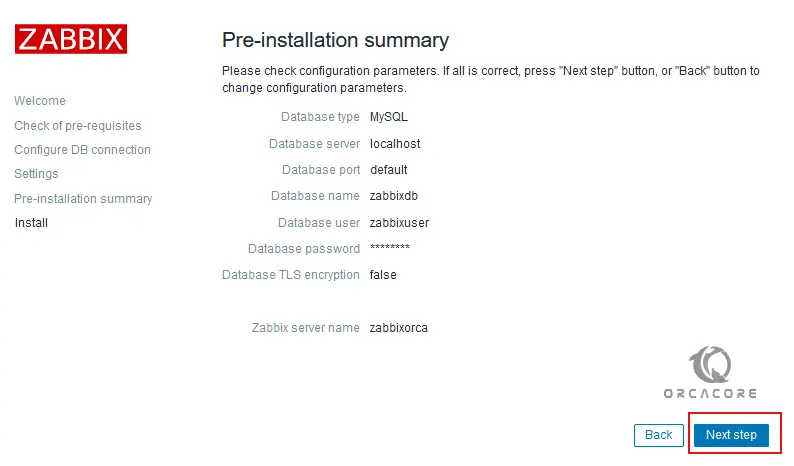
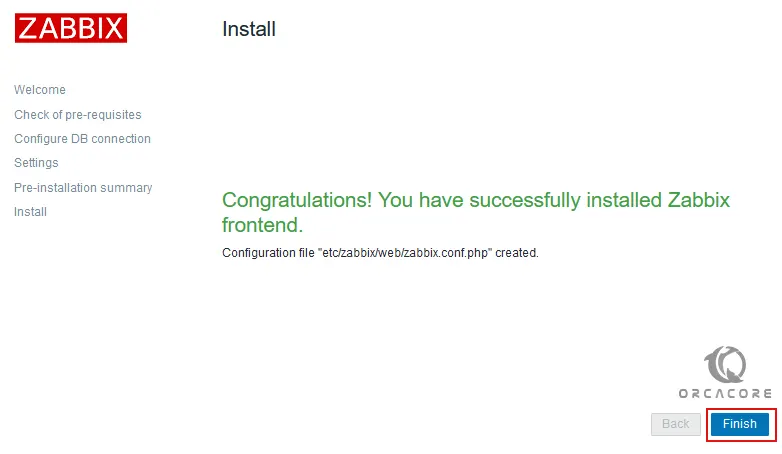
Here you need to check the pre-installation summary and click Next step.
Next, you need to click on the finish button to complete your Zabbix 6.4 Installation Guide on Ubuntu 22.04 Server.
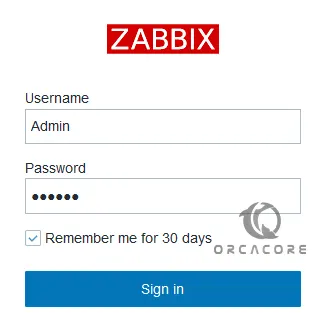
Now you will get into the Zabbix login screen. Enter the Admin as the username and zabbix as the password and click on the sign-in button.
You will see your Zabbix 6.4 dashboard.
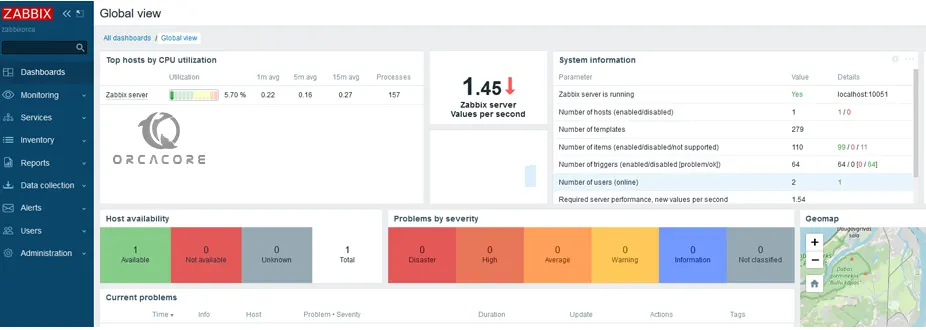
That’s it you are done, You can now start your monitoring.
Conclusion
At this point, you have learned the Zabbix 6.4 Installation Guide on Ubuntu 22.04 Server and access to the Zabbix dashboard through the web interface. Hope you enjoy using it.
You may be interested in these articles: