Share your love
Run Internet Speed Test in Windows PowerShell: 4 Easy Steps
This guide intends to teach you to Run Internet Speed Test in Windows PowerShell with Speed-test CLI. You can use Speed-test CLI to measure internet connection performance metrics like download, upload, latency, and packet loss natively without relying on a web browser. Follow the rest of the article from the Orcacore website to complete this guide.
Table of Contents
Steps To Run Internet Speed Test in Windows PowerShell
To Run Internet Speed Test in Windows PowerShell, you must log in to your Windows client system and follow the steps below to see how you can use speed-test CLI in Windows PowerShell.
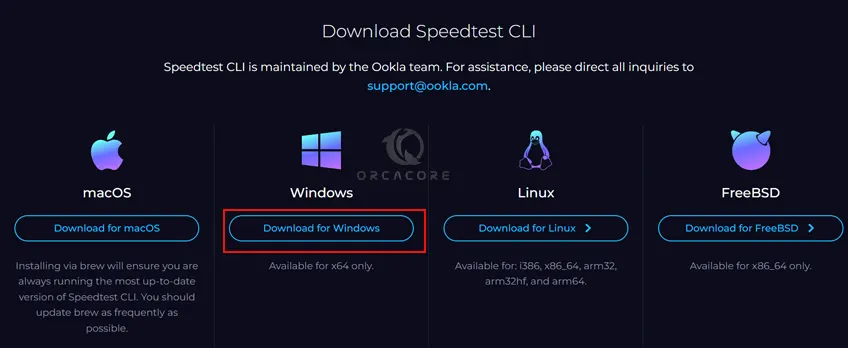
Step 1 – Download Speed Test CLI on Windows
At this point, you must visit the Speed Test Official site and download the CLI APP for Windows.
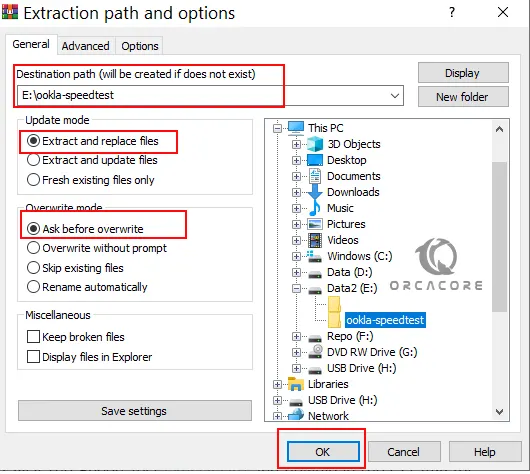
Then, open your ZIP file and extract your file in your Windows. Create a directory anywhere on your system with a name related to Speedtest and place the speedtest.exe in the folder.
Step 2 – Add Speed Test CLI Path to System Environment Variables
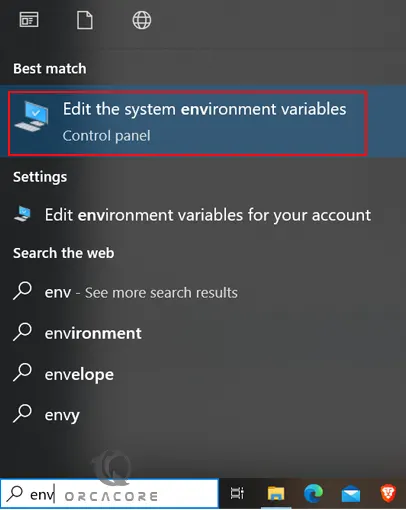
At this point, you must add your Speed test path to your Windows environment variables. To do this, from your start menu search for env and open the Edit System Environment Variables.
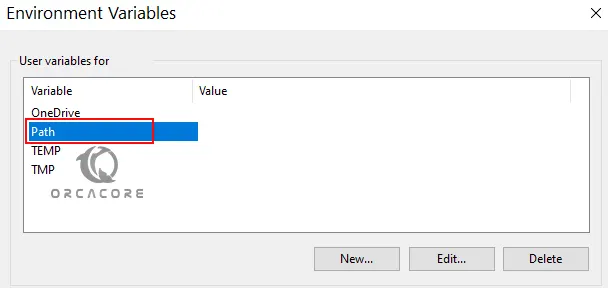
From there, click on the Environment Variables button.

Now under the User Variables double-click on Path.
Then, a window will open. From there, click on New.
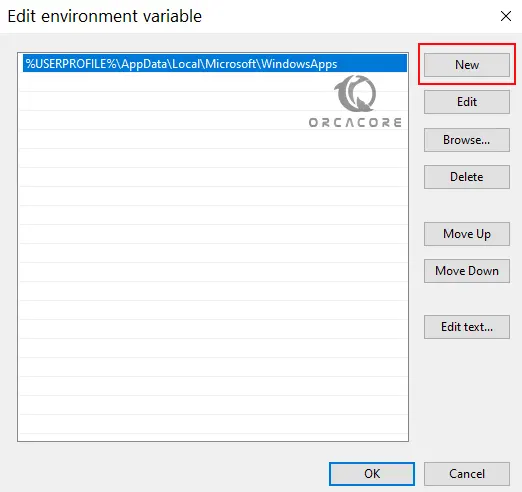
Then, add your Speed Test CLI path folder to it.
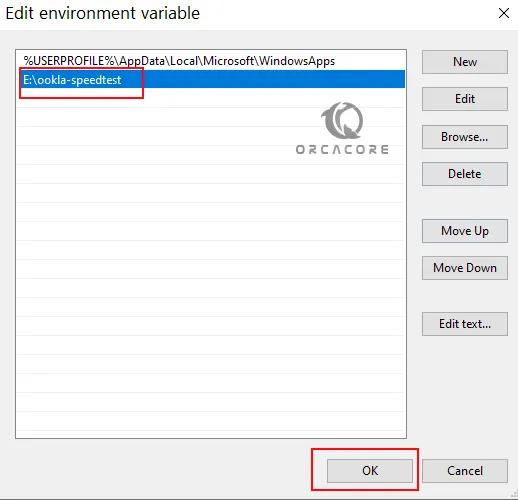
Finally, click OK to finish the process.
Step 3 – Use Speed Test CLI in Windows PowerShell
At this point, you can start to use your Speed test CLI in Windows. You need to open your PowerShell and run it as an administrator. To do this, you can check this guide Run PowerShell as Administrator on Windows.
From your PowerShell, simply run the following command:
speedtestYou need to accept the license agreement by pressing Y to continue.
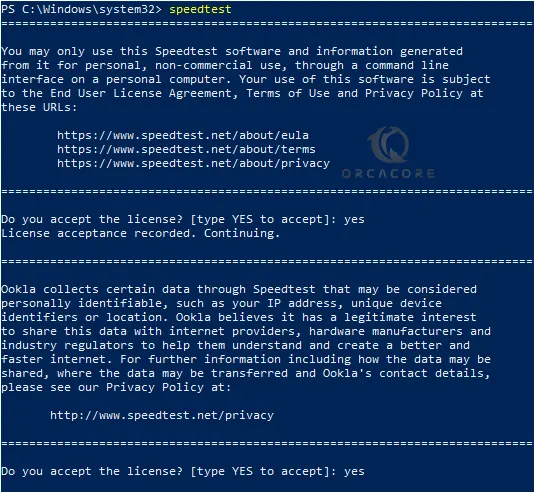
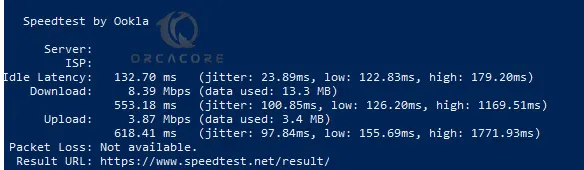
When it is completed, you will get the following output:
Step 4 – Speed Test CLI Options in Windows
You can use Speed Test CLI to test the speed and performance of your internet connection from the command line interface. To get more options and help, you can run the command below:
speedtest -hYou will get the following output:

Conclusion
At this point, you have learned to Run an Internet Speed Test in Windows PowerShell with Speed-test CLI. You can easily download the Speed Test CLI App, add it to your system environment variables, and start using it from the command line interface in your Windows machine.
Hope you enjoy it. Also, you may interested in the following guides: