Share your love
How To Set up Apache Tomcat on Windows 10/Server

In this article, we want to teach you How To Set up Apache Tomcat on Windows 10/Server.
Apache Tomcat is an open-source Java servlet and Java Server Page container that lets developers implement an array of enterprise Java applications. Tomcat also runs an HTTP web server environment in which Java code can run.
Set up Apache Tomcat on Windows 10/Server
In this guide, you learn to install Apache Tomcat on Windows 10. Also, you can use this guide for Windows Server too.
First, you need to install some requirements on your Windows client.
Install JDK on Windows
As you know, Tomcat is a software developed in Java. Because of this, you need to download and install JDK on your Windows 10 or your Windows server.
First, go to the Java downloads page. And get the JDK x64 installer. You need to have an Oracle account, if you don’t have an account create a new one and download it.
When you have downloaded the installer, please double-click on it to start the installation process.
Once your JDK is successfully installed, you need to add the environment variables.
Let’s see how to add them.
How To Add Environment Variable on Windows
It is recommended to add Java to the Windows environment variables for the correct functioning of the Apache Tomcat.
To do this, follow the steps below.
1- Open the Windows Control panel.
2- Click on the system and security.
3- Choose the system.
4- From there, open the Advanced system settings.
5- Now on the system properties window choose the Environment variables.
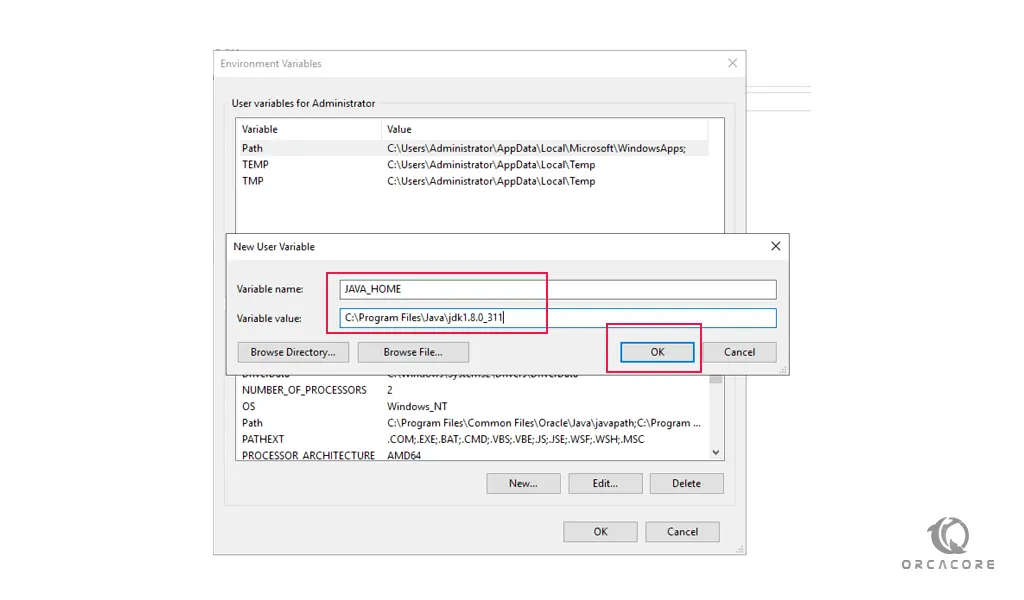
6- From the Environment variables window, click on the new to create a new variable and name it JAVA_HOME and use the address of where JDK was installed(C:\Program Files\Java\jdk1.8.0_311):
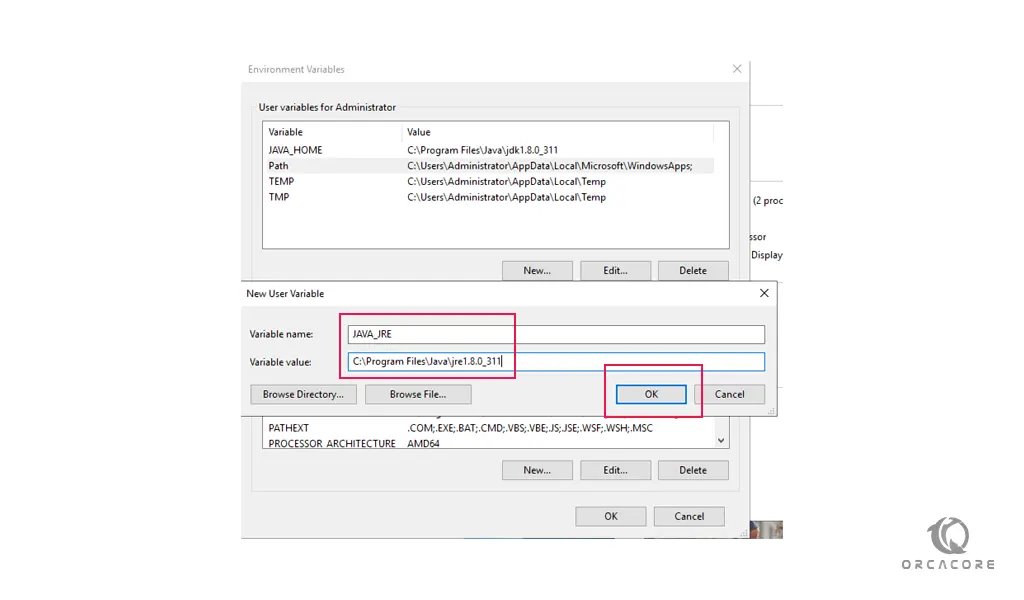
7- Then, you need to create another variable and name it JAVA_JRE with the address of C:\Program Files\Java\jre1.8.0_311:
When you are done with creating the environment variables you can start to install the Apache Tomcat on your Windows 10 or Windows Server.
How To Install Apache Tomcat on Windows
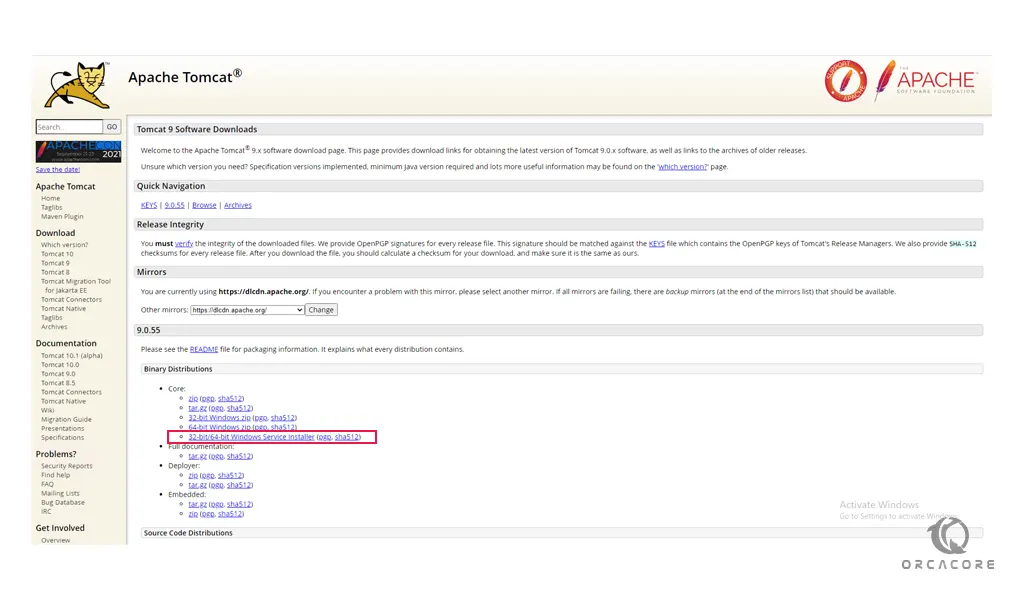
When your JDK is installed and configured, you can go to the Apache Tomcat downloads page and download the latest Windows Service installer.
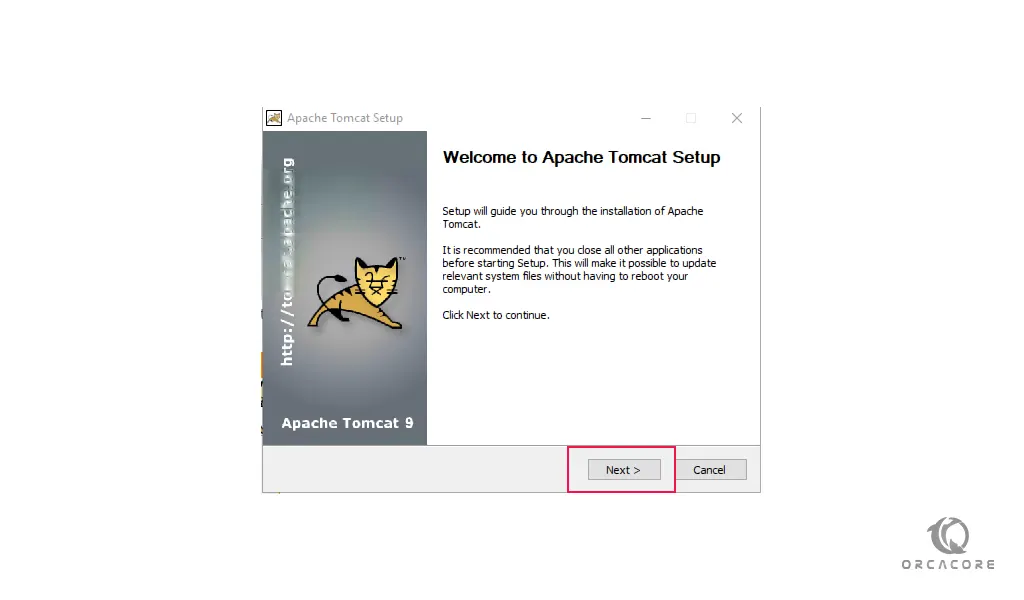
After downloading the installer, press next to continue the Apache Tomcat setup on Windows:
At this point, you need to choose the components to install the Apache Tomcat. Its recommended to do a full installation:

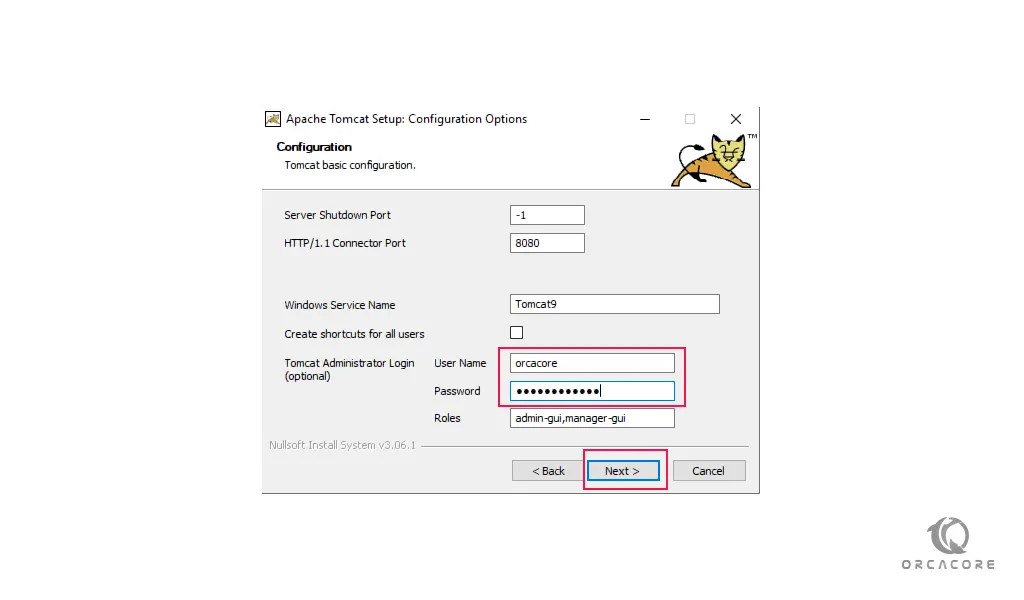
In the configuration window, you can leave everything by default. You just need to add a username and password:
At this point, you need to select the path where JDK is installed:

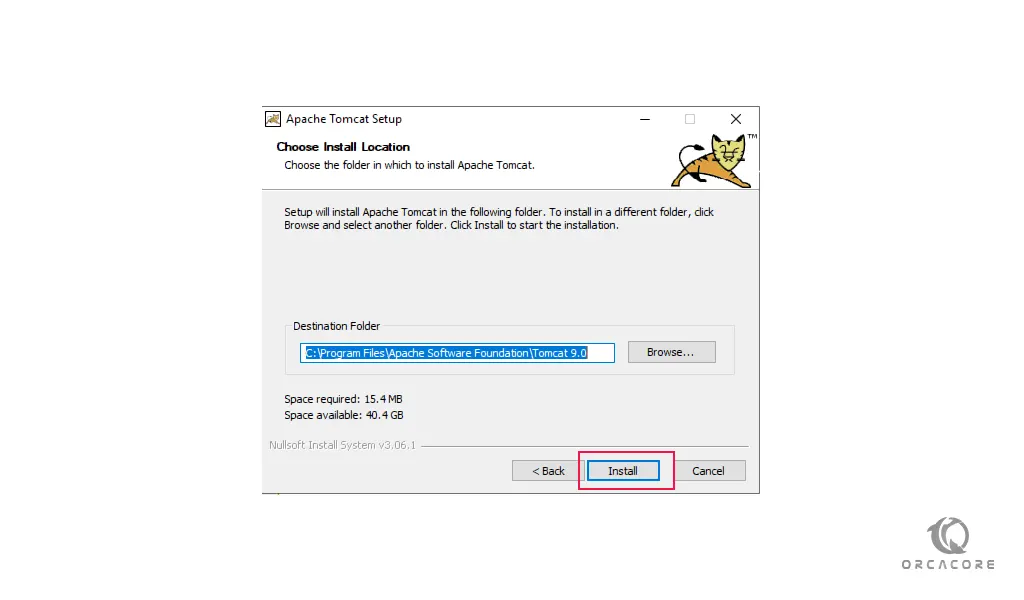
Now you should choose the installation location for Apache Tomcat on Windows:
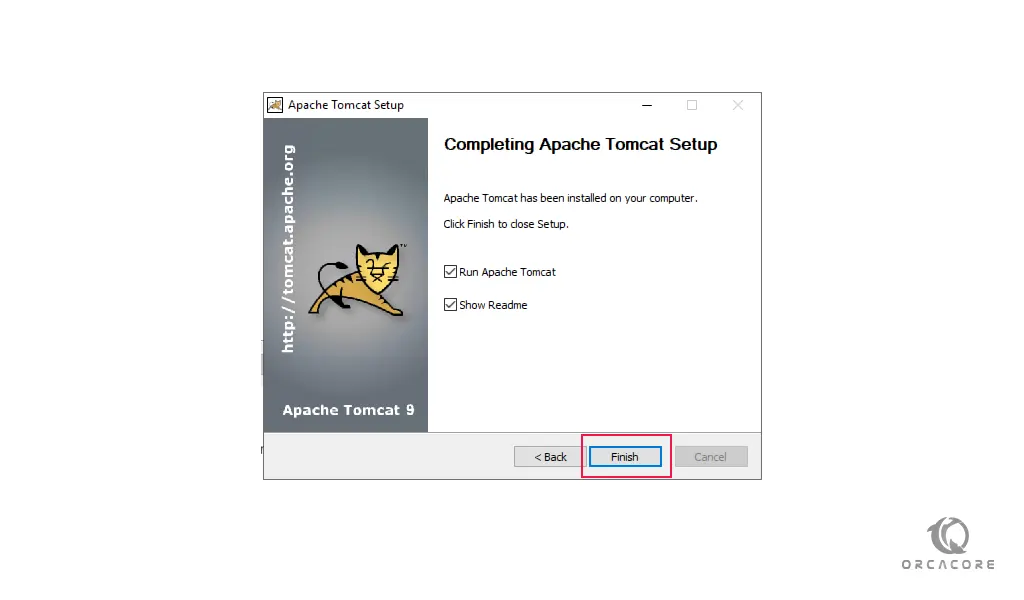
At this point, your installation process will begin, when it is finished, press Finish to close the wizard:
Now you can test the server that is up and running by typing this in your web browser:
http://localhost:8080/
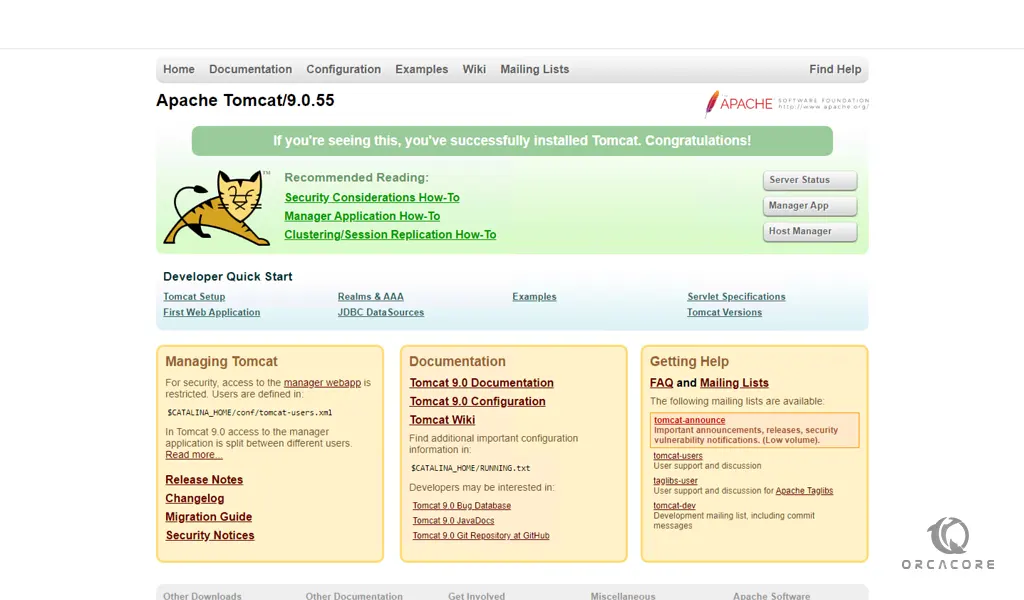
If you see this page means that your Apache Tomcat is working correctly on your Windows 10/Server.
Conclusion
At this point, you learn to install and configure Apache Tomcat on Windows 10 or Windows Server.
hope you enjoy it.