Share your love
How To Set up Ntopng on Rocky Linux 8

In this guide, we want to teach you How To Set up Ntopng on Rocky Linux 8.
ntopng, an open-source traffic monitoring application designed for high-speed networks. ntopng’s key features are large network’s real-time analytics, the ability to characterize protocols, user traffic behavior, and identify application traffic.
It can identify network bottlenecks, trigger alerts based on thresholds, and merge data from multiple ntopng instances. ntopng can be enabled both on physical hosts and virtual machines, making it suitable for virtualized and cloud environments.
The ntopng software comes in four versions: Community, Professional, Enterprise M, Enterprise L, and Enterprise L Bundle. Each version unlocks additional features with respect to the smaller one.
How To Set up Ntopng on Rocky Linux 8
To install Ntopng on Rocky Linux 8, you need to log in to your server as a non-root user with sudo privileges and set up a basic firewall. To do this, you can check our guide the Initial Server Setup with Rocky Linux 8.
Follow the steps below to complete this guide.
Install Ntopng on Rocky Linux 8
Ntopng packages aren’t available in the default Rocky Linux repository. So you need to add it to your server.
First, you need to add the Ntop packages repository with the following command:
curl https://packages.ntop.org/centos/ntop.repo > /etc/yum.repos.d/ntop.repo
Then, you need to install the Epel repository with the command below:
dnf install epel-release
Now you need to add the Remi repository to your server with the following command:
rpm -ivh http://rpms.remirepo.net/enterprise/remi-release-8.rpm
Next, install the dnf plugins on Rocky Linux 8:
dnf install dnf-plugins-core
Use the following commands to enable the power tools and Remi repository:
# dnf config-manager --set-enabled PowerTools
# dnf config-manager --set-enabled remi
Update your local package index:
dnf update -y
At this point, you can install the Ntopng and its dependencies with the following command:
dnf install pfring-dkms n2disk nprobe ntopng cento
Note: PF_RING is now packaged without ZC drivers so you can optionally install them:
dnf install pfring-drivers-zc-dkms
Most software work without licenses. However, some components do need a license. They include:
- PF_RING ZC user-space libraries
- nProbe (NetFlow/IPFIX probe)
- n2disk (packet to disk application)
If you are a nProbe user and want to install a nProbe package with no dependency, please install the nProbes (rather than the nProbe) package. Note that you can either install the nProbe or the nProbes package but NOT both simultaneously.
Now start and enable your Ntopng service on Rocky Linux 8 with the following command:
systemctl enable --now ntopng
Verify your service is active and running:
systemctl status ntopng
Output
ntopng.service - ntopng high-speed web-based traffic monitoring and analysis >
Loaded: loaded (/usr/lib/systemd/system/ntopng.service; enabled; vendor pres>
Active: active (running) since Sat 2022-04-09 04:07:03 EDT; 4s ago
Process: 108036 ExecStartPre=/bin/sh -c /bin/sed "/^[ ]*-e.*$\|^[ ]*-G.*\|^[ >
Process: 108034 ExecStartPre=/bin/sh -c /bin/cat /etc/ntopng/ntopng.conf.d/*.>
Process: 108030 ExecStartPre=/bin/sh -c /bin/cat /etc/ntopng/ntopng.conf > /r>
Process: 108016 ExecStartPre=/bin/sh -c /usr/bin/ntopng-utils-manage-config ->
Main PID: 108040 (2/flow_checks)
Tasks: 18 (limit: 11409)
Memory: 74.6M
CGroup: /system.slice/ntopng.service
└─108040 /usr/bin/ntopng /run/ntopng.conf
Access Ntopng Web Interface
Ntopng by default listens on port 3000. You need to open the Ntopng port through Rocky Linux 8 firewall with the following command:
firewall-cmd --permanent --add-port=3000/tcp
Reload the firewall to apply the new rules:
firewall-cmd --reload
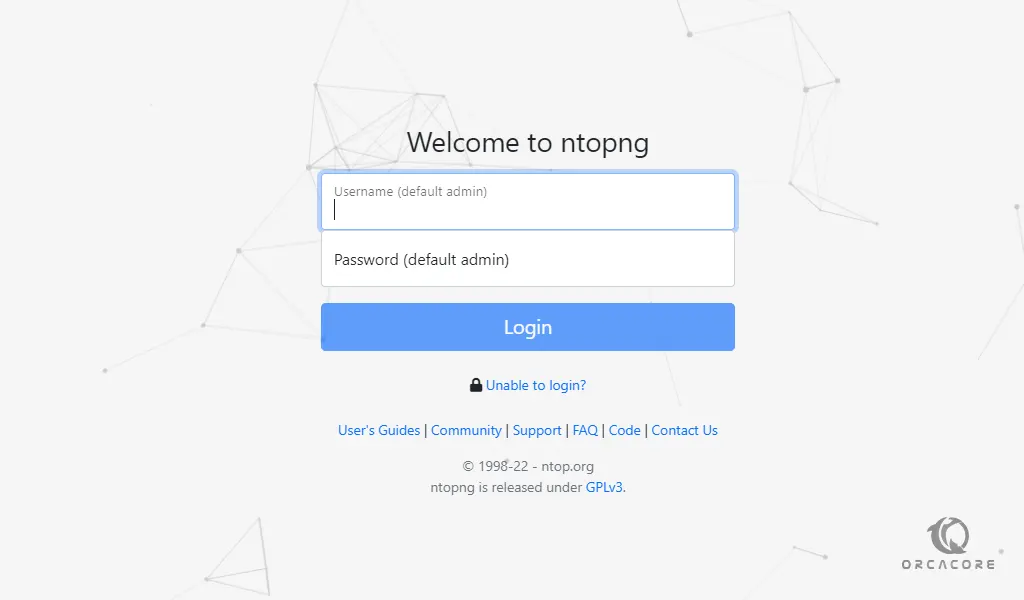
At this point, you can access the Ntopng web interface by typing your server’s IP address in your web browser followed by 3000:
http://server-IP:3000
You will see the Ntopng login screen. Use the default credentials: admin:admin and reset the password afterward.
Now you can change the default password and press change password.
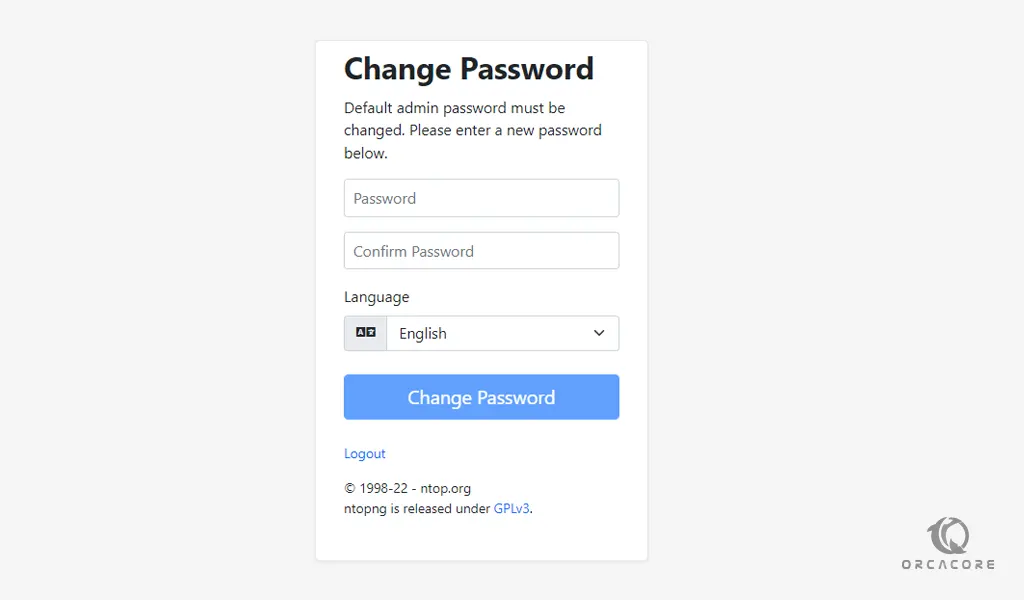
At this point, you will see your Ntopng dashboard.

For more information, you can visit the Ntopng Documentation page.
Conclusion
At this point, you learn to Set up Ntopng on Rocky Linux 8.
Hope you enjoy using it.