Share your love
Synchronize System Time in AlmaLinux 10

This tutorial will show you how to Synchronize System Time in AlmaLinux 10. Time synchronization is an essential task that you must do in your system. If you don’t have Time Synchronization, you may encounter data corruption, errors, and other issues that are difficult to debug.
Proceed to the guide steps below on the Orcacore website to set up time synchronization on AlmaLinux 10.
Table of Contents
Synchronize System Time in AlmaLinux 10
Before you start, log in to your server as a non-root user with sudo privileges. For creating a sudo user, you can check the Initial settings on AlmaLinux 10. Then, follow the steps below to complete this guide.
Step 1. Check Current Time Zone and Clock in AlmaLinux 10
To check your current system time and date, you can easily use the following date command:
sudo dateExample Output
Fri Aug 8 07:29:01 EDT 2025If you plan to change your current timezone, proceed to the next step.
Step 2. Change Timezone in AlmaLinux 10
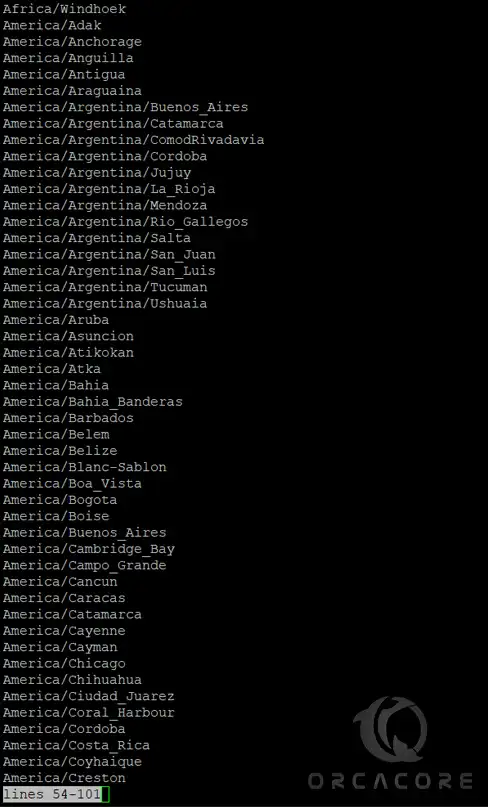
First, you can use the following timedatectl command to list all available timezones:
sudo timedatectl list-timezonesIn your output, you will get the list of timezones:
Find your correct tinezone and use the following command to change it. For example, change the timezone to America/New_York:
sudo timedatectl set-timezone America/New_YorkStep 3. Install Chrony NTP on AlmaLinux 10
Chrony is an implementation of the Network Time Protocol, and it must be installed on AlmaLinux 10 by default. If you don’t have it on your server, you can use the command below to install it:
sudo dnf install chrony -yThen, start and enable your Chrony service with the following commands:
# sudo systemctl start chronyd
# sudo systemctl enable chronyd
Verify the Chrony service is active and running on AlmaLinux 10 with the command below:
sudo systemctl status chronydIn your output, you should see:

Step 4. Verify AlmaLinux 10 System Time is Synchronized
At this point, your system time and clock must be synchronized. To verify it, you can use the following command:
sudo timedatectlIn your output, you should see:
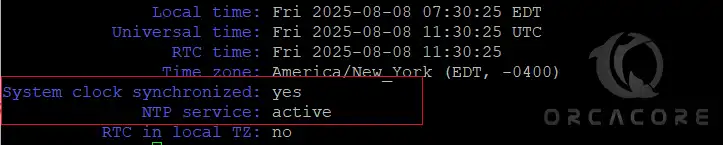
The “System clock synchronized: yes” means that the time on AlmaLinux 10 has been successfully synced, and the “NTP service: active” means that the timesyncd is enabled and running.
FAQs
What’s the default timesync service on AlmaLinux 10?
AlmaLinux uses chrony (service name: chronyd) by default for network time synchronization.
Can I use ntpdate on AlmaLinux 10?
No. The ntpdate tool is deprecated in favor of modern NTP implementations like ntpd, chrony, or sntp.
Why should we synchronize time on Almalinux 10?
To keep your system clock accurate, ensure logs, scheduled tasks, and network services run correctly.
How do I enable time synchronization on AlmaLinux 10?
You can use the Chrony service to enable time synchronization on AlmaLinux 10.
Conclusion
At this point, you have learned to Synchronize System Time in AlmaLinux 10. By choosing the right timezone, your system clock matches your local time. Then, by setting up and using the Chrony service, your computer stays in sync with trusted time servers. This helps keep your logs correct, makes scheduled tasks run on time, and improves security, problem-solving, and overall system stability. Hope you enjoy it.
Please subscribe to us on Facebook, X, and YouTube.
Also, you may like to read the following articles: