Share your love
Easy Steps To Enable Two-Factor Authentication Virtualizor

This guide on the Orcacore website can help you enable the Two-Factor Authentication Virtualizor panel. By enabling this item, you can make the user stronger. For more security, it is recommended to be done in your Virtualizor panel. You can read our post about How to add users in Virtualizor.
Table of Contents
Introduction To Virtualizor Two-Factor Authentication
Two-Factor Authentication Virtualizor (sometimes named two-step verification in some applications and websites ) is the most famous method to make your account or panel more secure. In this method, after you enter your login details correctly, you will be notified of a code via email, SMS, or you can get the code from some authenticator applications like the Google Authenticator application. Therefore, you can download the application from the below links:
Google Authenticator for Android
Google Authenticator for IOS
Now you can follow the steps below to enable the Two-Factor Authentication Virtualizor panel.
Step 1 – Where is Tow-Factor authentication in Virtualizor?
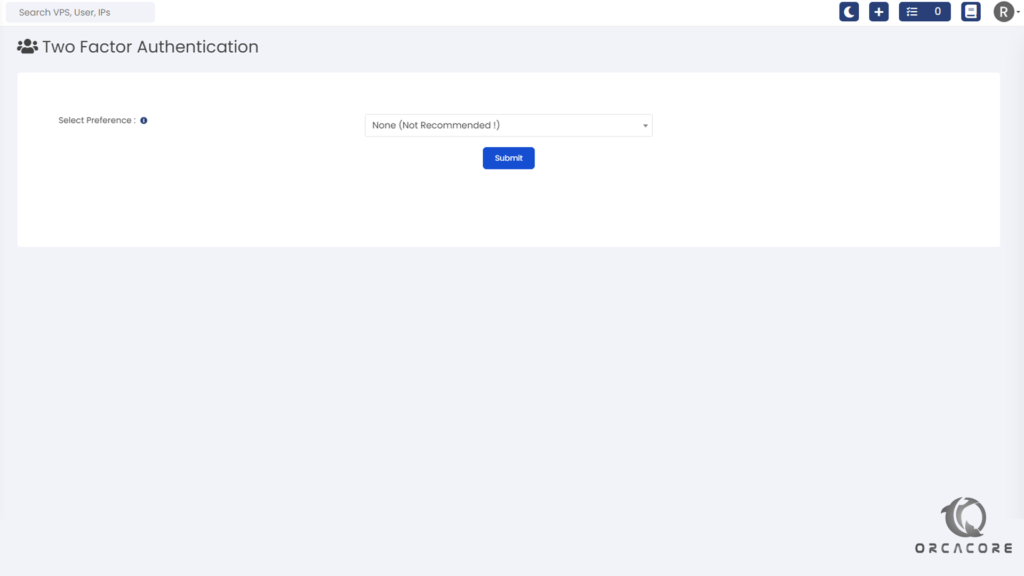
Please log in to your Virtualizor panel by entering ServerIP:4085 in a browser and completing your login details. Then, navigate to “Configuration >> Two Factor Authentication” to see the page below.
Step 2 – How to enable Two-factor authentication?
After finding the item in the previous step, you can select the type of authentication with the “Select Preference” drop-down list. It is selected None by default, which shows it is disabled. Therefore, you can select Email OTP or Enable App to enable two-factor Authentication in Virtualizor.
Step 2-1 – Enable Email OTP authentication
After selecting Email OTP from the previous step, you see the page below.
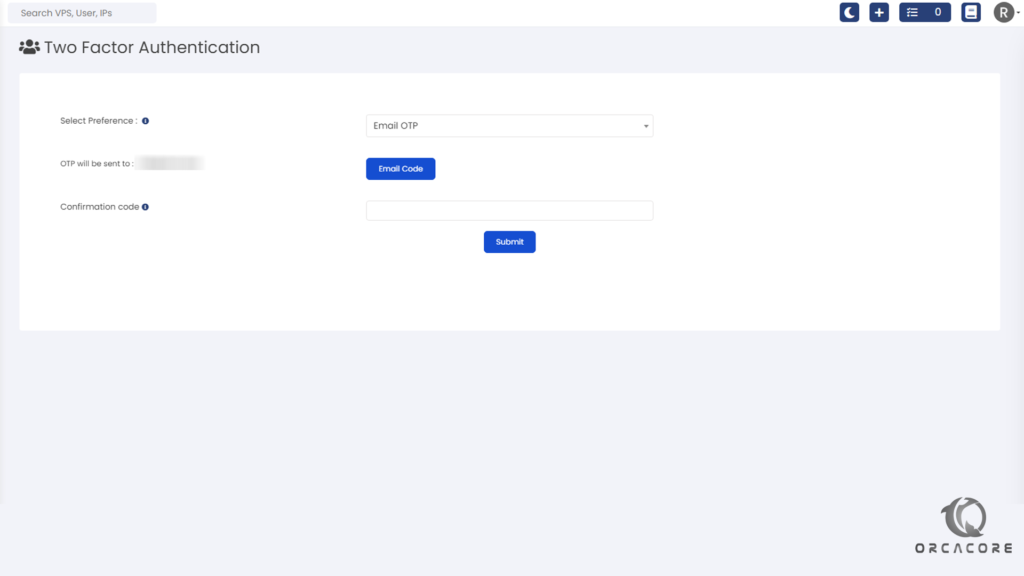
OTP will be sent to the email that you defined in the Virtualizor installation steps. You can change it from the “Configuration >> Master Settings” menu.
Click on Email Code to get a verification code in your email. Then please copy the code from your email to the next box named Confirmation code and click on Submit to save and enable it. If you want to log in, you will get a new code in your email.
Step 2-2 – Enable App
To enable Two-Factor Authentication in Virtualizor with an application, we will use Google Authenticator. Please download and install the application from the links we mentioned at the top of this page.
If you select Enable App in the Select Preference menu, Then You will see the page below.
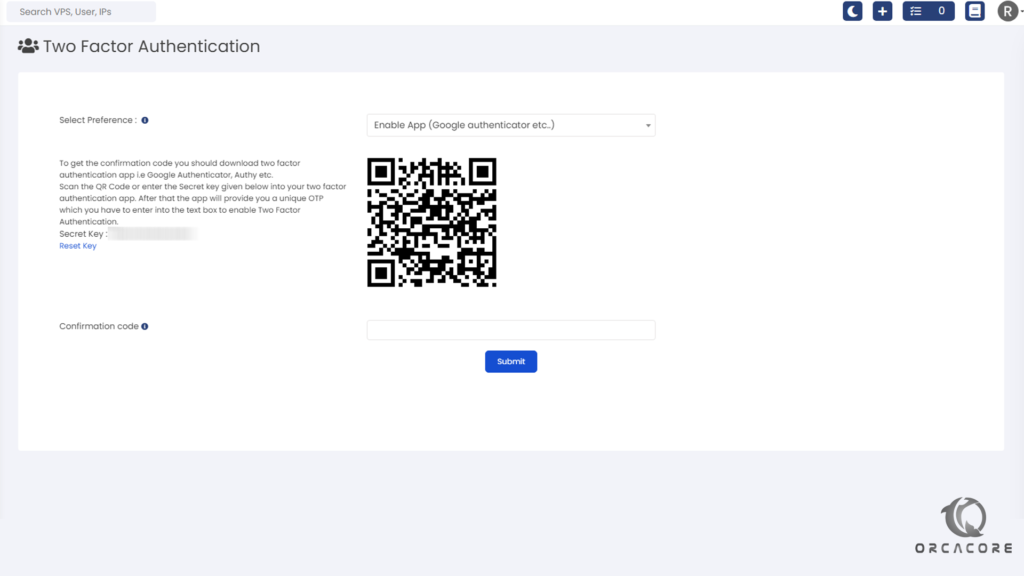
Please open the installed application on your phone and select the “+” icon. You will see 2 options:
Scan a QR code: You can scan the QR code, which is available on this page.
Enter a setup key: You can enter the secret key manually.
In the end, enter the Confirmation Code from the App in the last field and click on Submit to make any changes.
Congratulations! You could enable Two-Factor Authentication in your Virtualizor panel.
Conclusion
In this article, we learned how to enable two-factor authentication in the Virtualizor panel with 2 methods: Email and an App. Please note that you should have access to the email or the installed application every time you get the code.
If you have any questions about this article, feel free and comment for us.
Please subscribe to us on Facebook and YouTube.
You may also like to read the following articles:
Create an API credential in Virtualizor
Migrate VPS Storage on Virtualizor