Share your love
Install and Configure Netdata on Rocky Linux 8

In this guide, we want to teach you How To Install and Configure Netdata on Rocky Linux 8. Netdata is an open-source, distributed, and real-time infrastructure monitoring platform. It keeps track of the performance and health of different environments using a per-second metric approach to monitoring.
You can now proceed to the guide steps below on the Orcacore website to set up the Netdata monitoring tool on Rocky Linux 8.
Table of Contents
Steps To Install and Configure Netdata on Rocky Linux 8
To complete this guide, you must log in to your server as a non-root user with sudo privileges and set up a basic firewall. To do this, you can follow our guide on the Initial Server Setup with Rocky Linux 8.
1. Install Netdata Monitoring Tool on Rocky Linux 8
First, you need to update your local package index with the following command:
sudo dnf update -yThen, you need to install the Epel release on Rocky Linux 8 with the command below:
sudo dnf install epel-release -yNetdata installation on Rocky Linux 8 needs some required packages, install them with the command below:
sudo dnf install git libuuid-devel autoconf automake pkgconfig zlib-devel curl findutils libmnl gcc make -yHere we install Netdata from GitHub. First, clone the Netdata with the following command:
sudo git clone https://github.com/netdata/netdata.git --depth=100Then, switch to the Netdata directory with the command below:
cd netdataYou need to install some required packages here with the following commands:
sudo dnf --enablerepo=powertools install autoconf-archive autogen libuv-develsudo ./packaging/installer/install-required-packages.sh --non-interactive --dont-wait netdataRun Netdata Installer Script
Now run the script below to build and install Netdata on Rocky Linux 8:
sudo ./netdata-installer.sh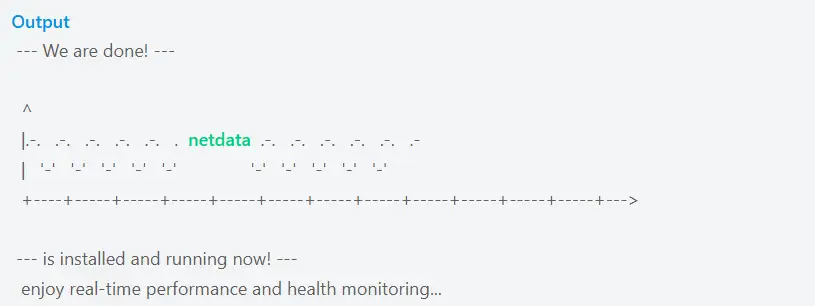
When your installation is completed, proceed to the next step.
Manage Netdata Service
At this point, you need to start your Netdata service with the command below:
sudo systemctl start netdataTo enable your service to start at boot, run the following command:
sudo systemctl enable netdataVerify that your Netdata service is active and running on Rocky Linux 8 with the command below:
sudo systemctl status netdataIn your output, you will see:

2. Configure Firewall For Netdata
At this point, we assumed that you have enabled firewalld. By default, Netdata listens on port 19999.
Now you need to allow traffic for Netdata through the Rocky Linux 8 firewall with the command below:
sudo firewall-cmd --permanent --add-port=19999/tcpThen, reload the firewall to apply the new rules:
sudo firewall-cmd --reload3. Access Netdata Dashboard
Here you can access the Netdata dashboard on Rocky Linux 8 by typing your server’s IP address in your web browser, followed by 19999:
http://server-ip-address:19999You will get your system overview on the Netdata dashboard:
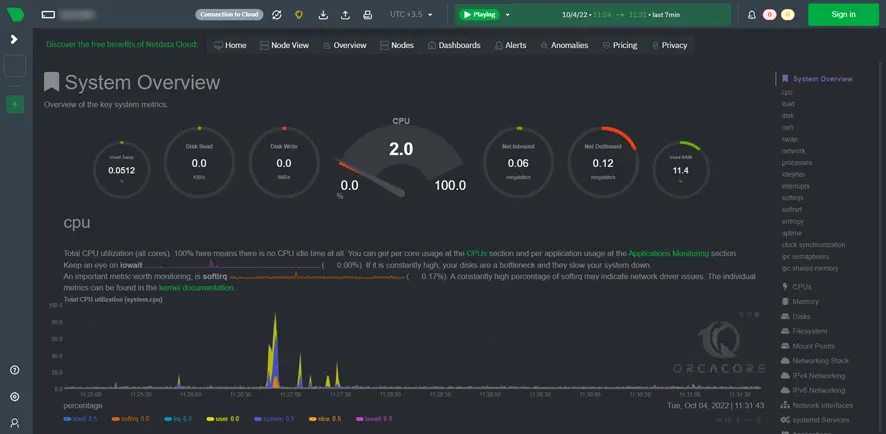
With Netdata, you can collect any available metric (on a per-second basis) from your systems and apps using more than 300 agent collectors or the Kubernetes service discovery. You can then visualize all collected data via charts or insights using the cloud-based Netdata dashboard. With access to such data, you can monitor the health and performance with the pre-configured alarms, detect and analyze anomalies, store metrics data for months, and export them to other systems.
For more information, you can visit the Netdata Documentation page.
Conclusion
At this point, you have learned to install and Configure Netdata on Rocky Linux 8. Installing and configuring Netdata on Rocky Linux 8 is simple. Use the official one-liner script. Once installed, start and enable the Netdata service to monitor system performance in real time.
Hope you enjoy it. You may also like to read the following articles:
Install and Configure Zabbix 6.0 on Rocky Linux 8
Install and Configure Grafana on Rocky Linux 8