
Share your love
Add and Configure Virtual Directory on IIS Server 2019
In this article, we want to teach you how to Add and Configure Virtual Directory on IIS Server 2019.
According to Microsoft, a virtual directory is a directory name that you specify in IIS and map to a physical directory on a local server’s hard drive or a directory on another server (remote server).
The virtual directory name becomes part of the application’s URL, and users can request the URL from a browser to access content in the physical directory, such as a Web page.
Add and Configure Virtual Directory on IIS Server 2019
First of all, you need to install IIS Server 2019 on your Windows server. To do this you can follow our article in the Windows Tutorials section about Setting up IIS on Windows Server 2019.
Also, with this guide about Configure Default Site in IIS Server 2019, you learn to use the default site in IIS Server 2019.
Now let’s see how to add and configure Virtual Directory. To do this, follow the steps below.
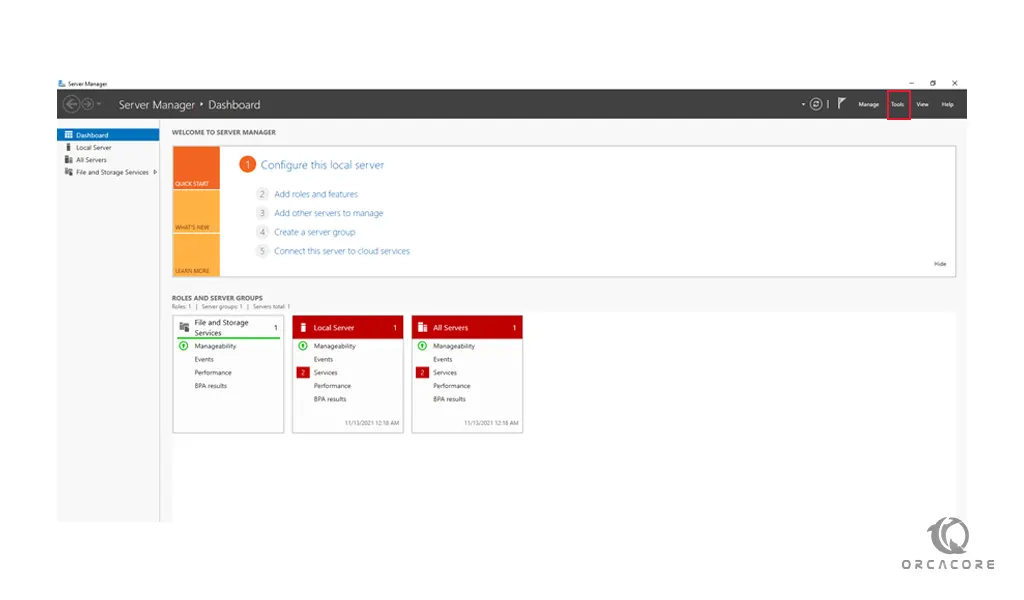
1- Open your server manager and from the “tool” option open the Internet Information Services (IIS):
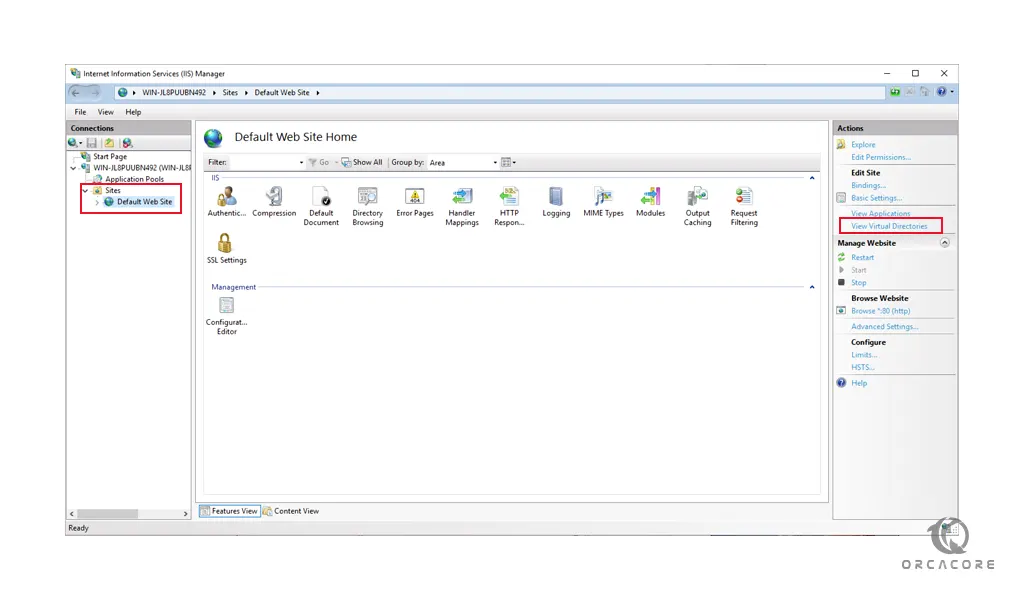
2- Now navigate to the Default Web site, and click on the View Virtual Directories:
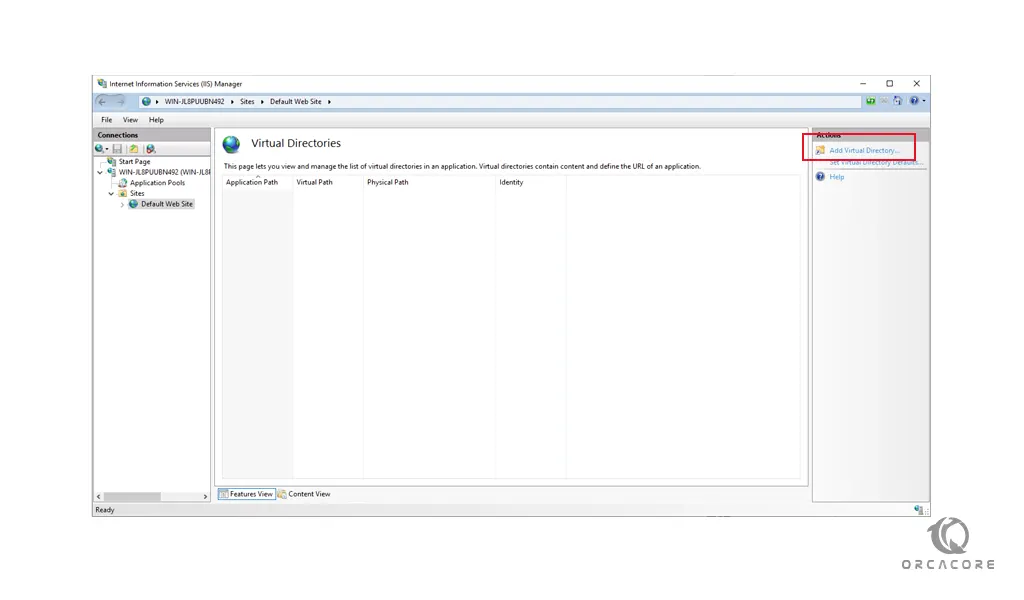
3- When you have clicked on the View Virtual Directories, you need to click on the Add Virtual Directory:
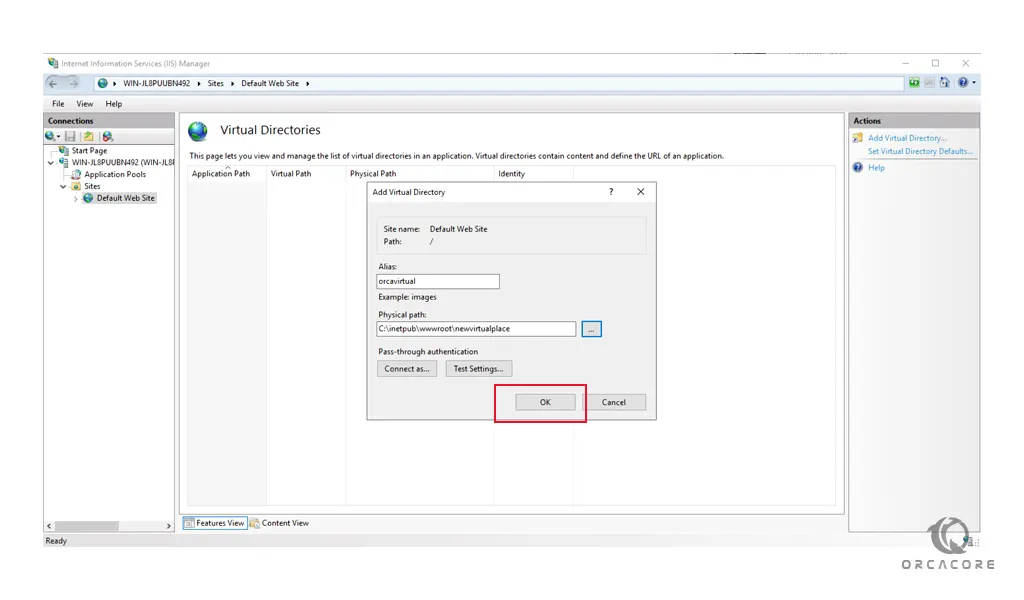
3- You will see a pop-up window. In this window, you should choose your “Alias” and choose a “Physical Path” where you would place the files to be loaded.
Be sure that IIS server 2019 has permission to read from the directory you will choose:

4- After you are done, press ok to add your virtual directory on your IIS 2019:
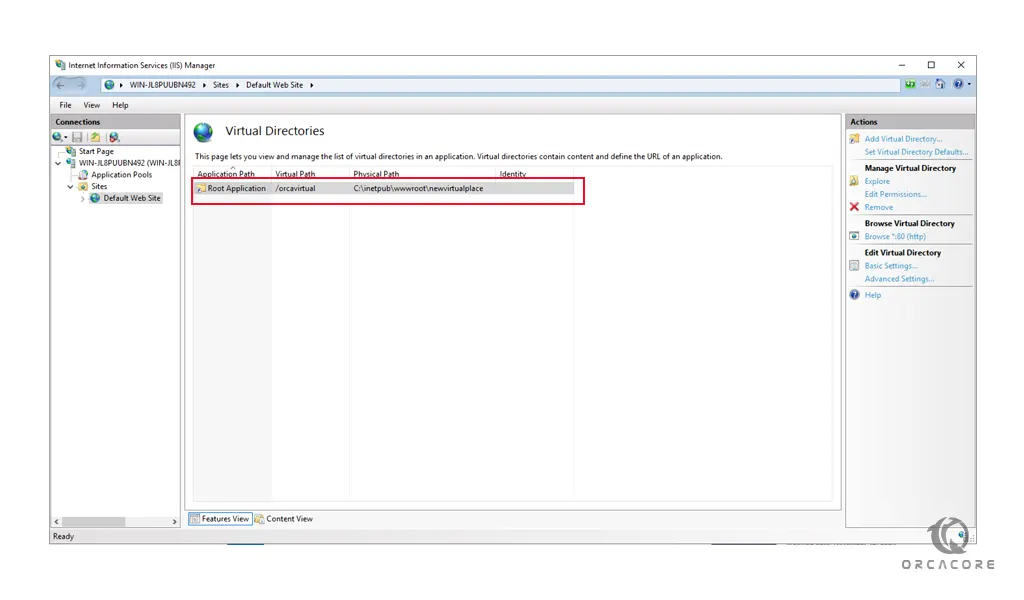
Now you will see that your virtual directory is added:
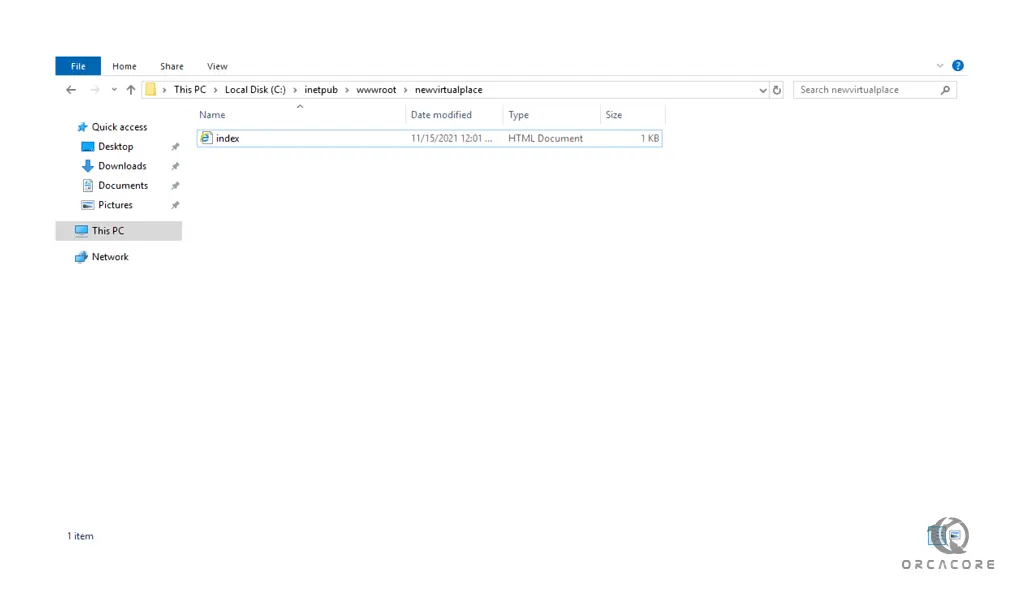
5- At this point, you can copy your files into the physical path that you have specified before. Here we use a basic HTML file. You can open your notepad and paste the following content into it:
<html>
<head>
<title>Welcome!</title>
</head>
<body>
<h1>Success! You Virtual directory is working!</h1>
</body>
</html>
When you are done, save it into your Physical path.
6- You can load your page by typing your IP address in your web browser followed by your Alias that you have set before:
http://ip-address/orcavirtualThen, you will see:
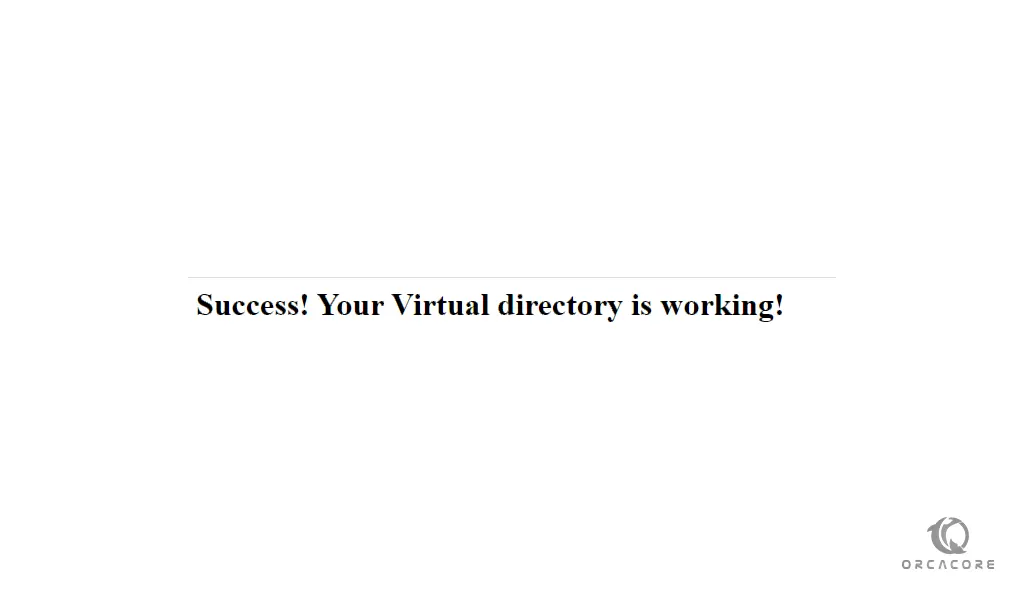
If you see this page means that your virtual directory on your IIS server 2019 is working correctly.
Conclusion
At this point, you learn to add a Virtual Directory on your IIS server 2019. You can use many virtual hosts to serve your application.
Hope you enjoy it.


