Share your love
Best Steps To Create a new VPS on Virtualizor

In this article, we want to describe how you can Create a new VPS on Virtualizor panel. If you were with us from the beginning of Virtualizor Tutorials. We have published some setups in previous articles. We suggest you read it as well Because some of them are also related to this tutorial.
Table of Contents
How to create a new VPS in the Virtualizor panel
We want to describe and clarify the steps you need to try and reach a new workable VPS on the Virtualizor panel. Please follow the below steps to Create a new VPS on Virtualizor.
Step 1 – Create VPS
Please login to the Virtualizor panel by entering ServerIP:4085 on a browser and completing login credentials. On the main page of the Virtualizor panel, click on “Virtual Server” and select the “Create VPS” sub-menu from the left panel. in the opened page we should define some items that the Virtualizor needs to create a VPS as shown in the below image.

Step 1-1 – Basic Settings
As shown in the below image, We should set some options and features that are needed to create a VPS.
First, select the server that you want to create a new VPS on it. It is selected by default.
In the second section, we should define the user of the new VPS owner. We can define a new user by completing the “User email”, “Password”, “First Name” and “Last Name” fields. Or we can select pre-defined users ( Add Users to Virtualizor Panel ) from the drop-down list.
In General Settings, we can select a pre-defined plan (Define Plans on a Virtualizor Panel). By selecting the plan all the new VPS details will be completed automatically. otherwise, we should define manually all items like CPU, memory, IP, Disk, etc.
Define Hostname and VPS root password to complete this section. For the root password, you can generate a random password by clicking on the “key” icon.
You can make the new VPS as a demo by checking “Enable Demo”. Then enter the time and date for the demo.
Step 1-2 – Advanced Options
When you want to Create a new VPS on Virtualizor, you will see an advanced setting. In this section, we should 5 main details. “Network Settings”, “Control Panel”, “CPU”, “Disk”, and “Miscellaneous settings”.
If you select a pre-defined plan all items will be completed automatically. Otherwise, you should define all items manually.
In the end, Click on “Add Virtual Server” to start creating a new VPS.
Step 2 – Building VPS
We did all the items needed to create a VPS, now Please wait to complete installing the VPS.
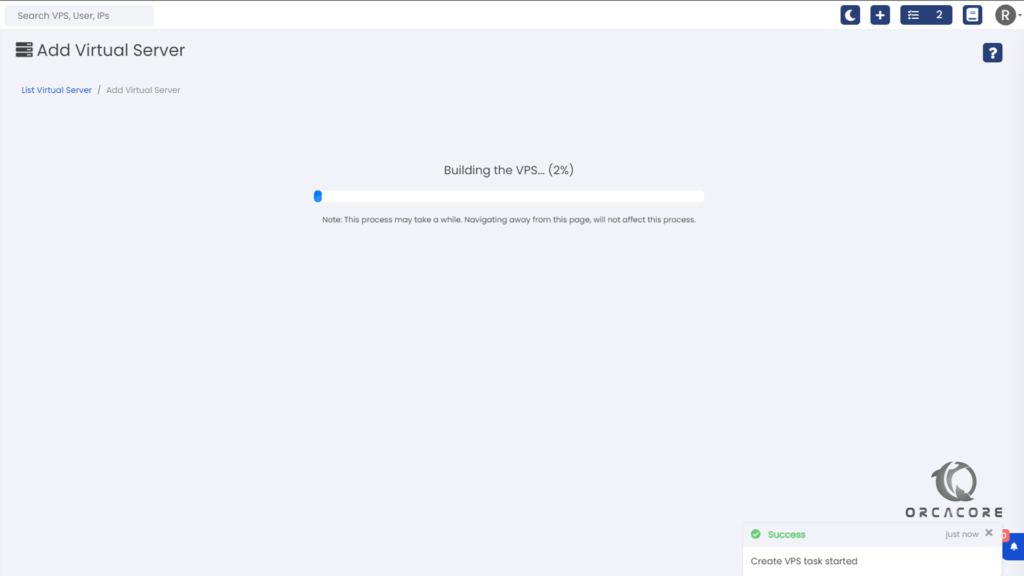
Note: This process may take a while. Navigating away from this page, will not affect this process.
After creating the new VPS on Virtualizor, Click on the pop-up box to see an overview of the VPS.
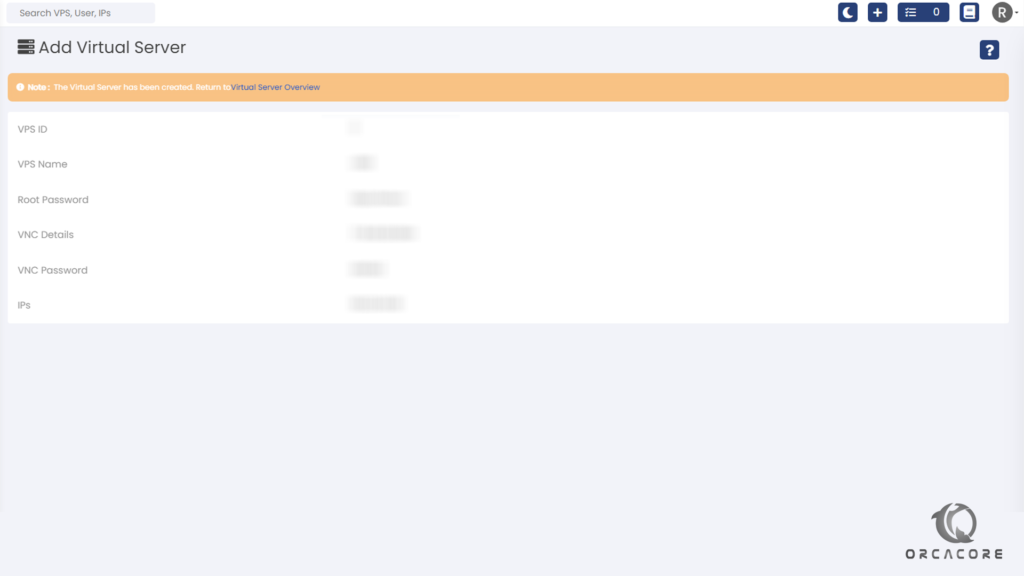
Click on the “Virtual Server Overview” highlighted in blue color to see the list of VPS you created.
Conclusion
Nice work! We found out how to create a VPS in our Virtualizor panel. One item we should note, is we have to read all needed before in the previous posts to pass all these steps successfully.
Please don’t hesitate to contact us by commenting on the post if you have any questions.