Share your love
Easy Steps To Disable Superfetch Windows 10/11
This tutorial intends to teach you to Disable Superfetch Windows, also you will learn to re-enable Sysmain Windows. Superfetch is part of Windows Vista and onwards. This technology allows Windows OS to manage random memory so that your apps can perform efficiently.
It helps third-party apps and critical Windows components to execute common tasks quickly. To achieve this, Superfetch stores and reads data for regularly used apps directly from RAM instead of resorting to the hard drive.
Now you can proceed to the following steps on the Orcacore website to Disable Superfetch Windows and Re-enable it.
Table of Contents
Steps To Disable Superfetch Windows 10/11
To complete this guide, you must log in to your Windows Client and follow the steps below. In this guide, our client machine is Windows 10.
Step 1. Disable Windows Superfetch Service
If you notice that it’s increasing CPU usage, eating up RAM, or throwing your hard disk into overdrive, you should disable Superfetch.
With Superfetch overusing disk resources, it could cause a noticeable drop in your computer’s speed and performance. This can happen even if you’re using an SSD instead of an older HDD.
Slowdowns caused by Superfetch typically result from Superfetch preloading too many apps, or guessing wrong and loading apps that you aren’t going to use. When you choose to open a different program, your RAM isn’t ready for it. Turn off Superfetch and see if your SSD or HDD works any faster.
Turn off Superfetch with services.msc
Services. msc is a shortcut in the Windows operating system to get a list of all the services on the computer.
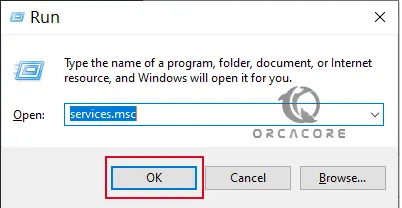
First, open your Run box by pressing win + R. Type services.msc and click OK to open the Windows Service Manager.
From there, search for Sysmain. Double-click on it and set the Startup type status to Disabled.
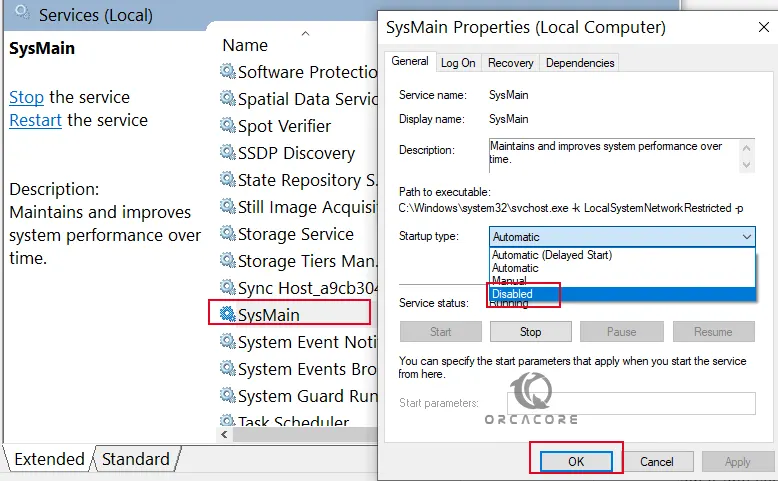
Finally, click OK, then reboot your system. Service Host Superfetch will be disabled.
Turn off Superfetch from CMD
For those who are comfortable with the command line interface, can use this method.
From your start menu, search for CMD and run it as an administrator.
From your CMD, you can use the following command to disable Superfetch:
sc stop “SysMain” & sc config “SysMain” start=disabledThen, restart your Windows to apply the changes.
Step 2. Enable Superfetch Service
Enabling Superfetch may help you to improve your Windows performance.
Turn on Superfetch with services.msc
First, open your Run box by pressing win + R. Type services.msc and click OK to open the Windows Service Manager.
From there, search for Sysmain. Double-click on it and set the Startup type status to Automatic (Delayed Start).
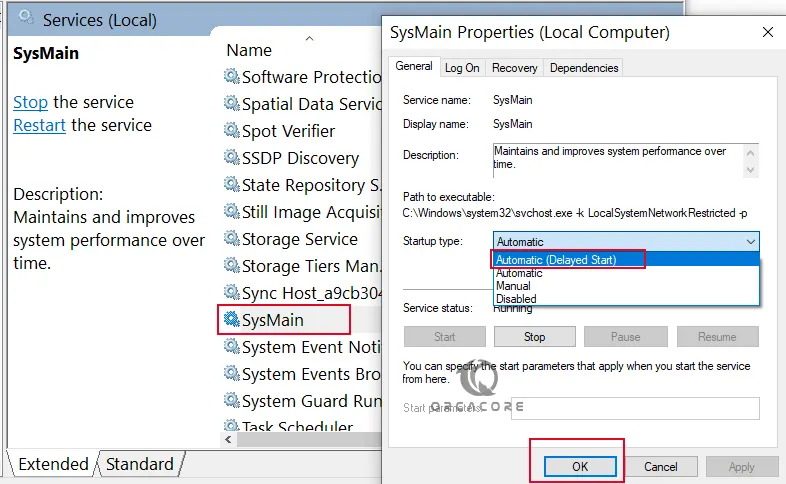
Finally, click OK, then reboot your system. Service Host Superfetch will be enabled.
Turn on Superfetch from CMD
For those who are comfortable with the command line interface, can use this method.
From your start menu, search for CMD and run it as an administrator. Then, you can use the following command to enable Superfetch:
sc config “SysMain” start=auto & sc start “SysMain”Then, restart your Windows to apply the changes.
Step 3. Monitor Superfetch Disk Usage
At this point, you can check to see if Superfetch is causing high disk usage or not. First, you need to right-click on Taskbar and select Task Manager.
In the Task Manager, search for an item called Service Host: SysMain — also known as Service Host Superfetch on Windows.
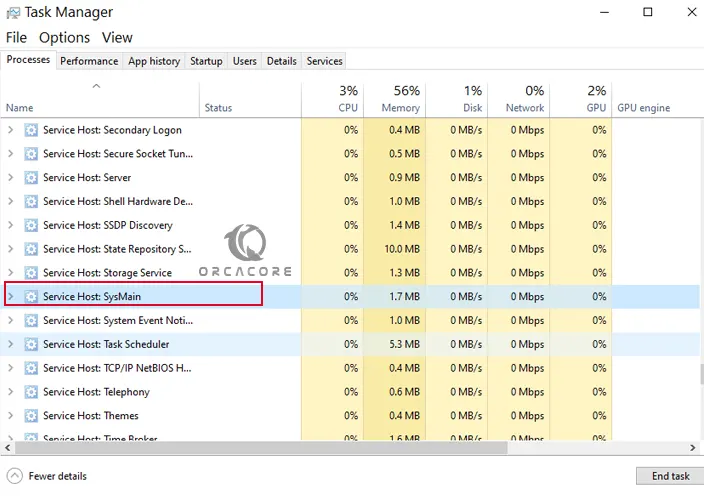
If you see a high CPU usage percentage or double-digit MB/s disk usage for more than a few minutes, turn Superfetch off.
Conclusion
At this point, you have learned to Disable and Enable Superfetch Service (SysMain) on Windows.
Hope you enjoy it. You may also interested in these articles:
User profile service service failed the sign-in Windows 10