Share your love
Download and Run Git on Windows Server 2022: Easy Guide
This guide wants to teach you to Download the Latest Git, Install, and Run it on Windows Server 2022. Git is a free and open-source version control system that can be used to handle small and big projects. Now you can follow the below guide steps on the Orcacore website to install and run the latest Git on Windows Server 2022.
Table of Contents
Complete Guide To Download and Run Git on Windows Server 2022
Before you start to Download and Run Git on Windows Server 2022, you must have access to your Windows Server with administrative privileges and follow the steps below.
Step 1 – Download Latest Git Version For Windows
First, visit the Official Git Downloads Page and click on Windows.
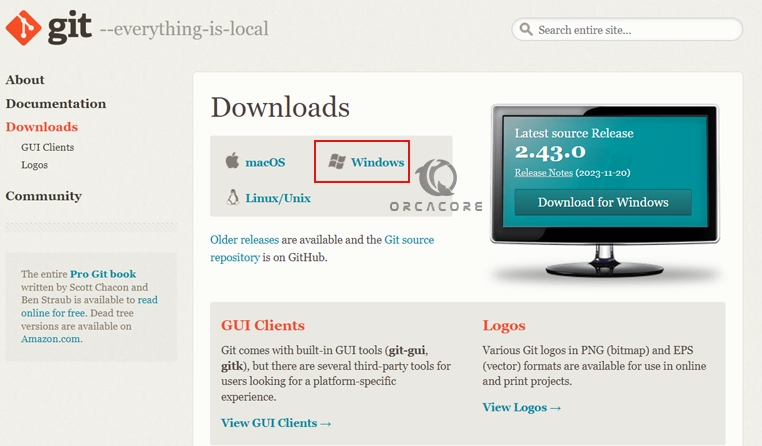
Then, click on the latest Git version for Windows 64-bit. If you want to use Windows 32-bit you can click on 32-bit version setup.

Step 2 – Run Git Windows Installer
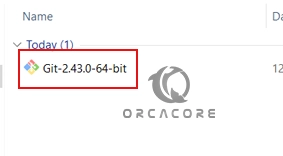
Once your download is completed, navigate to your Git downloaded folder and double-click on your file to open your Git setup installer.
Step 3 – Start Git Installation Setup on Windows Server 2022
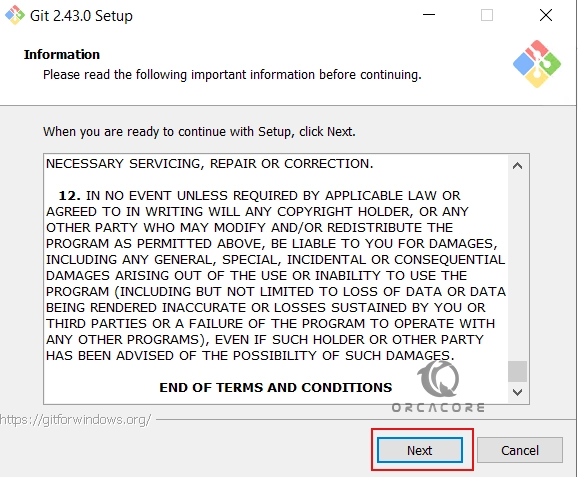
At this point, you will see your Git setup wizard. Read the terms and conditions on the first screen and click Next.
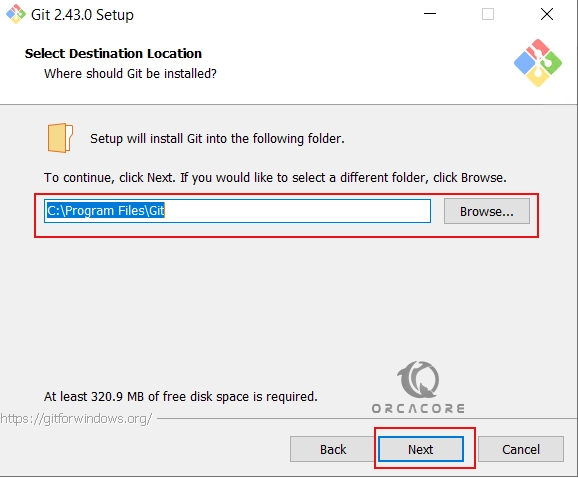
Then, you need to select the destination location for your Git installation. You can choose your desired path or accept the default and click Next.
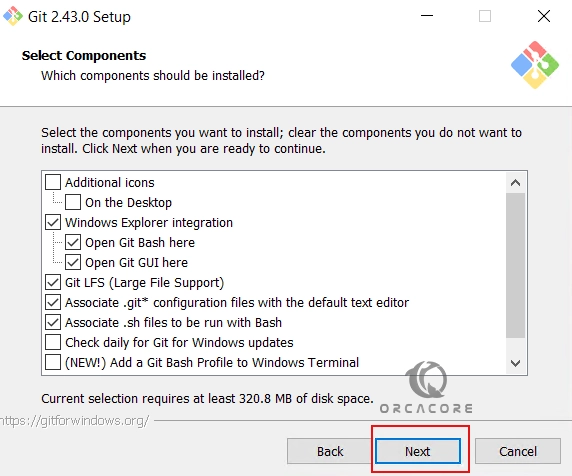
Now you need to select the Git components you want to install. Accept the default components and click Next.
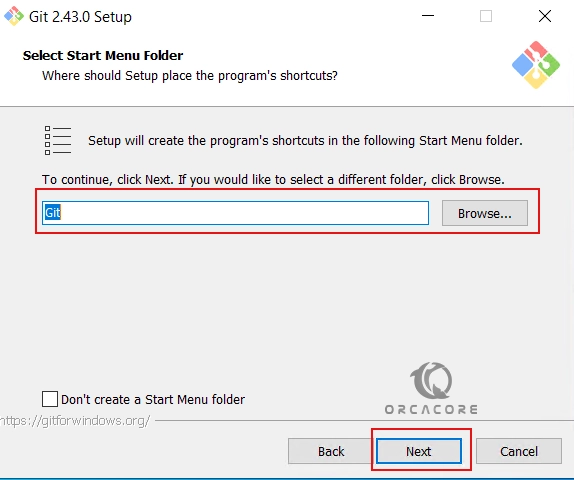
The Git setup will create a start menu folder on Windows Server 2022, click Next to continue.
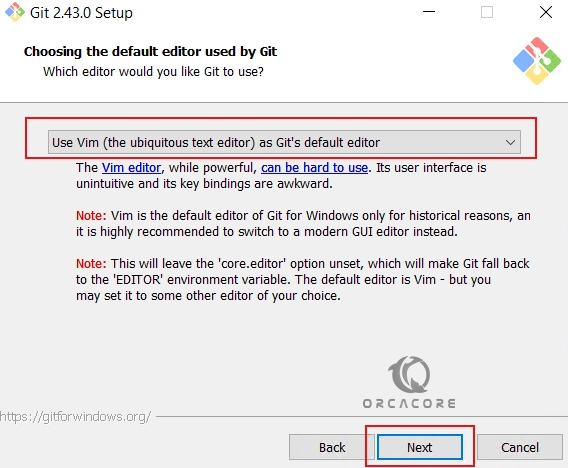
At this point, you must select the default text editor for Git. You can choose the Vim by default and click Next.
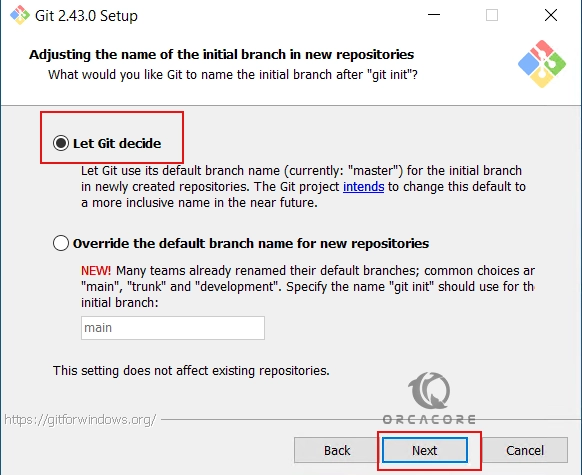
Then, you must adjust the name of the initial branch in new repositories. The default name is master, you can select it and click Next.
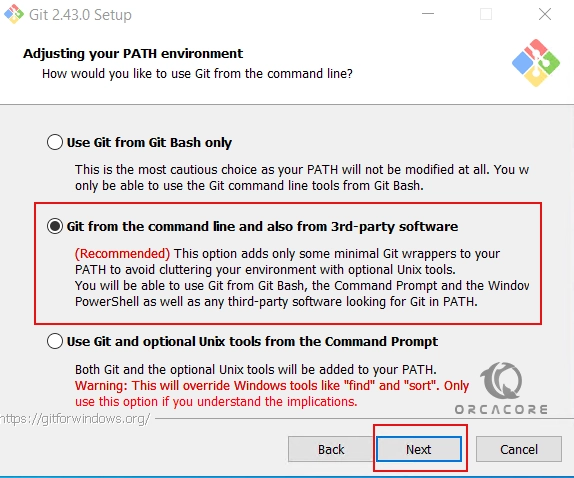
On the next screen, you must adjust the environment path. Select the recommended one and click Next.
Now you must choose the SSH executable for Git. You can leave it by default as Bundled OpenSSH and click Next.

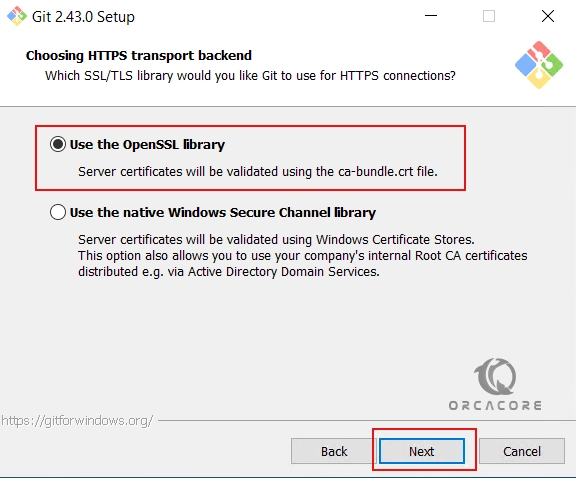
Next, select the OpenSSH library for HTTPs connections and click Next.
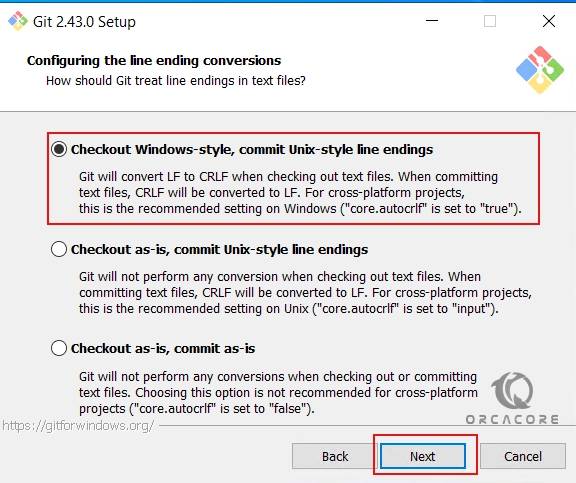
At this point, you must configure the line-ending conversion for Git. Accept the default option and click Next.
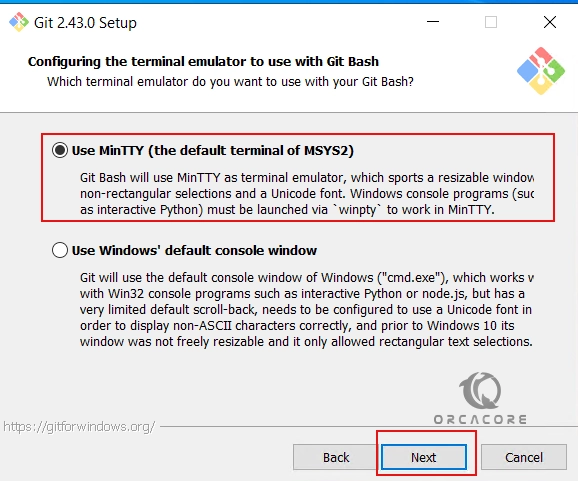
Next, you need to select the terminal emulator for Git Bash. You can choose the default one as MinTTY and click Next.
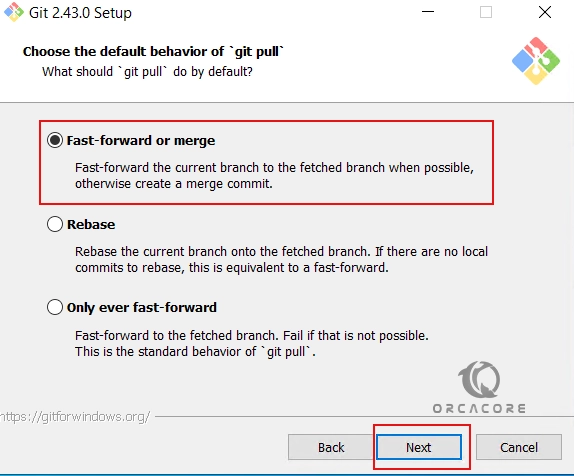
Select the git pull command behavior as fast forward or merge and click Next.
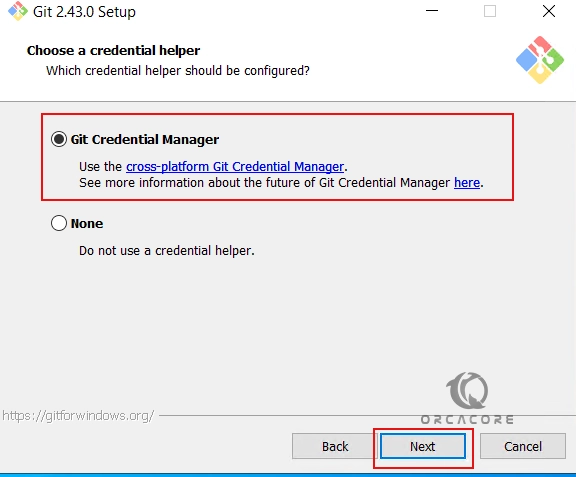
Now select the Git credential manager and click Next.
Enable file system caching for Git and click Next.

Finally, you can start your Git installation on Windows Server 2022. Simply click on Install.
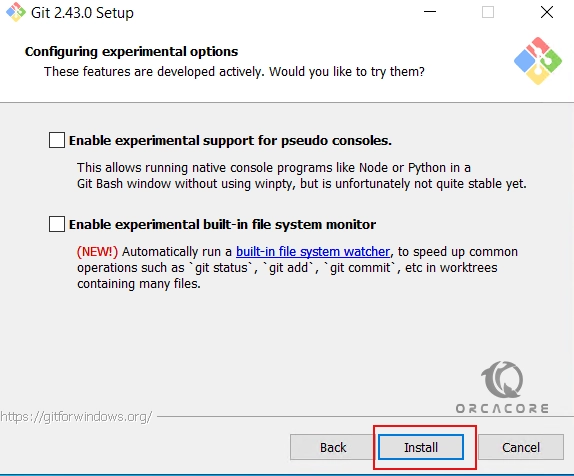
The installation process may take some time to complete.
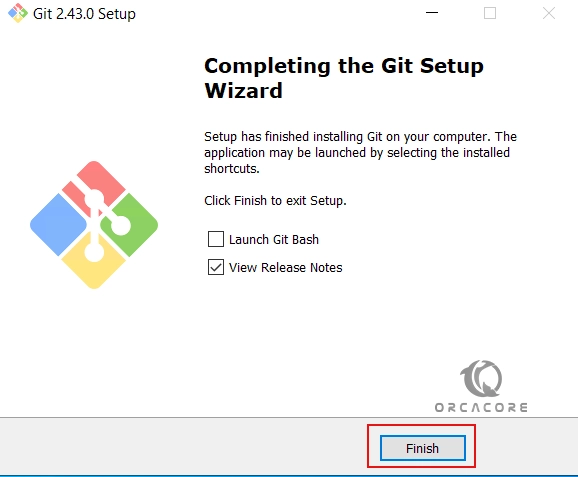
When it is completed, click on Finish.
Step 3 – Launch Git GUI and Git Bash Shell on Windows Server 2022
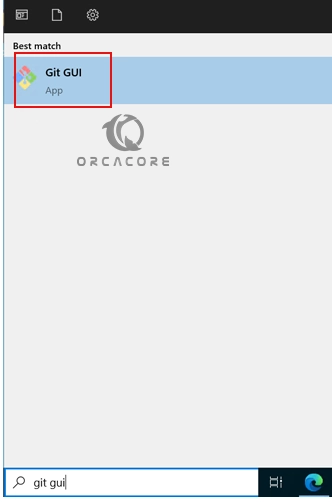
As you may know, Git has two modes available. One is Git GUI which is the graphical user interface and another one is Git Bash shell command line interface. To launch them, follow the steps below.
To access Git GUI, from your search bar, search for the Git GUI and click on it to open the app.
Once you launched the app, you will see:
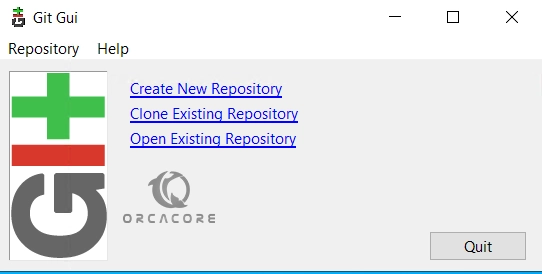
From there, you can create a new repository, clone an existing repository, and open an existing repository.
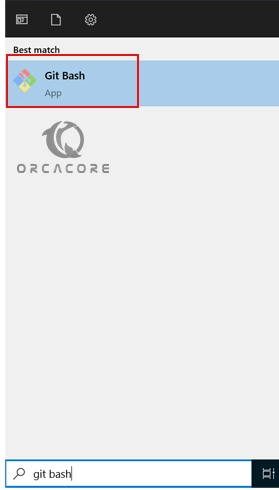
To access Git Shell bash on Windows Server 2022, from your search bar, search for Git Bash and click on it to open.
You will your Git bash terminal. You can verify your Git version by typing the following command:
git --version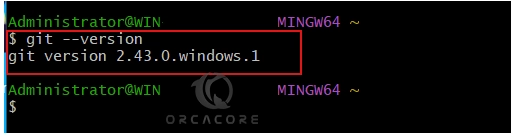
Step 4 – Git Initial Configuration on Windows Server 2022
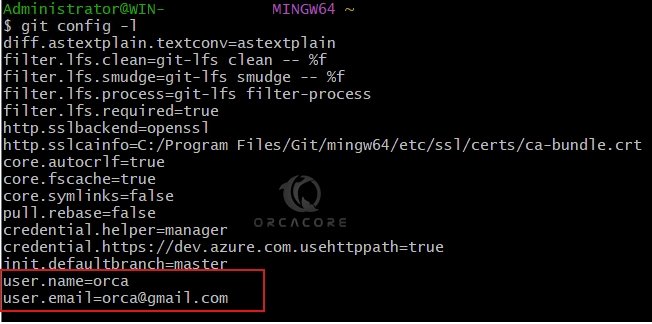
At this point, you can complete your Git setup by creating a username and email for Git. To do this, from your Git bash terminal, run the following commands:
# git config --global user.name "orca"
# git config --global user.email "orca@gmail.com"
Also, you can verify your Git configuration by typing the following command:
git config -lIn your output, you will see:
Note: You can also run the Git command in Windows PowerShell.
That’s it, you are done.
Conclusion
At this point, you have learned to Download the latest Git version from the official website, run your Git Windows installer, install Git on Windows Server 2022, and do the Git initial configuration. Hope you enjoy it.
Also, you may like the following articles: