Share your love
Initial Settings For AlmaLinux 10 After Installation
After installing a new OS, you must configure the initial settings, including updating the system, configuring network settings, creating a sudo user, and enabling the firewall service, among other tasks. This tutorial will show you how to perform initial settings for AlmaLinux 10 after installation.
If you want to install AlmaLinux 10 in a VMware workstation, you can check this guide on How to install AlmaLinux 10 in VMware. Also, if you are using AlmaLinux 9 and want to upgrade your OS, you can check this guide on How to upgrade AlmaLinux 9 to 10.
You can now proceed to the following steps on the Orcacore website to complete Initial Settings for AlmaLinux 10 After Installation.
Table of Contents
Perform Initial Settings For AlmaLinux 10 After Installation
Here we assumed that you have logged in to your AlmaLinux 10 as a root user. Now, proceed to the next steps to start updating the system and other initial settings.
1. Update AlmaLinux 10 System
First of all, you must be sure that all software packages and system security patches are updated. To do this, run the system update with the following command:
dnf update -yOnce you are done, you can clean up your disk space by using the command below:
dnf clean all2. Install Required Utilities on AlmaLinux 10
At this point, you can install some useful packages and tools that are used for most of the tasks on AlmaLinux 10. To do this, run the command below:
dnf install nano vim wget curl net-tools lsof bash-completion -yAs you must know, curl and wget commands are used for downloading packages, and nano and vim are used for editing. The “net-tools” manage local networking. The “lsof” finds the list of open files by the process, and the “bash-completion” command line autocomplete.
3. Configure AlmaLinux 10 Hostname and Networking
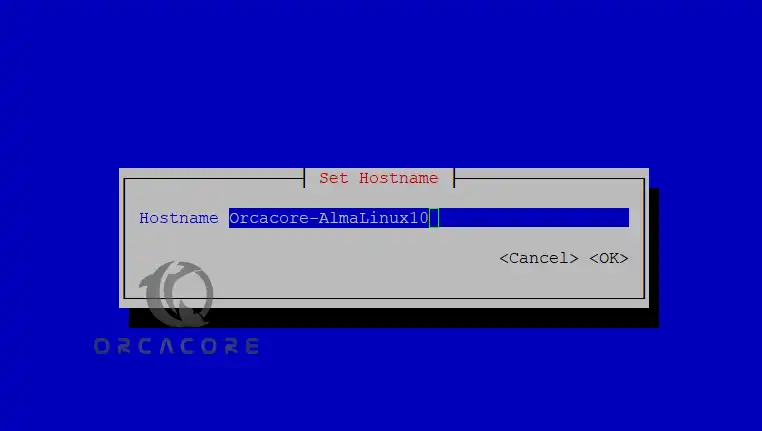
In this step, you can set your hostname and configure your static IP address in AlmaLinux 10. To set the hostname in AlmaLinux 10, you can use the nmtui-hostname command:
nmtui-hostnameYou will see the following screen. Enter your desired hostname and use the arrow key to select OK.
For configuring the static IP address, you can use the following nmtui-edit command:
nmtui-editYou will see the following screen. Select your connection and edit it using the arrow keys.

In the IP settings screen, you can easily set up the network interface IP settings. Then, save your configuration edit, find ‘OK’ by using the ‘tab’ key, and quit.

Once you are done, apply the new settings with the command below:
nmtui-connectSelect the interface you want to manage and press the Deactivate/Activate option to bring up the interface.
Then, you can check your network interface information with the following commands:
# ifconfig eth0
# ip a
For checking your network interface speed, you can use the following commands:
# ethtool eth0
# mii-tool eth0Note: You can list all open network sockets and list all files that are opened by processes with the following commands:
# netstat -tulpn
# ss -tulpn
# lsof -i4 -6
4. Create a Sudo User on AlmaLinux 10
It is recommended to use a non-root user for daily tasks and grant them sudo privileges for administrative commands. To add a new user, you can run the command below:
useradd usernameThen, set a password for your created user:
passwd usernameNow, grant the user sudo privileges by adding it to the Wheel group:
usermod -aG wheel usernameOnce you are done, you can check that the created user has sudo privileges with the commands below:
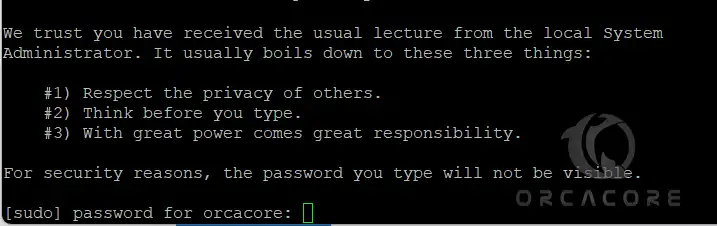
# su - username
# sudo dnf update
Enter the user’s password to execute the system update command.
Configure SSH Passwordless Authentication for Sudo User
At this point, you can set up SSH passwordless authentication for your new user by generating an SSH key pair. To do this, you can use the following command:
sudo ssh-keygen -t RSAYou will be asked for a passphrase; you can enter a strong password or press Enter to leave it blank.

Once it is completed, you need to copy the generated public key pair to a remote server. You can use the following command, replace the username and IP address of the remote server:
sudo ssh-copy-id username@ip-addressWith this option, you are able to log in automatically without the SSH server asking for a password.
Note: You can exit from the user session by using the exit command:
exitStep 5. Disable Remote SSH Access To Root Account
For more security, you can disable remote SSH access to the root account in the SSH configuration file. As the root user, open the SSH config file with your desired text editor, like Vi Editor or Nano Editor:
vi /etc/ssh/sshd_configIn the file, look for the PermitRootLogin line and uncomment the line by removing the ‘#’ from the beginning of the line. And modify the line to No:
PermitRootLogin noOnce you are done, save and close the file. Then, apply the changes with the command below:
systemctl restart sshdNow, when you try to log in as a root user, you will get an SSH Permission Denied error.
Step 6. Install and Enable FirewallD on AlmaLinux 10
Here we assumed that you have disabled SSH root access, and log in to your server as a sudo user. At this point, you can easily install the FirewallD service in AlmaLinux 10 with the command below:
sudo dnf install firewalld -yThen, enable and start the FirewallD service with the following commands:
# sudo systemctl enable firewalld
# sudo systemctl start firewalld
Check that your FirewallD service is active and running:
sudo systemctl status firewalld
Now you can open incoming connections through your firewall service. For example, open the SSH service with the command below:
sudo firewall-cmd --add-service=ssh --permanentTo list all firewall rules, you can use the command below:
sudo firewall-cmd --permanent --list-allStep 7. Manage Systemd Services on AlmaLinux 10
At this point, you can easily manage your service processes on AlmaLinux 10.
To list all active, running, exited, or failed services, you can run the following command:
sudo systemctl list-unitsTo check if a service is automatically enabled during the system boot, run the following command:
sudo systemctl list-unit-files -t serviceAlso, you can easily start and enable a service using the following commands:
# sudo systemctl start service
# sudo systemctl enable service
To stop and start the service again, run the following command:
sudo systemctl restart serviceIf you want to disable a service, you must stop and disable it with the commands below:
# sudo systemctl stop service
# sudo systemctl disable service
If you have made changes to your service, you need to reload it. You can use the following command for this:
systemctl reload serviceAlso, you can check whether the service is active or not with the following command:
sudo systemctl status serviceThat’s it, you are done with initial settings for AlmaLinux 10 after installation.
FAQs
What are the first things I should do after installing AlmaLinux 10?
You should:
-Update the system with dnf update
-Create a non-root user with sudo privileges
-Enable and configure the firewall
-Install essential packages
Is SELinux enabled by default on AlmaLinux 10?
Yes, SELinux is enabled by default in enforcing mode. It is recommended to keep it enabled for enhanced security unless you have a specific use case that requires disabling it.
Can I use a graphical interface on AlmaLinux 10 server?
Yes, though it’s not recommended for servers. You can install GNOME with:sudo dnf groupinstall "Server with GUI"
Conclusion
At this point, you have learned to perform initial settings for AlmaLinux 10 after installation, including updating the system, configuring network settings, managing the firewalld service, installing required packages, creating a new sudo user, etc. These things are essential for better system performance and more security.
Hope you enjoy it. Please subscribe to us on Facebook, X, and YouTube.
You may also like to read the following articles:
Installing AlmaLinux on Windows Just Got Easier