Share your love
Best Steps to Install OpenSSL on Windows Server 2019

In this article, we want to teach you to Install OpenSSL on Windows Server 2019. OpenSSL is an all-around cryptography library that offers open-source applications of the TLS protocol. It is available for Linux, Windows, macOS, and BSD systems. OpenSSL allows users to perform various SSL-related tasks, including CSR (Certificate Signing Request), private keys generation, and SSL certificate installation.
Install and Configure OpenSSL on Windows Server 2019
You can follow the steps below to Install OpenSSL on Windows Server 2019. This guide will cover the installation of OpenSSL on Windows Server 2019, 2016, and 2012.
Download and Install OpenSSL on Windows Server 2019
First, you must visit the OpenSSL Downloads Page and take the latest version of OpenSSL that matches your CPU architecture. You have an option of choosing the Light version or the full version.
Here we will download the 64-bit version.
Also, you can use the curl.exe command to download it from the PowerShell:
curl.exe -L -o Win64OpenSSL.exe https://slproweb.com/download/Win64OpenSSL-3_0_1.exePS C:\Users\Administrator> curl.exe -L -o Win64OpenSSL.exe https://slproweb.com/download/Win64OpenSSL-3_0_1.exe
Output
% Total % Received % Xferd Average Speed Time Time Time Current
Dload Upload Total Spent Left Speed
100 139M 100 139M 0 0 9501k 0 0:00:15 0:00:15 --:--:-- 10.2MWhen your installation is completed, run the installer by double-clicking on .exe file or from PowerShell run the command below:
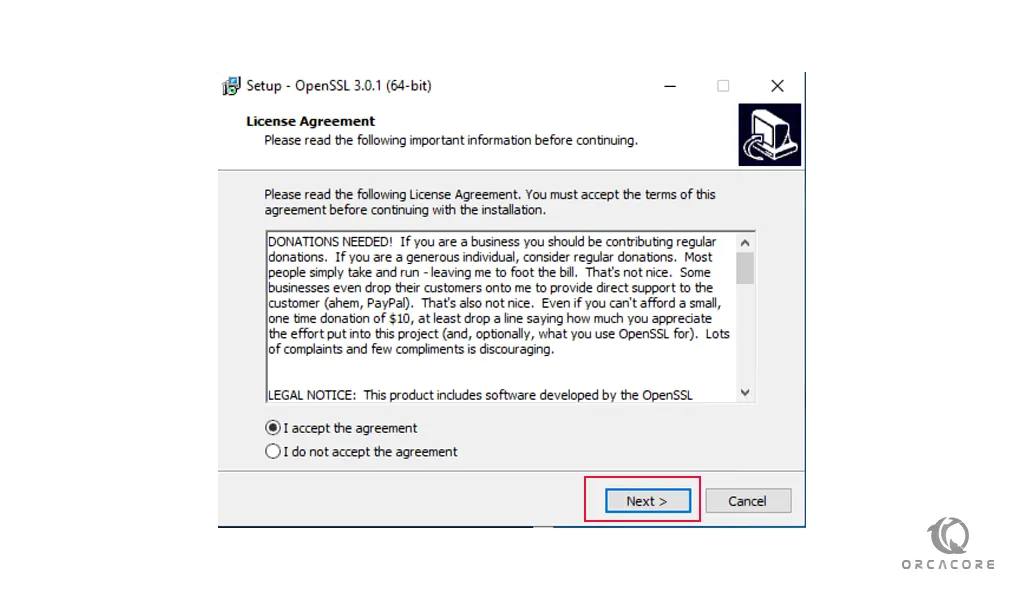
.\Win64OpenSSL.exeThen, accept the Software license agreement and click “Next”.
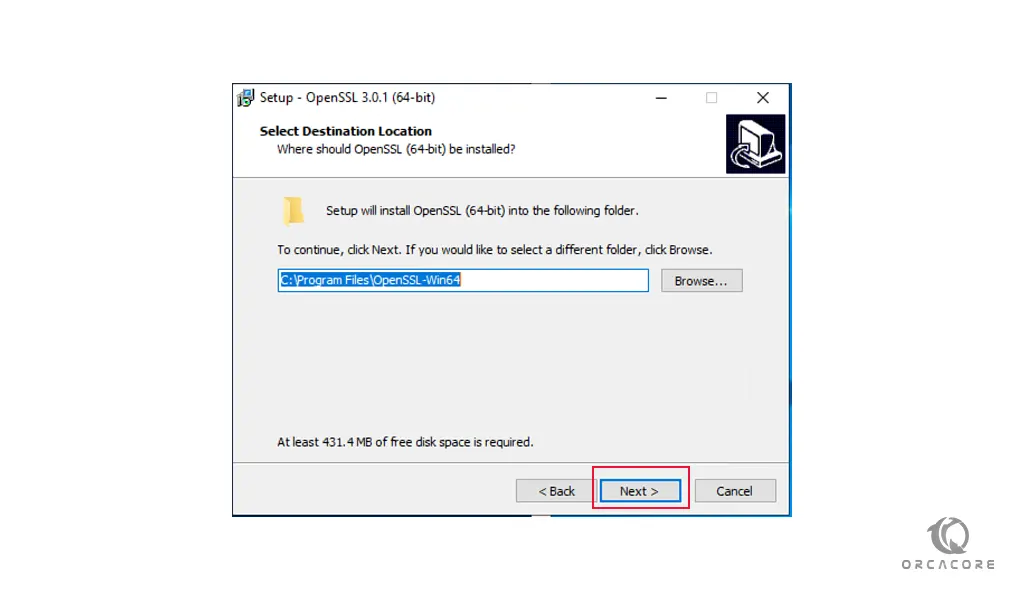
Here you need to select the destination folder where OpenSSL will be installed on your Windows server and click Next.
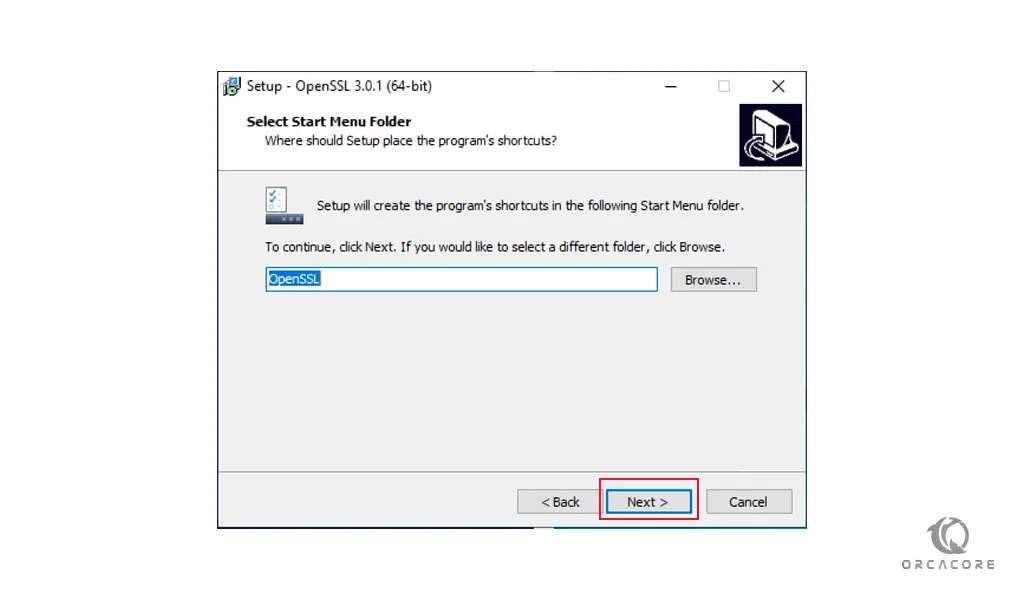
Next, you need to choose the directory for the application shortcut and click next.
At this point, you need to choose the additional tasks to be performed and click next.
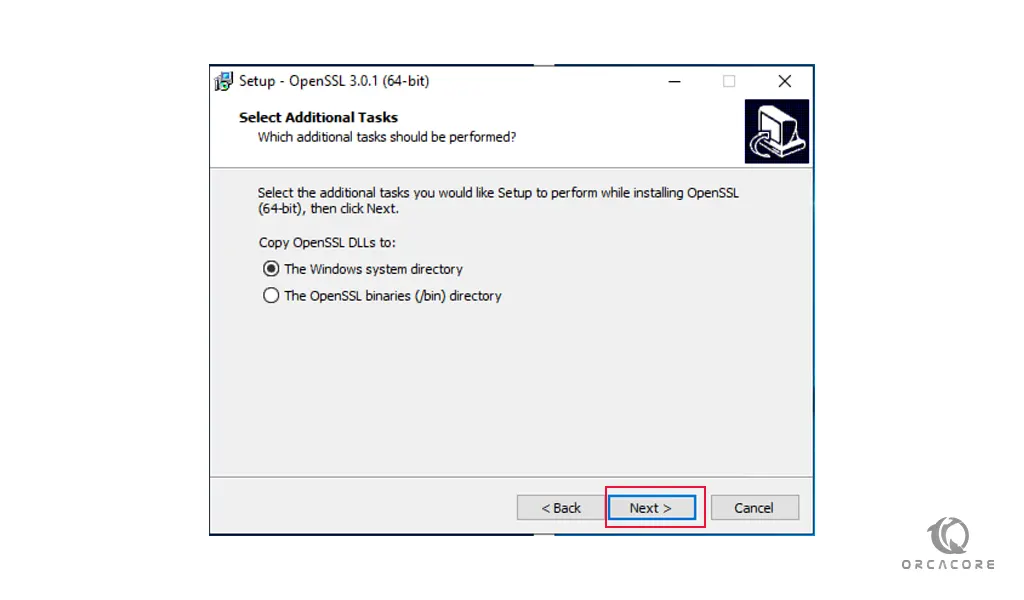
At this point, you can start your OpenSSL installation on Windows Server 2019 by clicking Install.
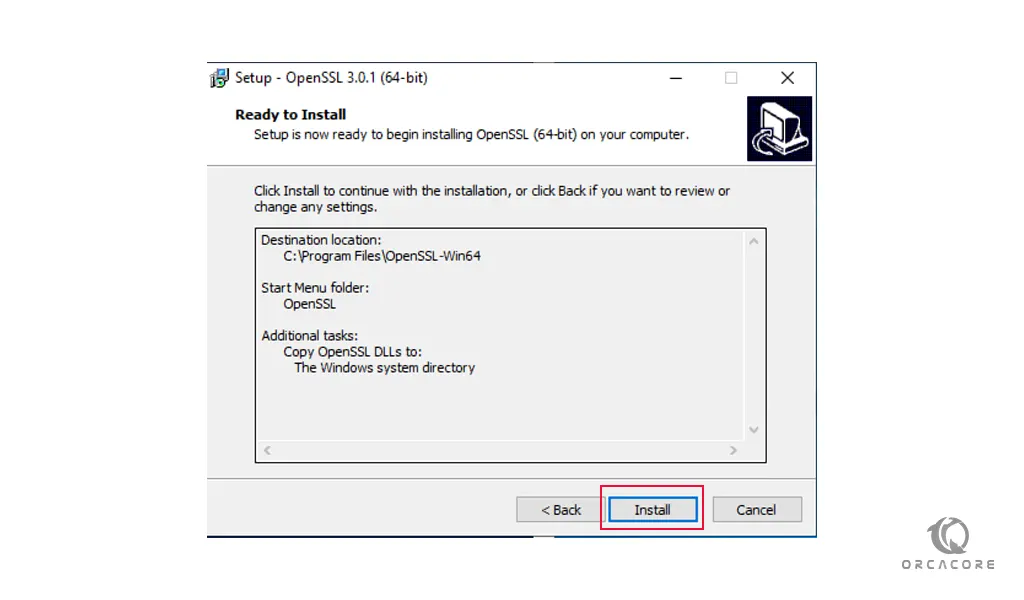
This will take some time to complete.
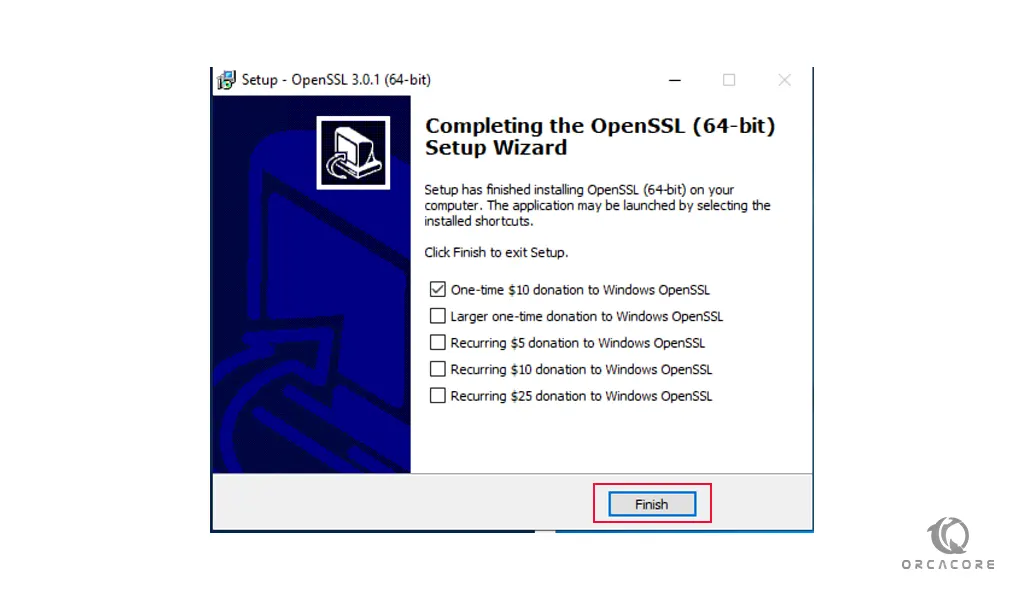
Then, click Finish to end your OpenSSL installation of your Windows Server.
Configure OpenSSL on the Windows Server
At this point, you need to add C:\OpenSSL-Win64 to the Windows environment PATH. From your PowerShell run the command below:
$userenv = [System.Environment]::GetEnvironmentVariable("Path", "User")
[System.Environment]::SetEnvironmentVariable("PATH", $userenv + "C:\OpenSSL-Win64\bin", "User")Note: For a 32-bit system, replace OpenSSL-Win64 with OpenSSL-Win32.
Generate Certificates with OpenSSL on Windows Server
Now you are ready to use OpenSSL on Windows Server 2019 to generate certificates. Start by exporting OPENSSL_CONF.
set OPENSSL_CONF=C:\OpenSSL-Win64\bin\openssl.cfgThen, create a test SSL certificate to validate our installation.
openssl.exe req -new -nodes -keyout server.key -out server.csr -newkey rsa:2048PS C:\Program Files\OpenSSL-Win64\bin> ls
Directory: C:\Program Files\OpenSSL-Win64\bin
Mode LastWriteTime Length Name
---- ------------- ------ ----
d----- 3/2/2022 3:05 AM cnf
d----- 3/2/2022 3:05 AM PEM
-a---- 2/24/2022 9:38 AM 8299 CA.pl
-a---- 2/24/2022 9:38 AM 71680 capi.dll
-a---- 2/24/2022 9:38 AM 46592 dasync.dll
-a---- 2/24/2022 9:38 AM 155136 legacy.dll
-a---- 2/24/2022 9:38 AM 5125632 libcrypto-3-x64.dll
-a---- 2/24/2022 9:38 AM 772096 libssl-3-x64.dll
-a---- 2/24/2022 9:38 AM 83456 loader_attic.dll
-a---- 2/24/2022 9:38 AM 12292 openssl.cfg
-a---- 2/24/2022 9:38 AM 714240 openssl.exe
-a---- 2/24/2022 9:38 AM 49664 ossltest.dll
-a---- 2/24/2022 9:38 AM 58368 padlock.dll
-a---- 2/24/2022 9:38 AM 7608 progs.pl
-a---- 2/24/2022 9:38 AM 38400 p_test.dll
-a---- 2/24/2022 9:38 AM 6946 tsget.pl
PS C:\Program Files\OpenSSL-Win64\bin> ./openssl.exe req -new -nodes -keyout server.key -out server.csr -newkey rsa:2048Conclusion
At this point, you learn to Install and Configure OpenSSL on Windows Server 2019. Hope you enjoy it.
May you will be interested in these articles:


