Share your love
Best Steps To Install Docker Desktop on Windows 10/11

This guide intends to show you how to Install Docker Desktop on Windows. As you know, Docker is a tool used to develop, distribute, and run applications in an isolated environment. Docker Desktop is a tool that you can manage your Docker components from a graphical user interface.
You can follow the steps below on the Orcacore website to set up the Docker desktop on Windows 10 and Windows 11.
Table of Contents
Steps To Install Docker Desktop on Windows
To complete the Docker Desktop for Windows Setup, you must log in to your Windows Client and follow the steps below.
Step 1 – Download Docker Desktop Installer
You can easily use an installer to download and install Docker Desktop. To do this, visit the Docker Windows page and click on Docker Desktop For Windows to download the package.

Step 2 – Install Docker Desktop
Double-click on your downloaded file when your download is completed and start your installation process.
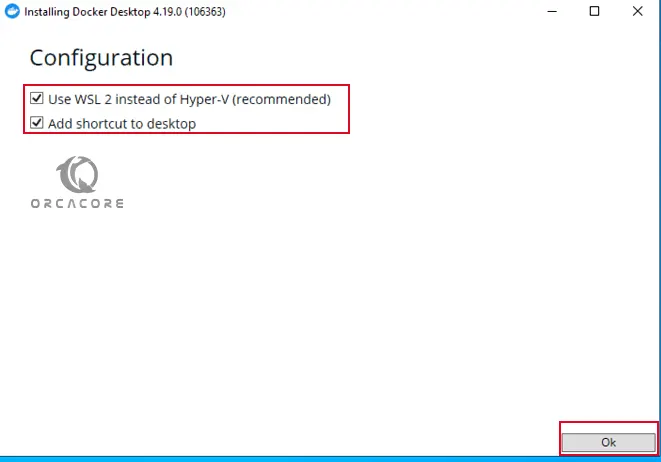
First, you will see the following configuration screen, check the boxes next to the recommended options and click ok.
At this point, your Docker desktop installation process will start. Wait for the process to finish.

When it is completed, you will get the following message that your windows must be restarted. Click on close and restart.

You should accept the Docker desktop license agreement when you have restarted your Windows.

Step 3 – Access Docker Desktop GUI
At this point, your Docker desktop dashboard should be opened for you automatically. If it didn’t, click on the Docker desktop icon on your desktop, or from your search bar search for it find it.
Then, you will see that your Docker engine should be started on your Windows.
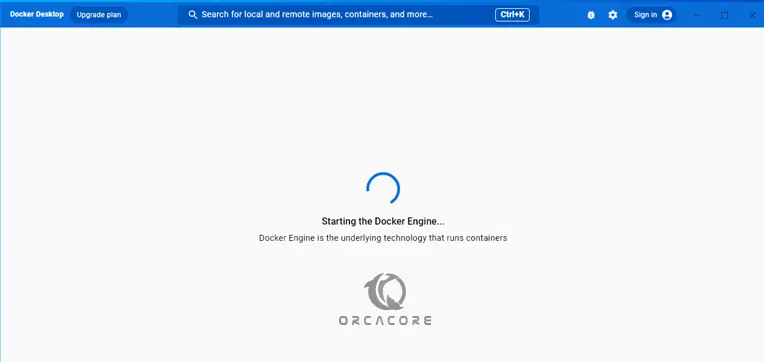
From there, you can easily manage your Docker container, images, volumes, etc.
Step 4 – Execute Docker Commands on Windows
At this point, you can also access the Docker CLI on your Windows system. To verify this, simply open your PowerShell and run the docker command:
PS C:\Users\Administrator> dockerYou should get the following output:
Output
Usage:  docker [OPTIONS] COMMAND

A self-sufficient runtime for containers

Common Commands:
  run         Create and run a new container from an image
  exec        Execute a command in a running container
  ps          List containers
  build       Build an image from a Dockerfile
  pull        Download an image from a registry
  push        Upload an image to a registry
  images      List images
  login       Log in to a registry
  logout      Log out from a registry
  search      Search Docker Hub for images
  version     Show the Docker version information
  info        Display system-wide information
...
As you can see, you have full access to Docker CLI on your Windows too.
Conclusion
If you are a Docker user and you use the Windows operating system, you can easily use the Docker desktop tool to manage your Docker components such as containers, images, volumes, etc. Also, you can use the Docker CLI on your Windows. Hope you enjoy it.
Also, you may like to read the following Docker Tutorials:
Set up Docker CE For Ubuntu 24.04
Docker Compose Installation on Ubuntu 24.04