Share your love
Install Nessus Scanner on Windows Server 2019
In this article, we want to teach you to Install Nessus Scanner on Windows Server 2019.
Nessus is a remote security scanning tool, which scans a computer and raises an alert if it discovers any vulnerabilities that malicious hackers could use to gain access to any computer you have connected to a network.
Steps To Install and Configure Nessus Scanner on Windows Server 2019
To install the Nessus scanner on your Windows server, you can follow the steps below.
Installing Nessus on Windows Server 2019
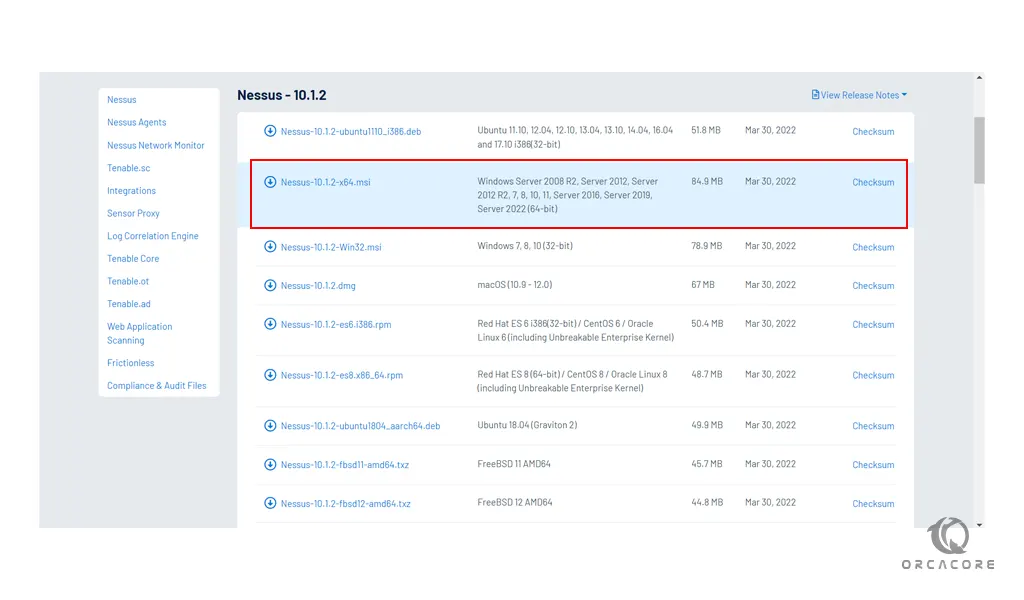
First, you need to visit the Nessus Downloads page and download Nessus for Windows Server 2019.
Download Nessus Scanner For Windows
When your download is completed, click on your downloaded file to start your Nessus installation on Windows server 2019.
You will see the InstallShield wizard for Nessus. Click Next to continue. Then, accept the terms in the license agreements and click Next.
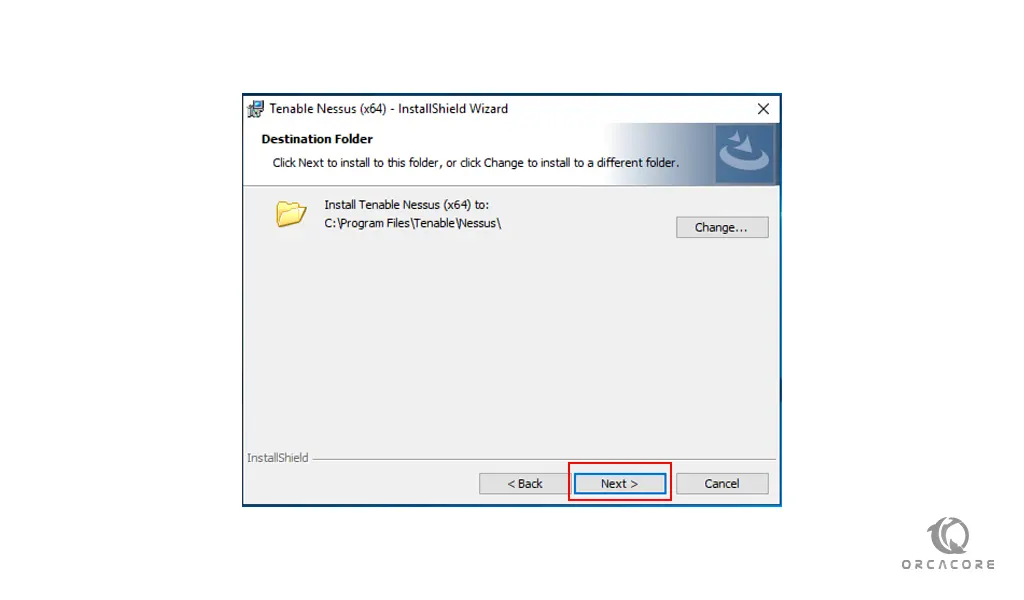
At this point, you will see the Destination folder screen. You need to choose your path to install the Nessus scanner on your windows server and click Next.
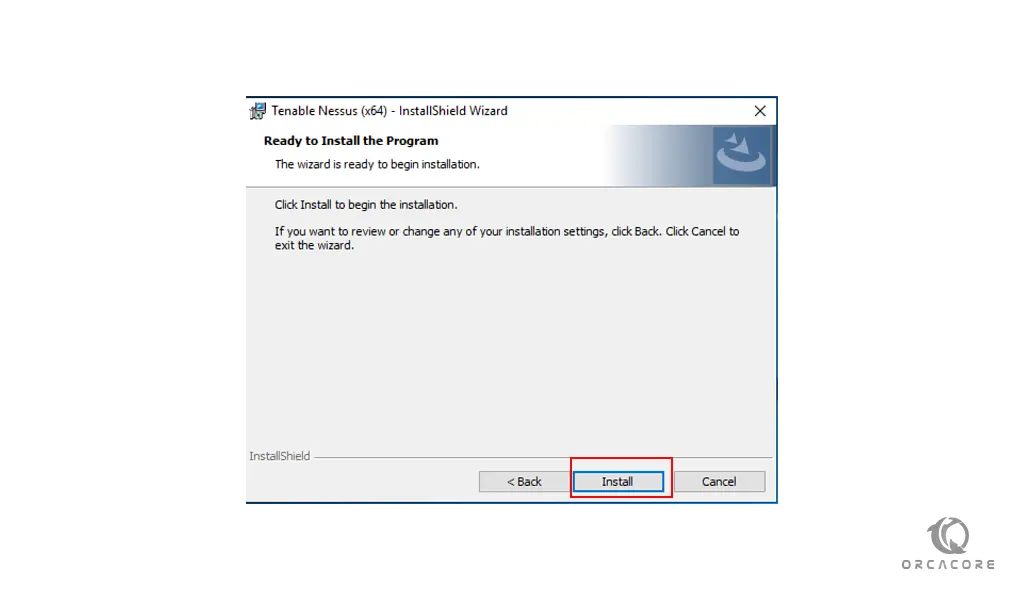
Now your wizard is ready to begin your Nessus installation on Windows server 2019, Click Install.
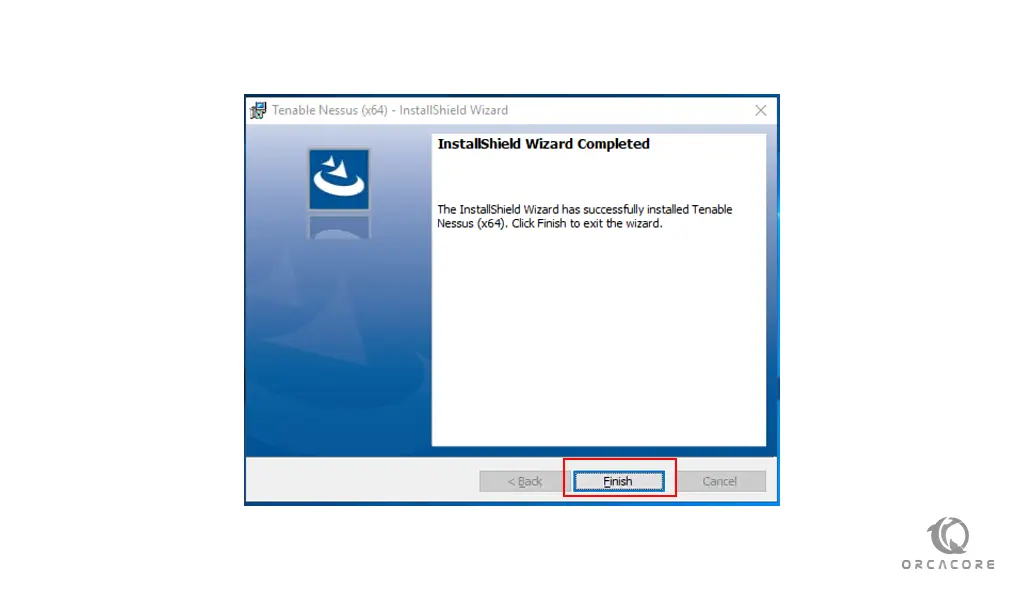
Finally, click on Finish to complete the Nessus installation process.
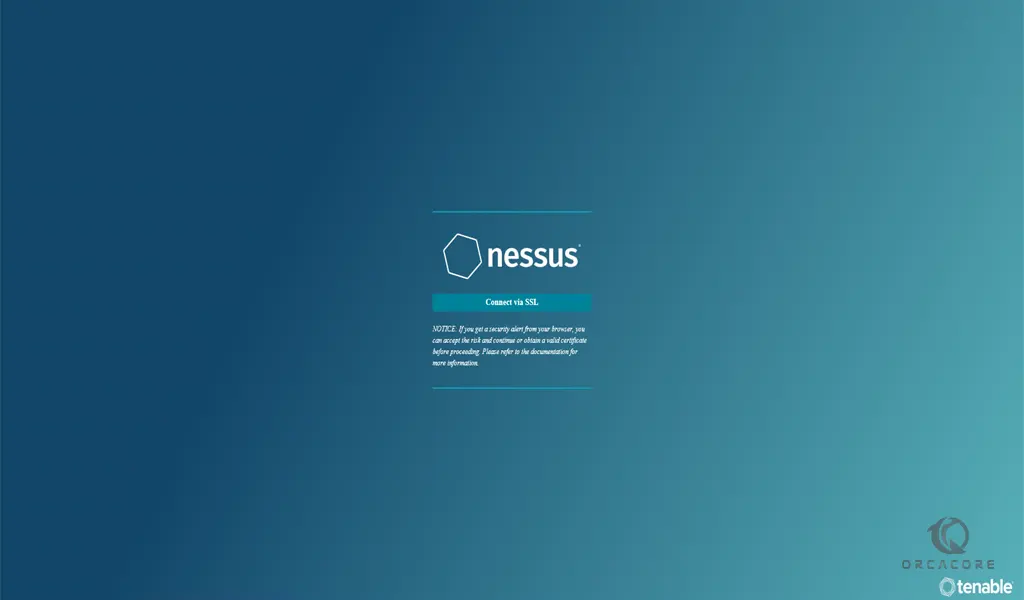
After clicking on the finish, you will see the following image in your browser.
Note: If you have not already installed WinPcap on your system, you should follow the steps below to install WinPcap on Windows server 2019 to use Nessus.
Installing WinPcap on Windows Server 2019
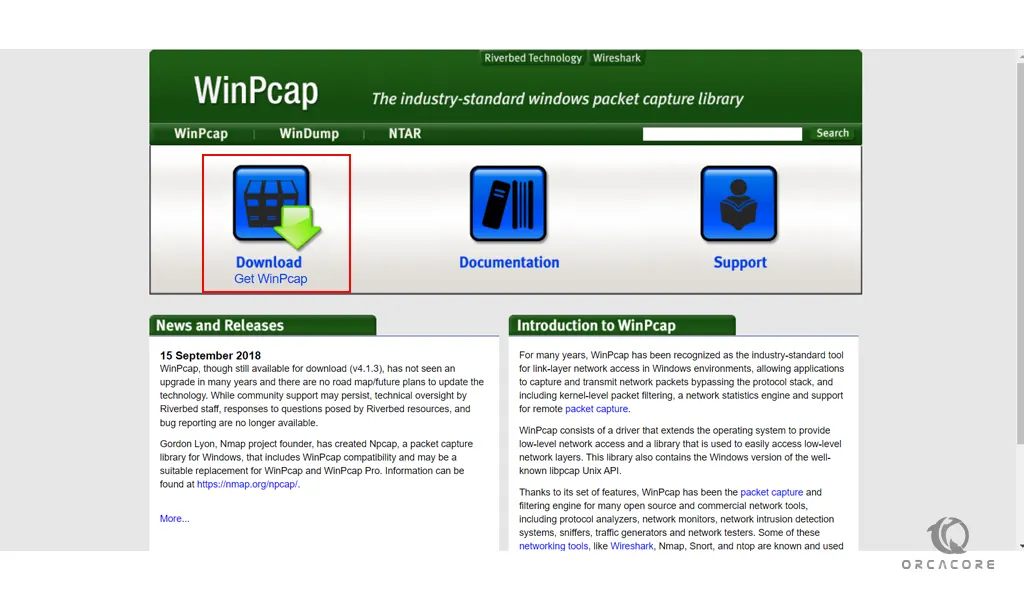
WinPcap is an Industry-standard tool that allows access to connections between layers of a network (connectivity and selection between two host systems) in Windows environments. It enables capturing and transmitting network packets that bypass the protocol stack, including kernel-level packet filtering, a network statistics engine, and support for remote packet capture.
To install Winpcap on Windows server 2019, first, you need to visit the WinPcap page and download it on your system.
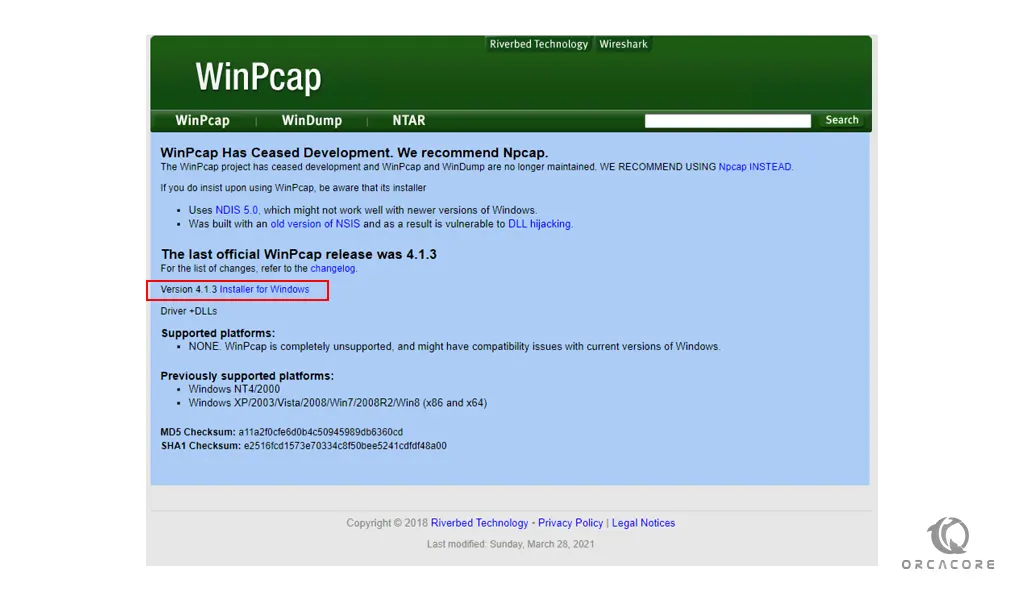
Then, you need to click Installer for Windows.
Next, click on your downloaded file. You will see the setup wizard for WinPcap. Click Next to continue.
Accept the license agreement by clicking on I Agree.
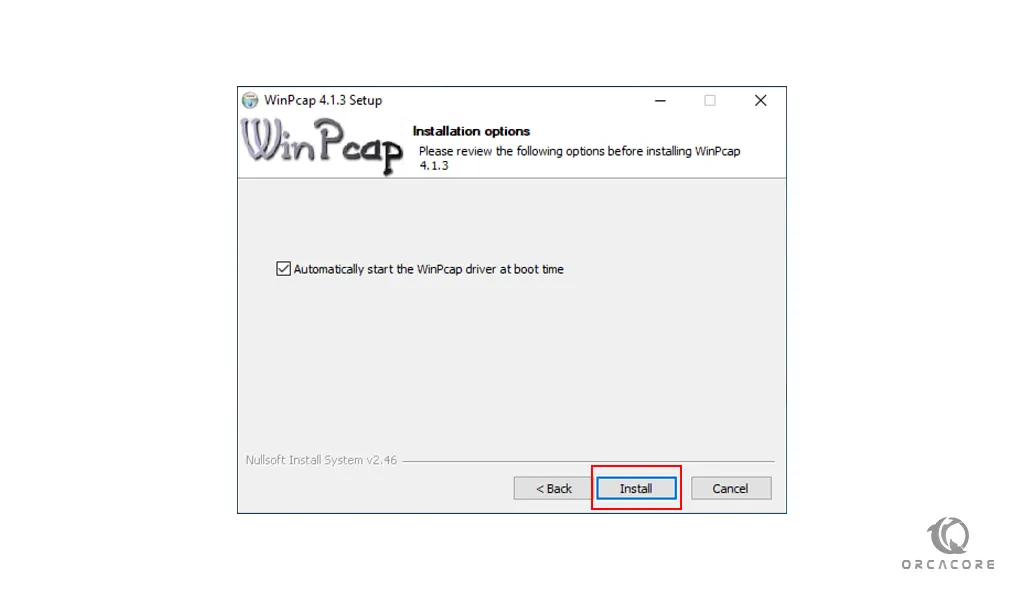
At this point, you start your WinPcap installation on Windows server 2019 by clicking on Install.
Finally, click on Finish.
Let’s see how to configure the Nessus scanner on your Windows server.
Configure Nessus on Windows Server
At this point, you have successfully installed Nessus on your system. Now we want to show you how to configure it.
First, from your Nessus screen on your web browser click on connect via SSL.
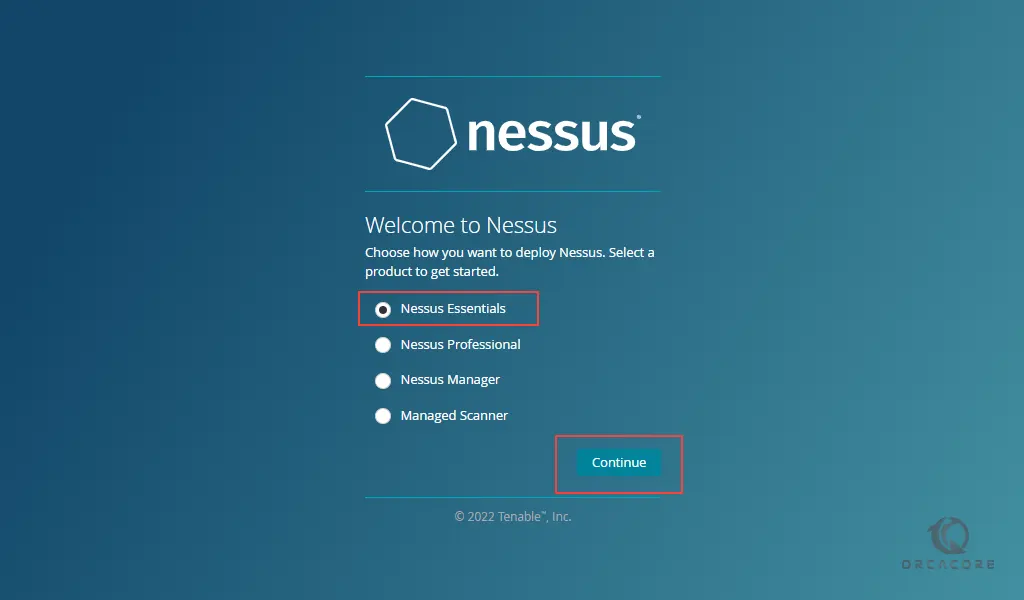
Then, you will see the Nessus welcome screen. You need to choose how you want to deploy Nessus. Select a product to get started.
Note that if you selected Nessus Professional or Nessus Manager, the Register Nessus page will appear.
Also, if you select Nessus Essentials, the activation code download screen will appear.
Nessus Essentials
Here we select the Nessus essentials on Windows server 2019.
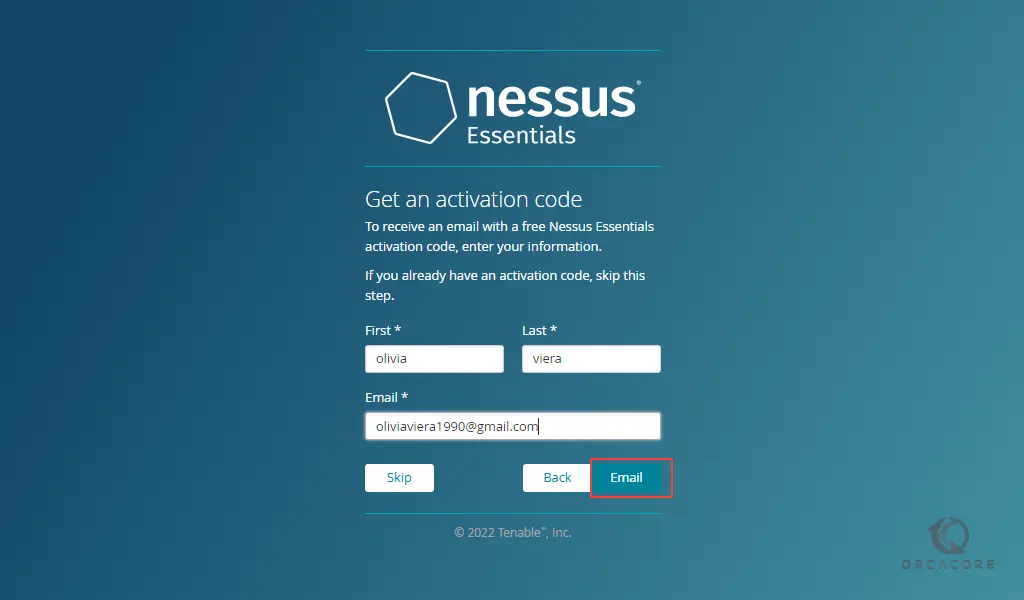
Next, if you need an activation code, type your name and email address on the activation code download page. Then click on the Email. You can now check your email for your free activation code.
Note that if you already have the activation code, click Skip.
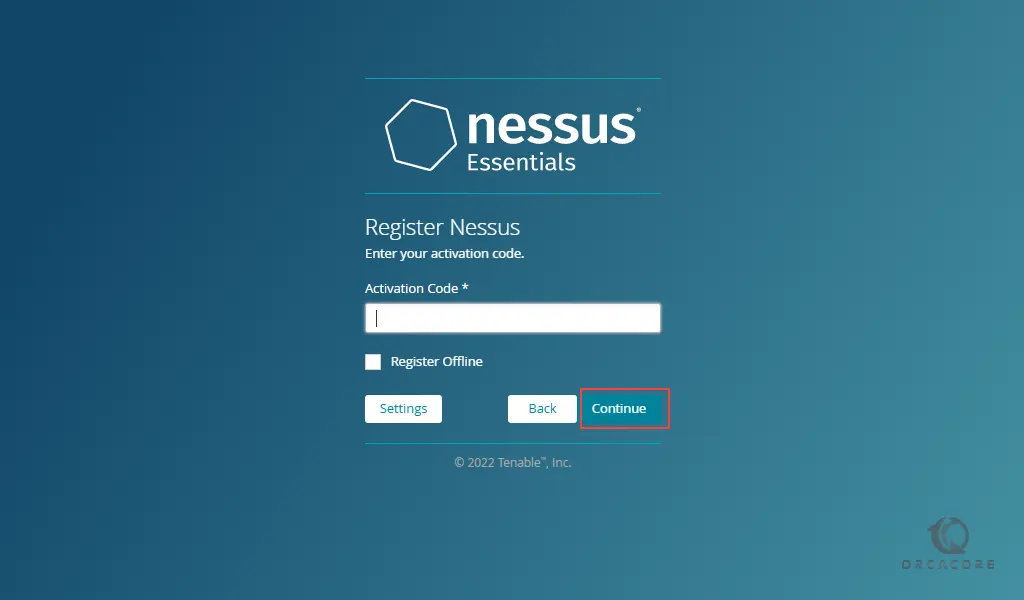
After completing the above steps, you must now type your activation code on the Register Nessus page and click continue.
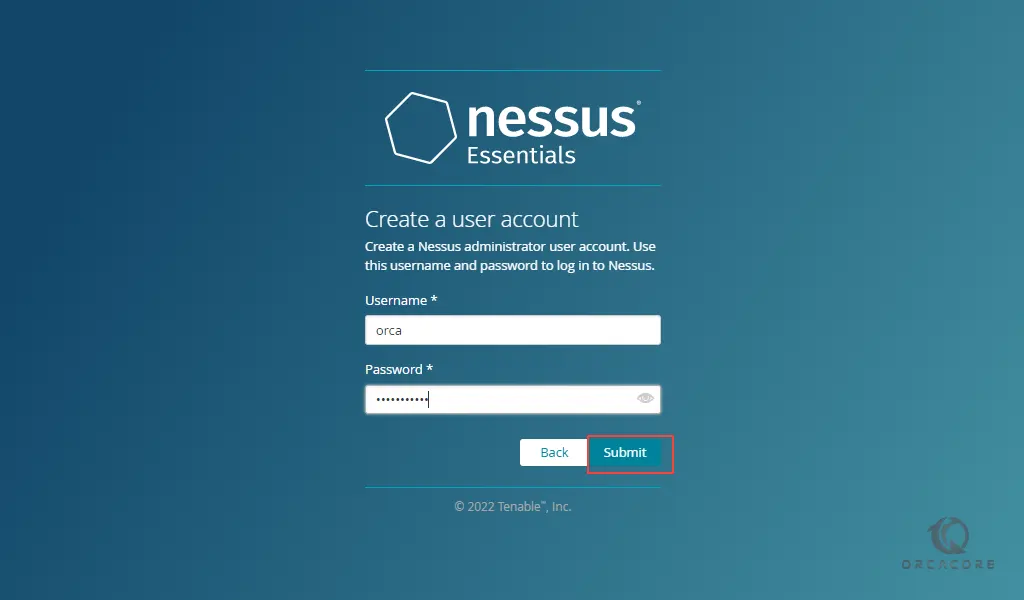
At this point, you need to create a Nessus Admin account that you use to log in to Nessus. Here you have to click on Submit after entering a username and password.
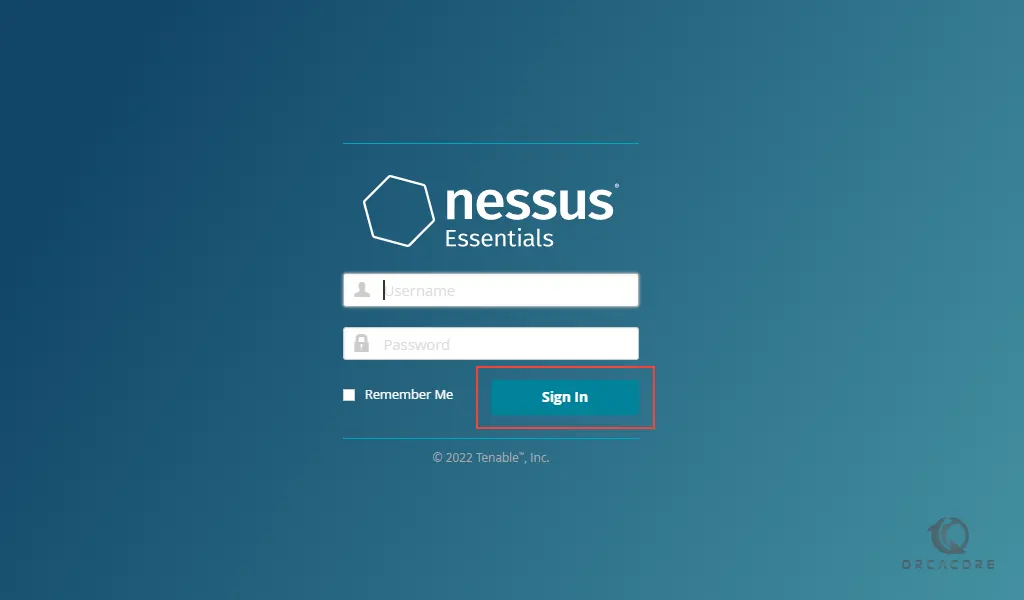
Now Nessus completes the configuration process on windows server 2019. Then, you will see your Nessus login screen. Enter your username and password and click Sign in.
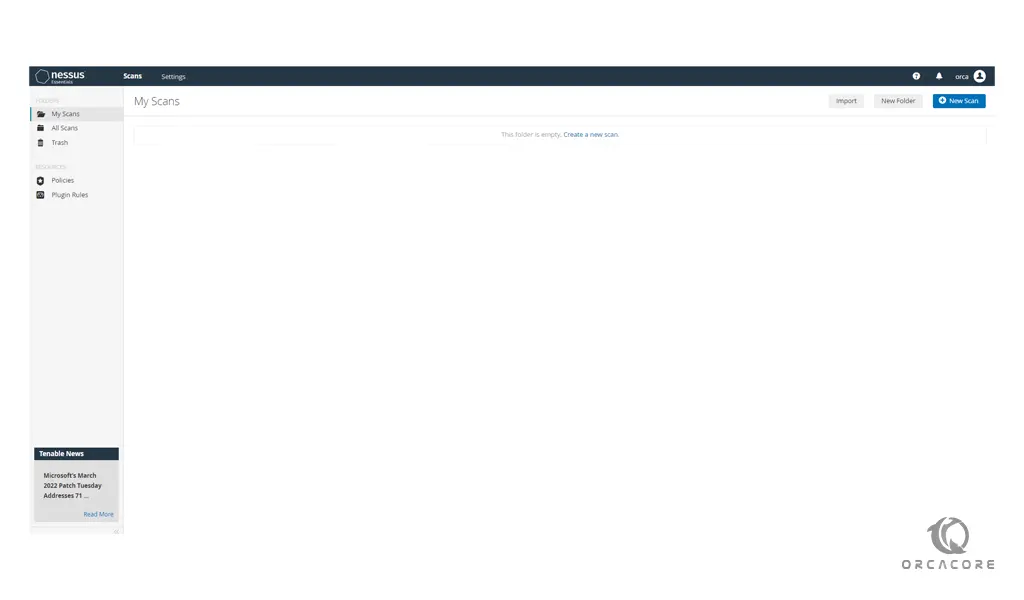
At this point, you will see your Nessus dashboard.
Conclusion
At this point, you learn to Install and Configure Nessus Scanner on Windows Server 2019.
Hope you enjoy it.
You may be like these articles:
How To Install Node.js on Windows Server 2019