Share your love
Install and Secure Wekan Server on Rocky Linux 8

In this guide, we want to teach you to Install and Secure Wekan Server on Rocky Linux 8.
Wekan is an open-source Kanban board application that allows you to manage your daily tasks with (virtual) cards. You can create boards and cards and move them between columns as you make progress on each task.
You can also add people who work with you to the tasks on the board. Like other Kanban tools, Wekan also allows you to use colored labels on cards to facilitate grouping, filtering, and assigning them to specific people. Because Wekan is open source (distributed under an MIT License), it’s easy to modify and use.
Install and Secure Wekan Server on Rocky Linux 8
To install the Wekan server, you need some requirements.
Requirements
First, you must log in to your server as a non-root user with sudo privileges and set up a basic firewall. To do this, you can follow our guide the Initial Server Setup with Rocky Linux 8.
Then, you need to have LEMP Stack installed on your server. You can follow this guide on How To Install LEMP Stack on Rocky Linux 8.
Also, you need to have a domain name that pointed to your server’s IP address.
Now follow the steps below to complete this guide.
Install Snapd on Rocky Linux 8
In this guide, we use the Snap package management to install the Wekan server. To install an enable snapd tool, run the commands below:
# sudo dnf install epel-release
# sudo dnf install snapd
# sudo systemctl enable --now snapd.socket
# sudo ln -s /var/lib/snapd/snap /snap
Now you need to install SSL to secure your server.
Install SSL on Rocky Linux 8
At this point, you need to get an SSL certificate for your domain.
First, install the mod-ssl package on Rocky Linux 8 with the following command:
sudo dnf install mod_ssl
Then, you need to install the certbot client which is used to create Let’s Encrypt certificates:
sudo dnf install python3-certbot-nginx -yNow run the certbot to get your SSL certificates:
certbot --nginx --agree-tos --redirect --hsts --staple-ocsp --email your-email -d your-domainConfigure Nginx Reverse Proxy for Wekan Server on Rocky Linux 8
At this point, you need to make some changes to the Nginx configuration file for Wekan on Rocky Linux 8.
Open the file with your favorite text editor, here we use vi:
sudo vi /etc/nginx/nginx.confDelete the lines in the file and add the following content to the file:
# For more information on configuration, see:
#   * Official English Documentation: http://nginx.org/en/docs/
#   * Official Russian Documentation: http://nginx.org/ru/docs/

user nginx;
worker_processes auto;
error_log /var/log/nginx/error.log;
pid /run/nginx.pid;

# Load dynamic modules. See /usr/share/doc/nginx/README.dynamic.
include /usr/share/nginx/modules/*.conf;

events {
    worker_connections 1024;
}

http {
    log_format  main  '$remote_addr - $remote_user [$time_local] "$request" '
                  '$status $body_bytes_sent "$http_referer" '
                  '"$http_user_agent" "$http_x_forwarded_for"';

    access_log  /var/log/nginx/access.log  main;

    sendfile            on;
    tcp_nopush          on;
    tcp_nodelay         on;
    keepalive_timeout   65;
    types_hash_max_size 2048;

    include             /etc/nginx/mime.types;
    default_type        application/octet-stream;

    # Load modular configuration files from the /etc/nginx/conf.d directory.
    # See http://nginx.org/en/docs/ngx_core_module.html#include
    # for more information.
    include /etc/nginx/conf.d/*.conf;
}
When you are done, save and close the file.
Here you need to create an Nginx configuration file for your domain. Create and open the file with your favorite text editor:
sudo vi /etc/nginx/conf.d/your-domain.confAdd the following content to the file:
upstream app {
    server server-ip:3001;
}

server {
listen 80 default_server;
server_name your-domain;
return 301 https://$server_name$request_uri;
}

server {
    listen 443 ssl; # managed by Certbot
    # The host name to respond to
    server_name your-domain;

    ssl_certificate /etc/letsencrypt/live/your-domain/fullchain.pem; # managed by Certbot
    ssl_certificate_key /etc/letsencrypt/live/your-domain/privkey.pem; # managed by Certbot
    include /etc/letsencrypt/options-ssl-nginx.conf; # managed by Certbot
    ssl_dhparam /etc/letsencrypt/ssl-dhparams.pem; # managed by Certbot

    location / {
    proxy_pass http://app;
    proxy_set_header X-Real-IP  $remote_addr;
    proxy_set_header X-Forwarded-For $remote_addr;
    proxy_set_header Host $host;
    proxy_set_header X-Real-Port $server_port;
    proxy_set_header X-Real-Scheme $scheme;
    }
}
When you are done, save and close the file.
Restart Nginx and check its status with the following commands:
# sudo systemctl restart nginx
# sudo systemctl status nginx
Output ● nginx.service - The nginx HTTP and reverse proxy server Loaded: loaded (/usr/lib/systemd/system/nginx.service; disabled; vendor pres> Drop-In: /usr/lib/systemd/system/nginx.service.d └─php-fpm.conf Active: active (running) since Wed 2022-08-10 07:56:43 EDT; 5s ago Process: 94354 ExecStart=/usr/sbin/nginx (code=exited, status=0/SUCCESS) Process: 94344 ExecStartPre=/usr/sbin/nginx -t (code=exited, status=0/SUCCESS) Process: 94343 ExecStartPre=/usr/bin/rm -f /run/nginx.pid (code=exited, statu> Main PID: 94355 (nginx) Tasks: 3 (limit: 11413) Memory: 5.1M CGroup: /system.slice/nginx.service ├─94355 nginx: master process /usr/sbin/nginx ...
At this point, you need to enable the HTTP and HTTPS connections and port 3001 for Wekan through the Rocky Linux firewall with the commands below:
# sudo firewall-cmd --zone=public --permanent --add-port 80/tcp
# sudo firewall-cmd --zone=public --permanent --add-port 443/tcp
# sudo firewall-cmd --zone=public --permanent --add-port 3001/tcp
# sudo firewall-cmd --reload
Install Wekan on Rocky Linux 8
At this point, you can install Wekan on your server with the snap command:
snap install wekan
Output
wekan 6.09 from Lauri Ojansivu (xet7) installed
Then, you need to set the root URL for Wekan:
snap set wekan root-url="https://your-domain"
Now you need to set a port number for Wekan:
snap set wekan port='3001'
Finally, restart MongoDB and Wekan on Rocky Linux 8:
# systemctl restart snap.wekan.mongodb
# systemctl restart snap.wekan.wekan
Access Wekan Web Interface
At this point, you can access your Wekan web interface by typing your domain name or server’s IP address in your web browser:
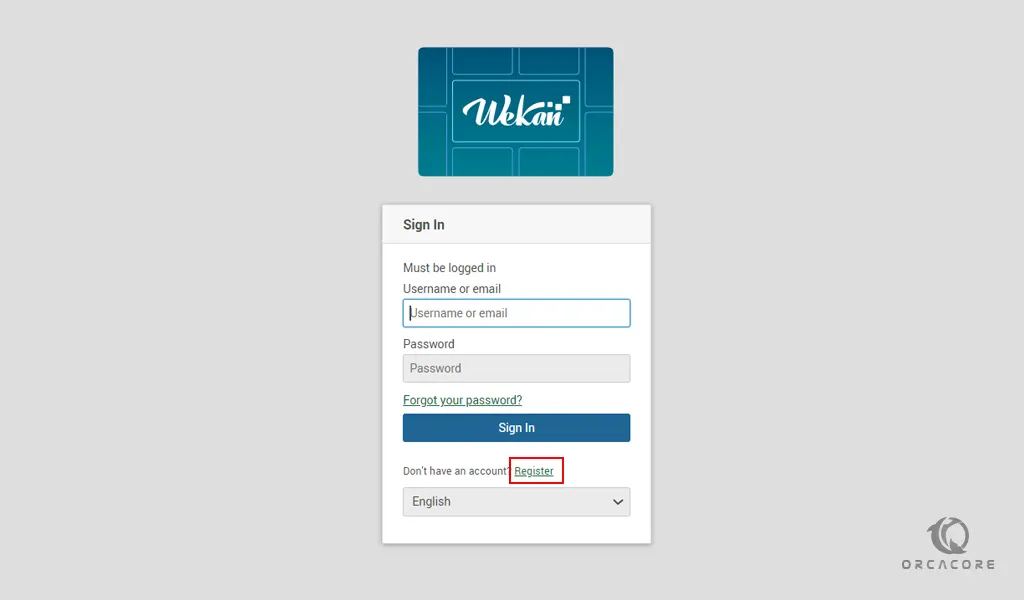
https://your-domain-or-IP/sign-inYou will see the Wekan server login screen. If you don’t have an account click Register.

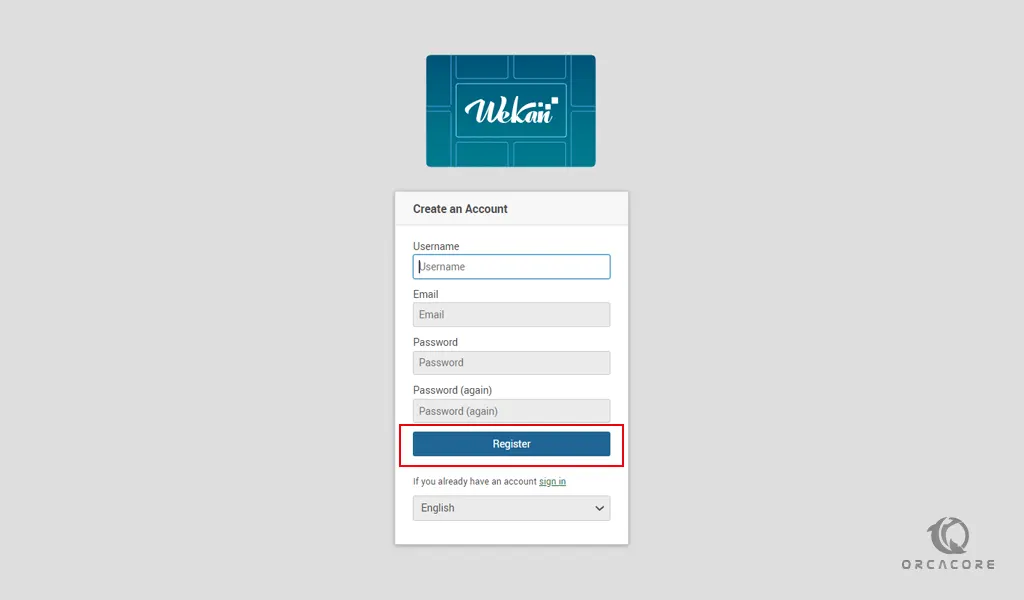
Now create a Wekan account and click register.

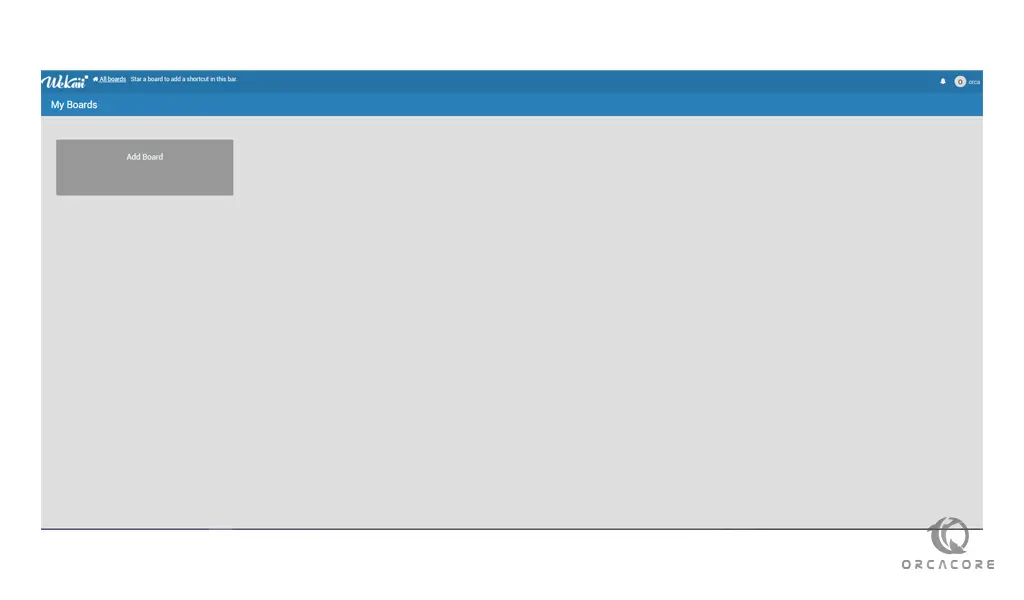
Here you will see your Wekan server dashboard.

From here you can manage your daily tasks with (virtual) cards.
Conclusion
At this point, you learn to Install and Secure Wekan Server on Rocky Linux 8.
Hope you enjoy it.
Also, you may find the following links useful:
Install and Secure Wekan Server on AlmaLinux 9
How To Install Wekan Server on Ubuntu 22.04


