Share your love
Network Analysis with Wireshark On Windows Server 2022 Best Steps
In this guide, you will learn Network Analysis with Wireshark On Windows Server 2022. Wireshark is a network protocol analyzer that is used for diagnosing network problems and increasing security. You can follow the steps below provided by the Orcacore team to simply download and install Wireshark on your server and start using it.
Table of Contents
Steps To Network Analysis with Wireshark On Windows Server 2022
Before you start your Wireshark installation, log in to your Windows server as an administrator and be sure that your system is up to date and doesn’t have any pending updates. Then, follow the steps below to complete this guide.
Step 1 – Download Wireshark Windows Installer
First, you must visit the Wireshark Download page and get the Windows installer appropriate for your system architecture.

Once your download is completed, proceed to the next step to start your Wireshark installation.
Step 2 – Install Wireshark on Windows Server 2022
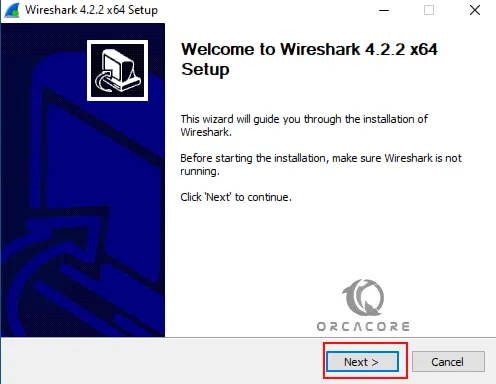
At this point, open your Wireshark downloaded file to start your setup. On the Welcome screen, click Next.
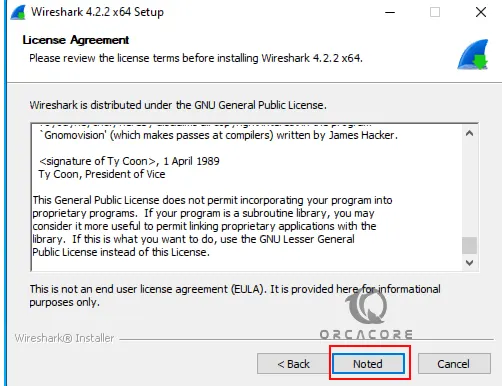
Next, accept the license agreement by clicking on Noted.
On the donation screen, simply click Next.

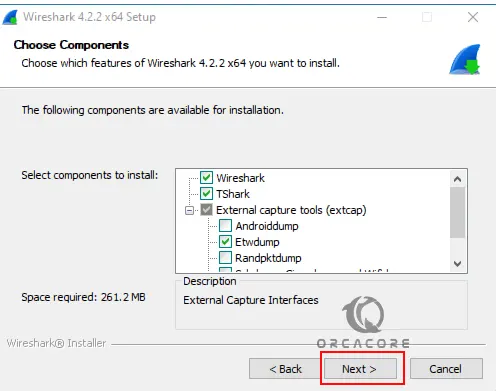
Then, choose the Wireshark components and click Next. You can keep default values and continue.
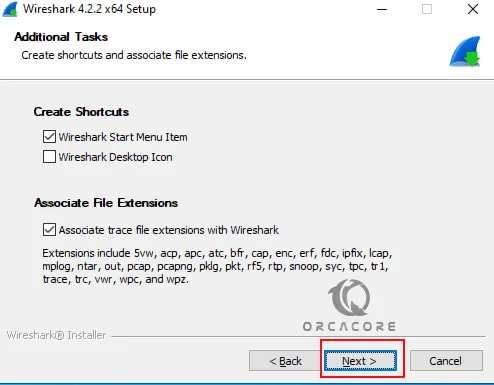
Select your additional tasks like the desktop icon and click Next.
Next, you should select your installation folder path.

Wireshark requires Npcap or WinPcap to capture live network data. Install the required packages and click Next.

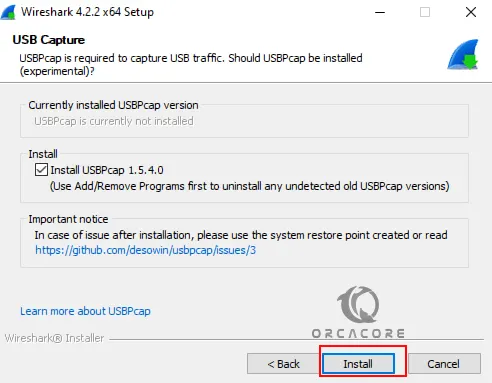
Then, you can install the USPcap. check the box and click Install.
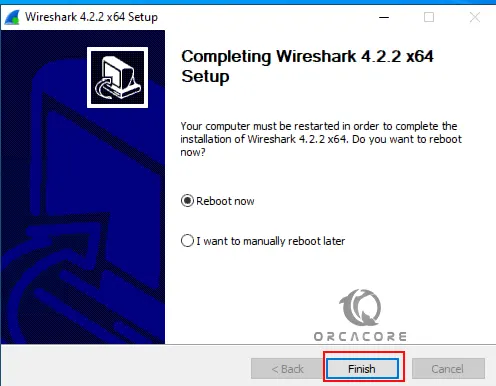
Wait until your Wireshark installation process is completed on Windows Server 2022.
Once your installation is completed, you need to reboot your server.
Step 3 – Wireshark Interface on Windows Server 2022
Once you run the Wireshark app, you will see:
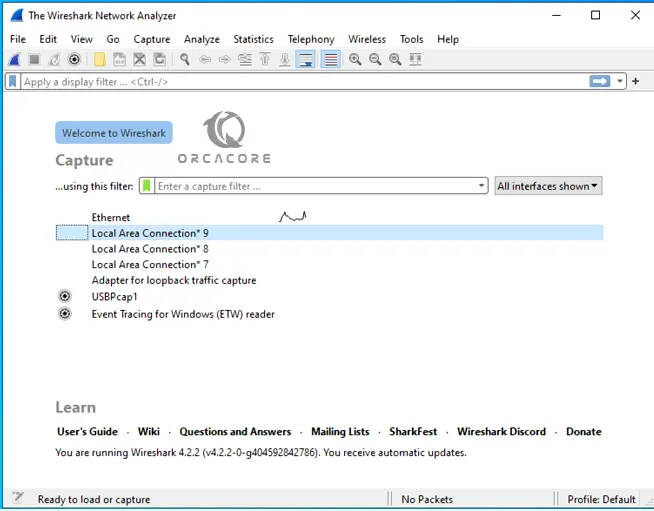
The options provided in the interface are including:
- Menu Bar: Provides options like File, Edit, View, Go, Capture, Analyze, Statistics, and Help.
- Main Toolbar: Contains buttons for common tasks like starting or stopping a capture.
- Packet List Pane: Displays all the packets captured.
- Packet Details Pane: Shows details of the selected packet.
- The Packet Bytes Pane: Displays the raw data of the selected packet.
From there, you can start to capture data and network analysis with Wireshark.
Capture Data with Wireshark
You need to choose the network interface you want to monitor. This could be a wired or wireless connection, depending on your network setup. Then, click on the chosen interface to start capturing real-time data.
Analyzing the Data with Wireshark
Now look at the protocol column in the packet list pane to understand what types of traffic are being captured.
Then, use the display filter to isolate specific types of traffic or specific communications.
From there, you can save your capture for later analysis or for sharing with others.
Final Words on Network analysis with Wireshark
With Network Analysis with Wireshark On Windows Server 2022, you can get into your network, helping with troubleshooting, security analysis, and understanding network performance. It is a powerful network protocol analyzer among the admin users. Hope you enjoy using it.
Also, you may like to read the following articles:
Download and Run Git on Windows Server 2022
Windows Server 2025 – New Active Directory