Share your love
Schedule Automatic Shutdown on Windows 10
In this tutorial, we want to teach you How To Schedule an Automatic Shutdown on Windows 10.
As you know the default shutdown on Windows 10, is enough for most users. You can right-click the Start menu and choose “Shut down or sign out > Shut down.” But if you plan to auto shut down Windows on schedule, what should you do?!
Follow this guide to get your answer.
How To Schedule an Automatic Shutdown on Windows 10
There are two ways that you can auto shut down Windows Client on schedule.
- Schedule Shutdown from PowerShell
- Schedule Shutdown with Task Scheduler
The first way is helpful to set a temporary and single-use shutdown timer. The second way is useful to auto shutdown Windows at a specific time regularly, like when you go to sleep.
Now follow the steps below to complete this guide.
Set an Automatic Shutdown Timer on Windows from PowerShell
To set a Windows shutdown timer, search for PowerShell or Command Prompt and open it. Here we use PowerShell. In Windows 10 and 11, you can use the Windows Terminal.
To set a Windows shutdown timer, you can use the following command:
shutdown -s -t timeInSecondsRemember to replace the “timeInSeconds” with the number of seconds.
For example, if you want to auto shutdown Windows after 60 minutes, then the command will be like this:
shutdown -s -t 3600As soon as you execute the command, Windows will schedule a shutdown and displays a notification of the same.
Once the timer runs out, it will display a warning asking you to save your work as the system is shutting down in a few seconds. There will be no cancelation option to abort the shutdown.
Set an Automatic Shutdown on Windows with Task Scheduler
If you want Windows to automatically shut down at a specific time every day or at regular intervals, then you can schedule a shutdown using Task Scheduler.
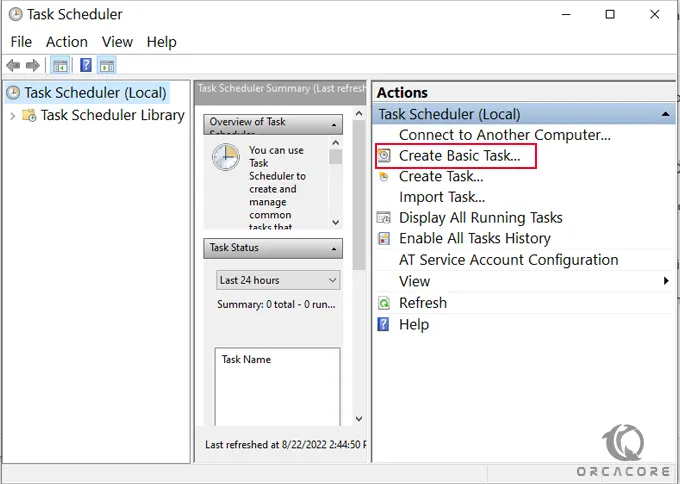
To do this, search for the “Task Scheduler” in the start menu and open it.
Then, click on the “Create basic task” option in the Task Scheduler main window.
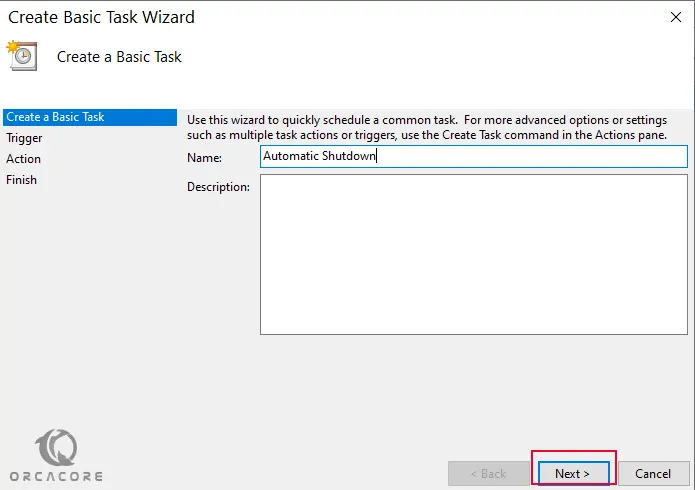
In the task creation wizard, enter a meaningful name & description, and click “Next.”
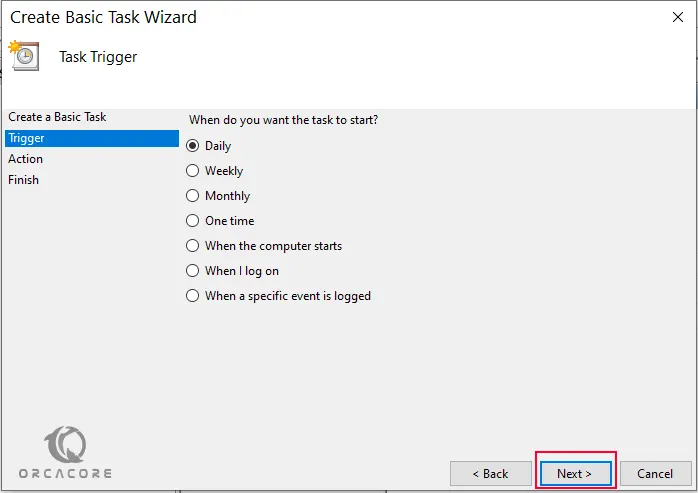
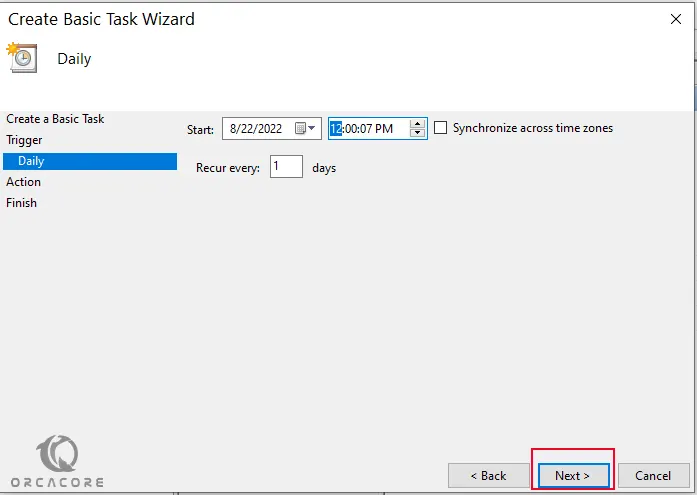
At this point, you need to select how often you want to repeat the task. In my case, I want to shutdown my Windows 10 daily. So, I chose the Daily option. You can select whatever option you want.
Next, enter the time and click Next. Since I want to shut down the system at 12 PM, I’ve entered the appropriate time.
Note: If you use a 12-hour clock, don’t forget to select AM or PM. If you use a 24-hour clock, enter the time in 24-hour format.
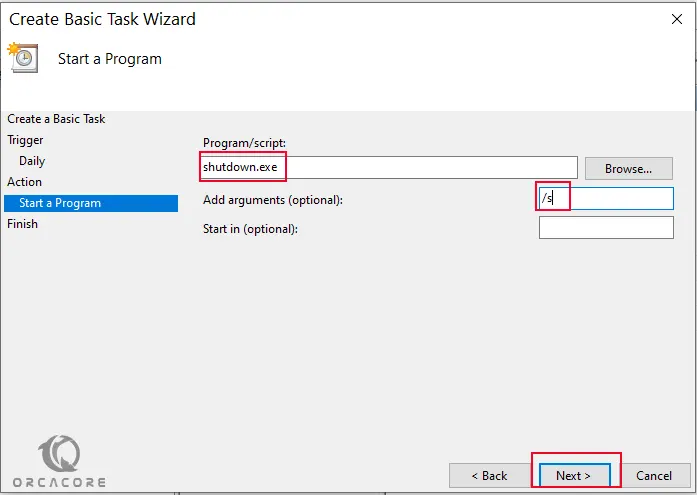
On the next page just select start a program and click Next.
Now you need to enter shutdown.exe in the “Program/Script” field and /s in the “Add Arguments” field. Click “Next” to continue.
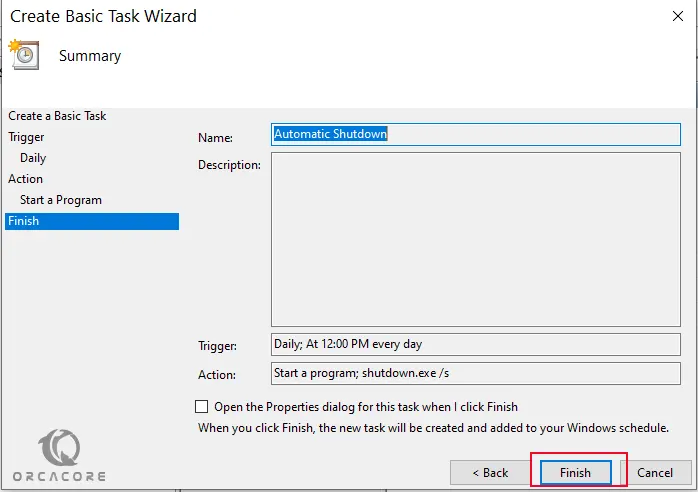
Finally, click “Finish” to complete the automatic shutdown task on Windows 10.
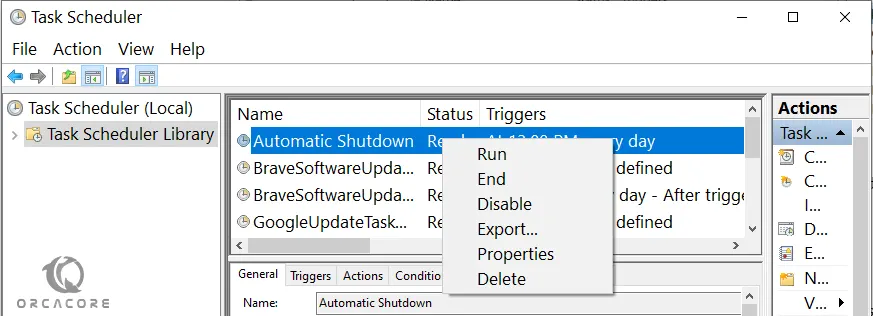
Once the task has been created, you will see it ready to be executed in the Task Scheduler. The task will be executed, and the system will shut down on schedule according to your settings.
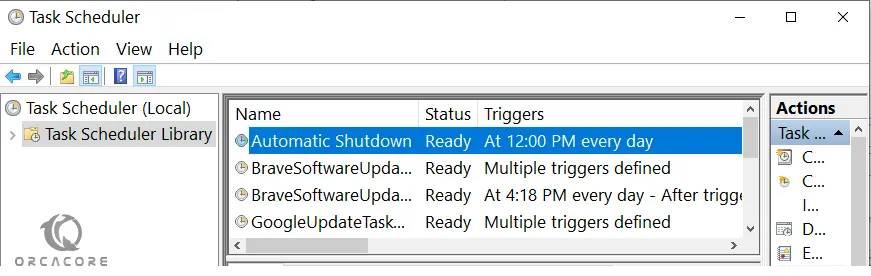
If you want to test the scheduled task, save all your work, right-click on the task and choose “Run.”
How To Disable Automatic Shutdown
In the future, if you no longer want Windows to auto shutdown, right-click on the task and select “Disable.” This action will disable the task. If need be, you can even delete the task by selecting the “Delete” option.
That’s it. You are done.
Conclusion
At this point, you learn to Schedule an Automatic Shutdown in two ways on your Windows 10.
Hope you enjoy it.
You may be interested in these articles:
Activate OpenSSH on Windows 10