Share your love
Set up PostgreSQL on Windows Server 2019 – Full and Easy Setup
In this article, we want to teach you How To Set up PostgreSQL on Windows Server 2019. PostgreSQL (often referred to as Postgres) is an open-source object-relational database management system with a particular focus on extensibility and standards compliance.
Now you can follow the steps below to Set up PostgreSQL on Windows Server 2019.
Steps to Set up PostgreSQL on Windows Server 2019
To install PostgreSQL on your Windows Server, you can follow the steps below.
Install PostgreSQL (psql) on Windows Server 2019
In this guide, we will install PostgreSQL from the PostgreSQL enterprise website.
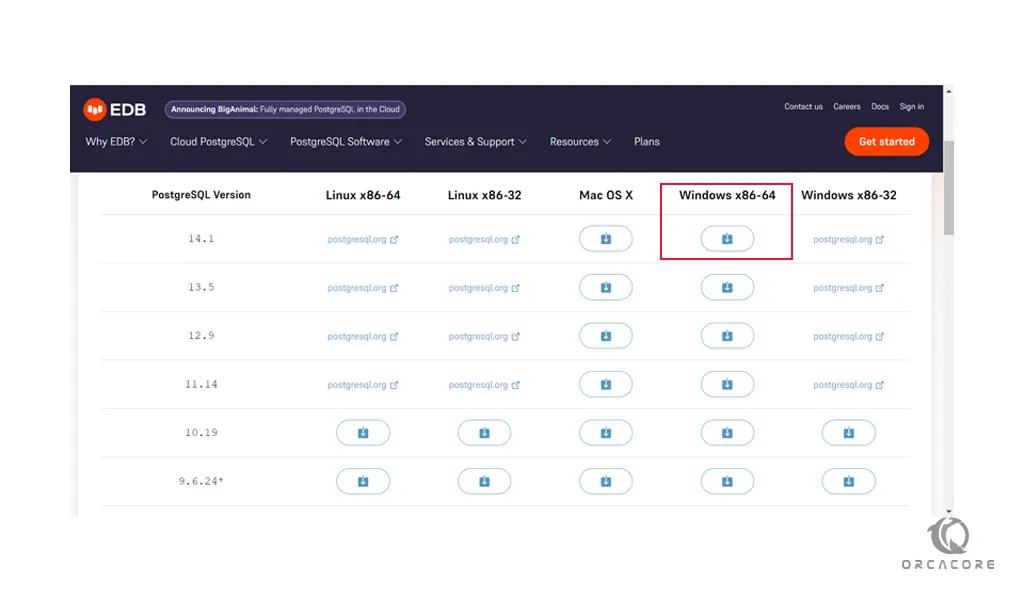
Download PostgreSQL for Windows
First, visit the page and get the latest version of PostgreSQL.
Then, open your PostgreSQL downloaded file on Windows Server 2019.
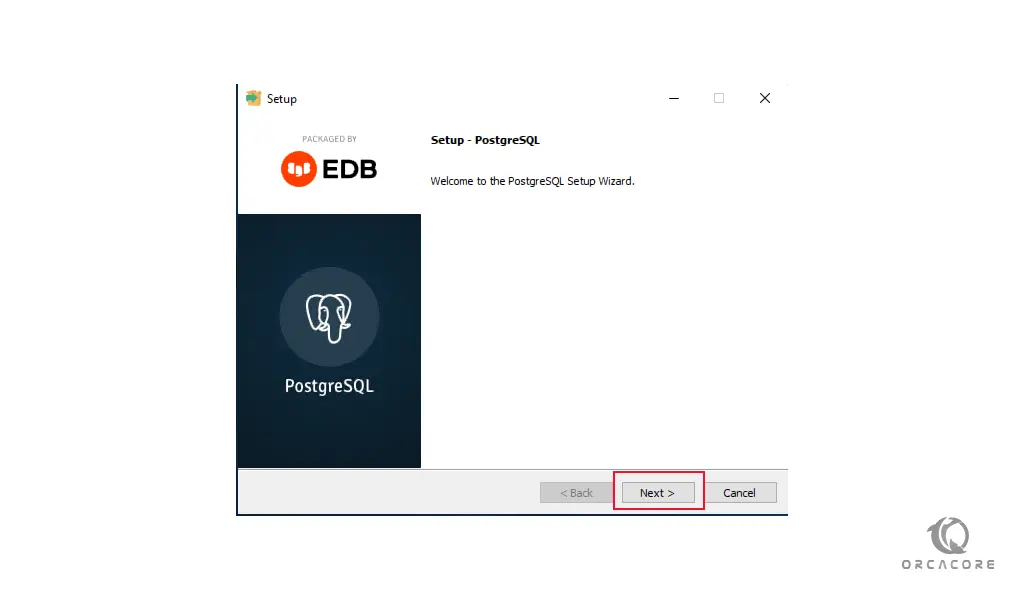
You will see the PostgreSQL setup wizard, click next to continue.
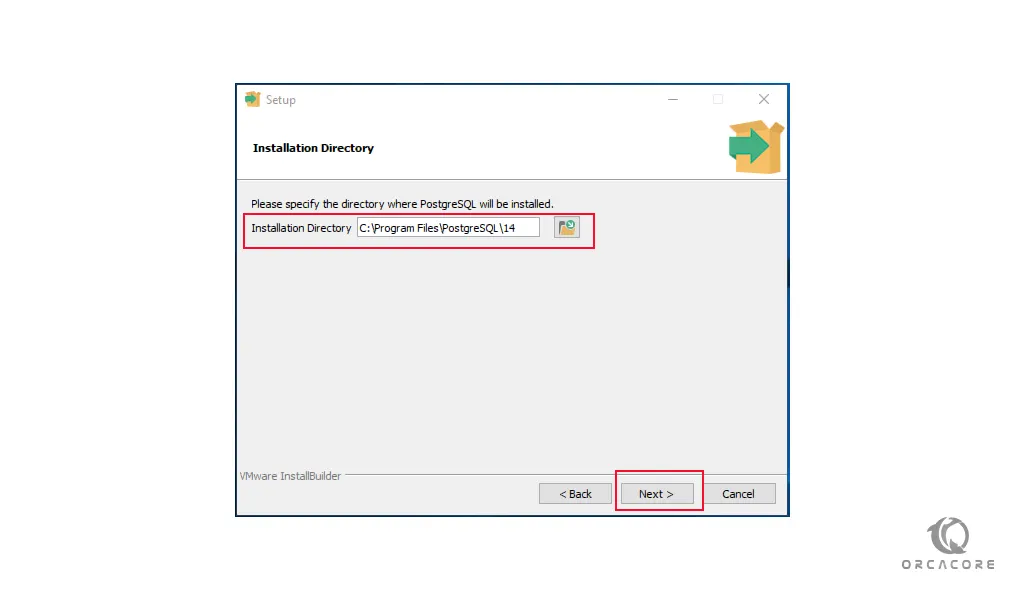
In the next window, you need to choose your installation directory for your PostgreSQL on Windows Server and click on the next.
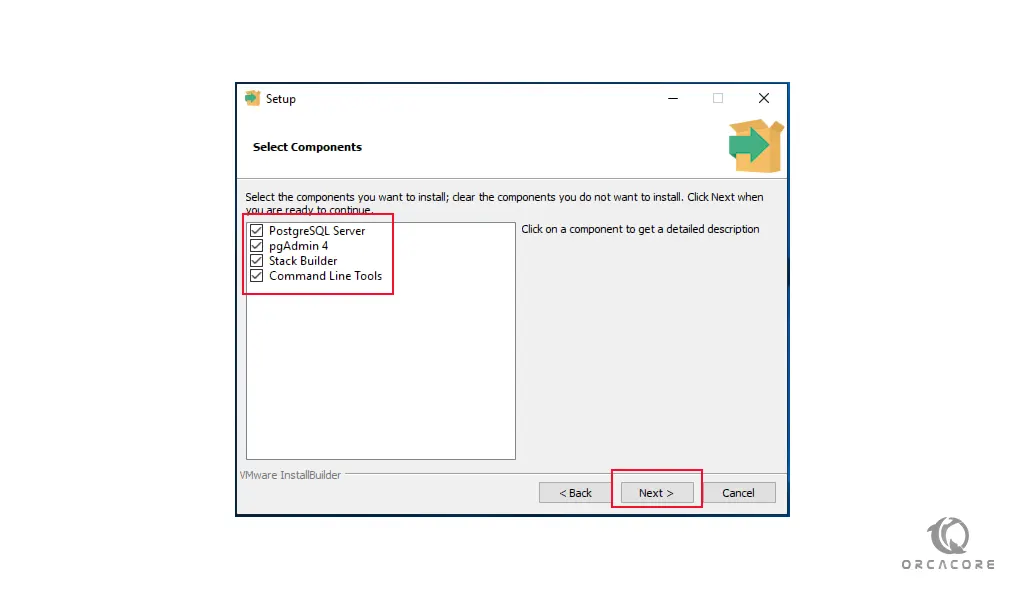
At this point, you need to select the PostgreSQL components on the Windows server 2019 that you want to install. By default, all components are selected. If you don’t want components clear them and click on the next.
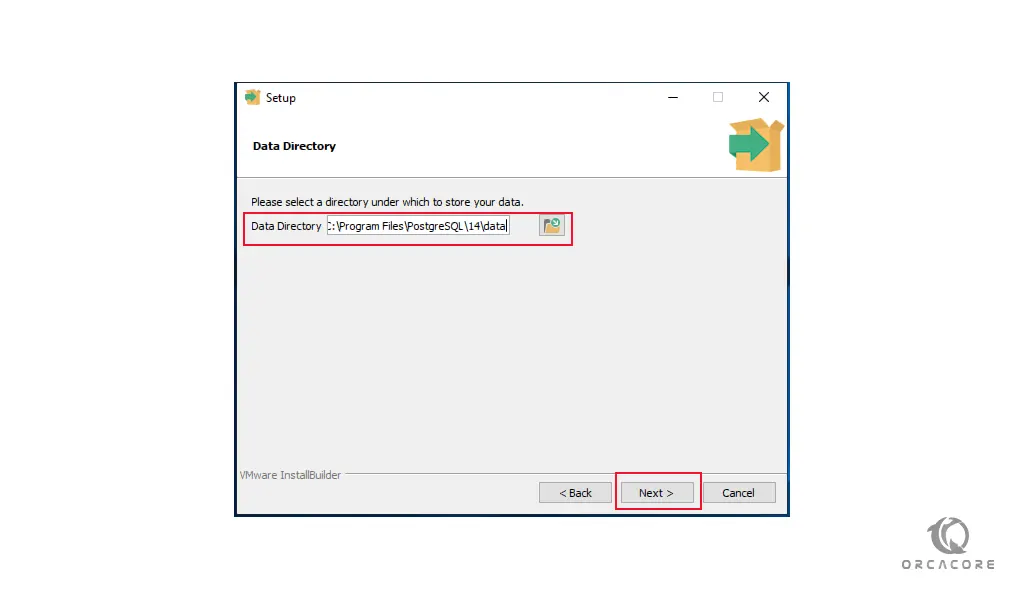
Now you need to choose your Data directory for your PostgreSQL and click on the next.
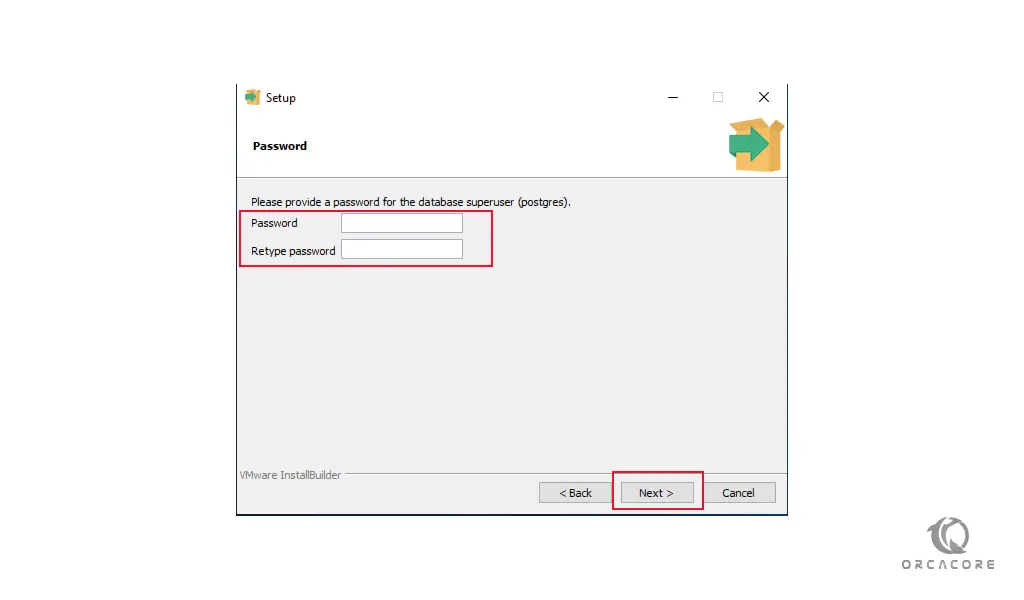
Next, you need to set up a password for the PostgreSQL superuser and click on the next button to continue.
By default, PostgreSQL listens on port 5432. Select the port number that you can access on the PostgreSQL web and click the next button.

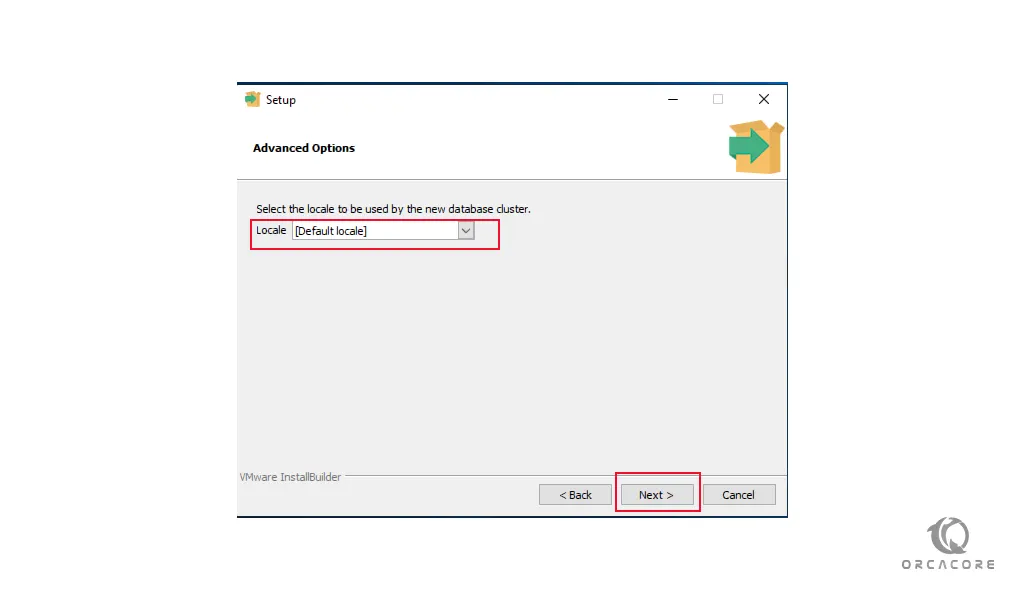
Here you need to select the time zone and the default language. Then, press the next button to continue your setup.
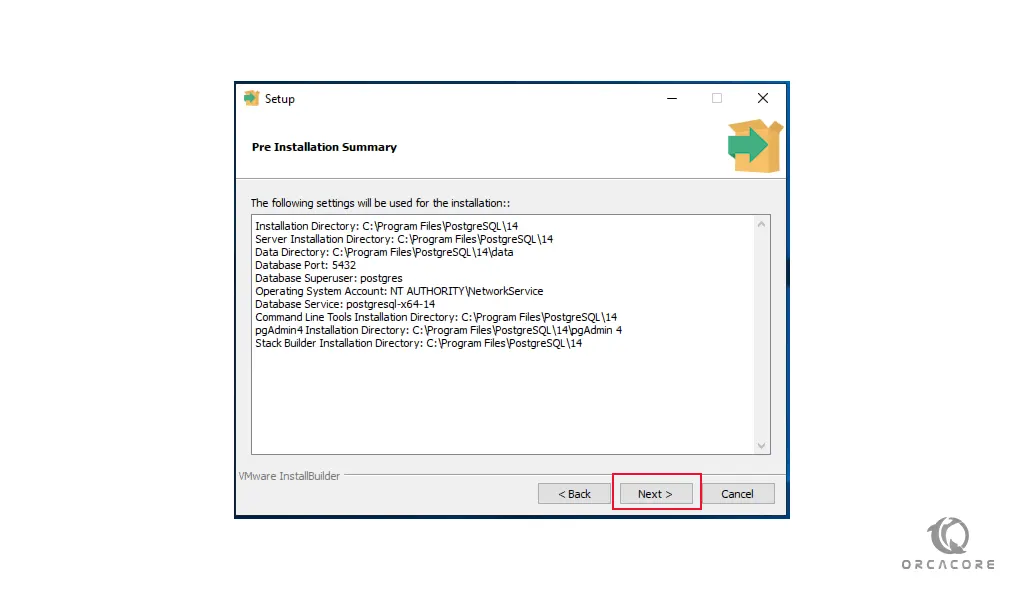
Finally, you can confirm your pre-installation summary and click on the Next button.
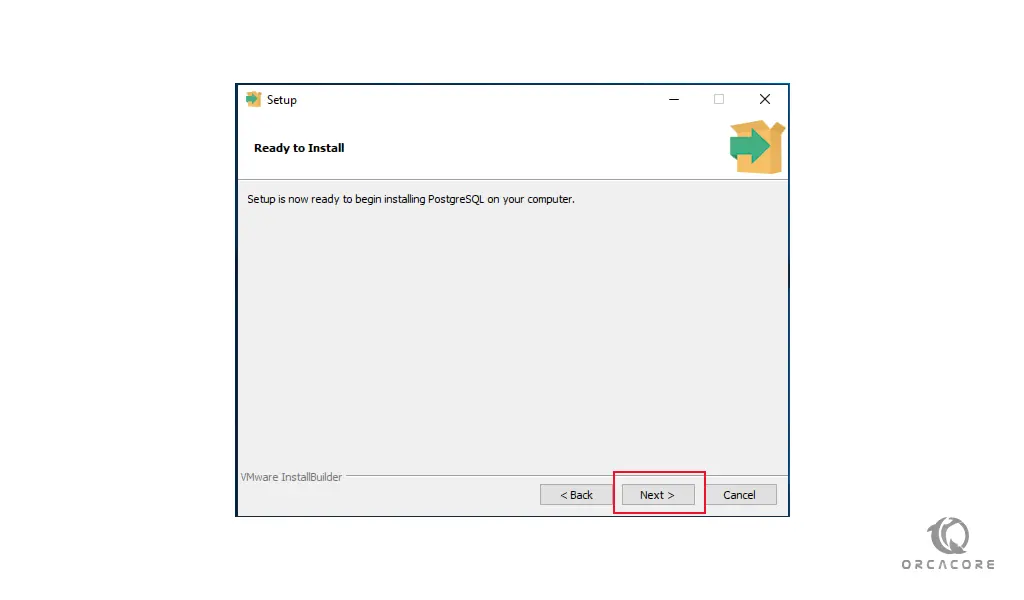
Your setup is now ready to start the PostgreSQL installation on Windows Server 2019 by clicking on the Next button.
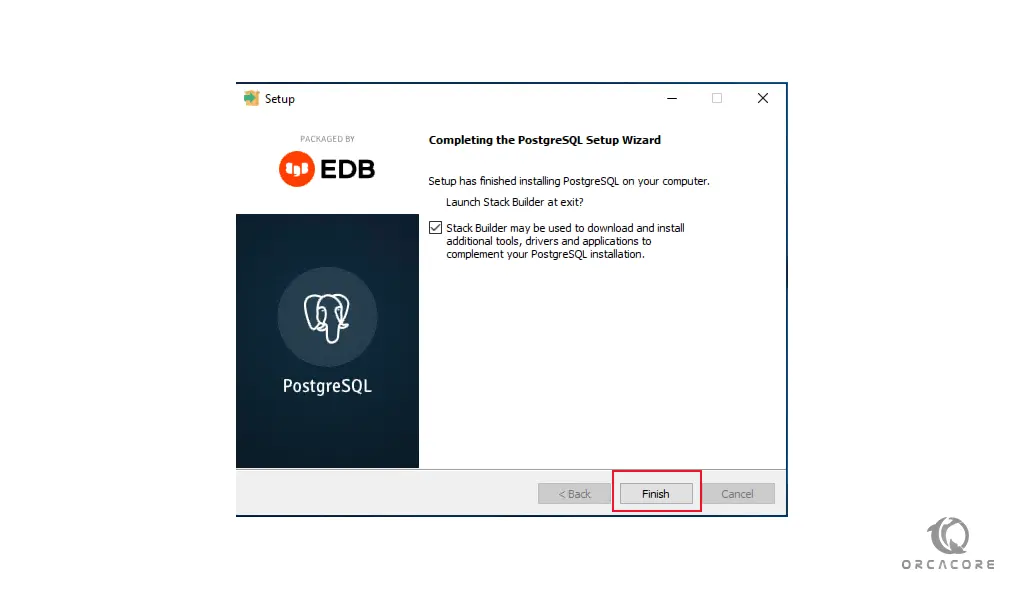
When your installation is completed, click on the finish button.
Additional utilities and add-ons can be installed using the Stack builder.
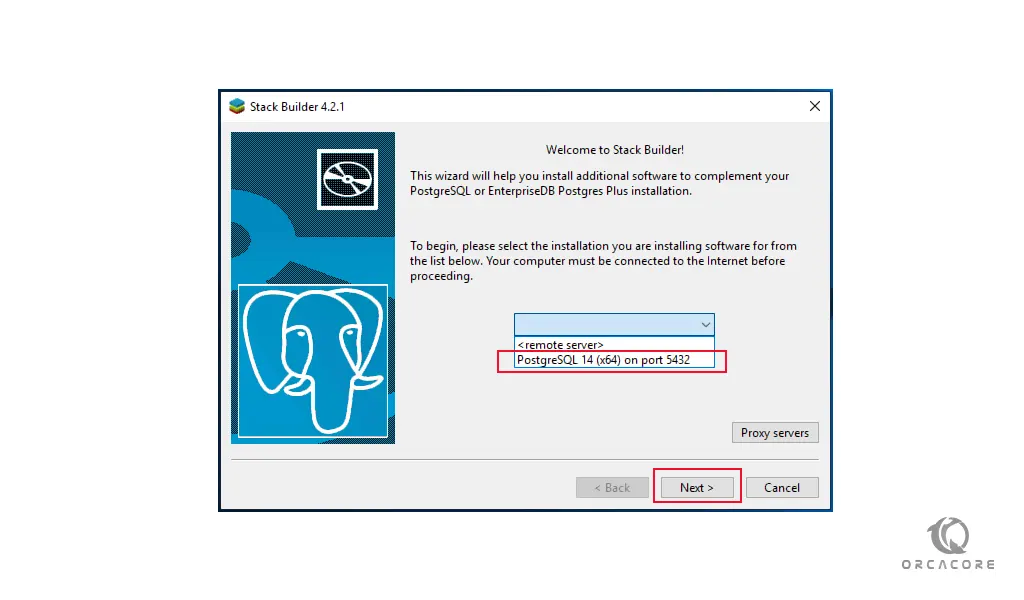
In the stack builder wizard, select your server and click next.
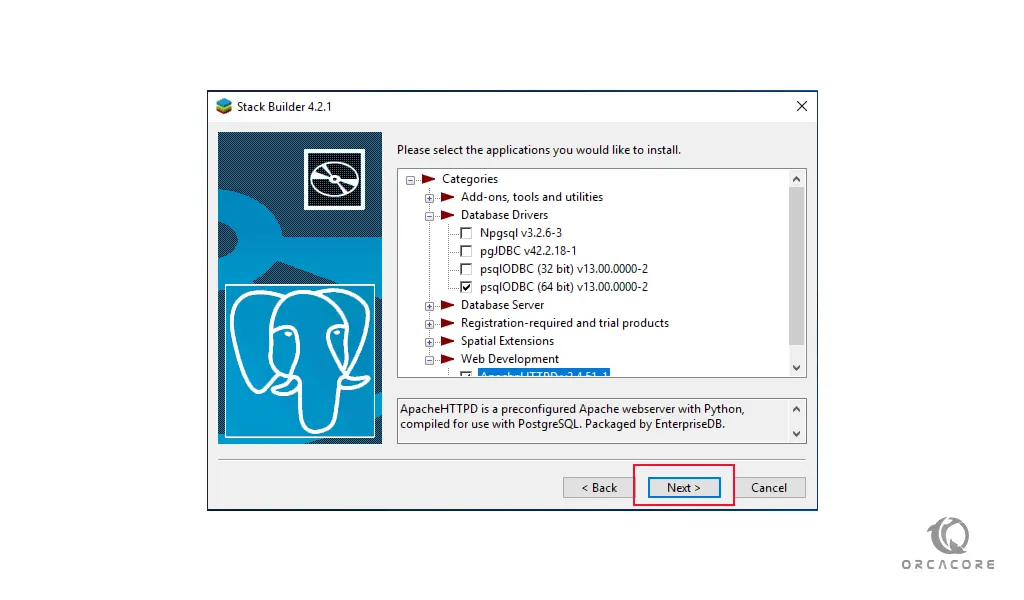
In the next window, select the additional applications for PostgreSQL that you want to install and press next.
Now select your download directory and click next.
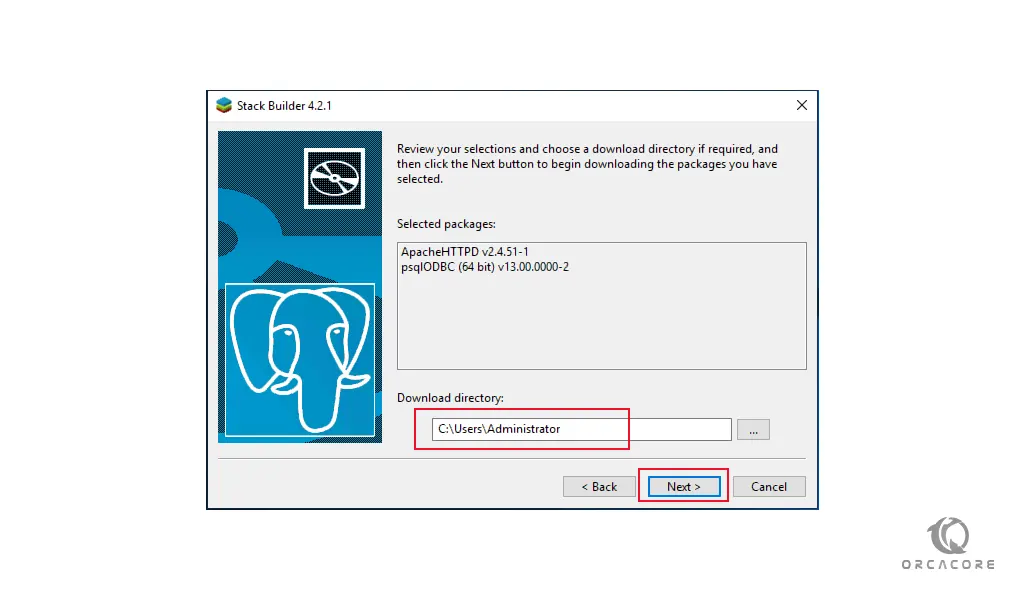
Then, you just need to press next to install your additional apps.
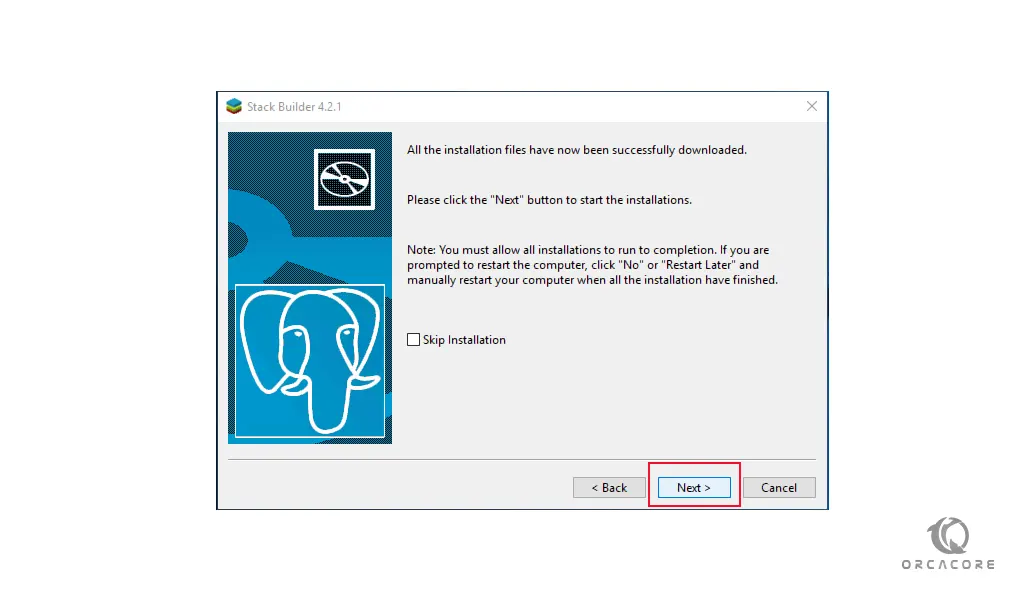
When your installation is completed, your Windows Server 2019 will restart.
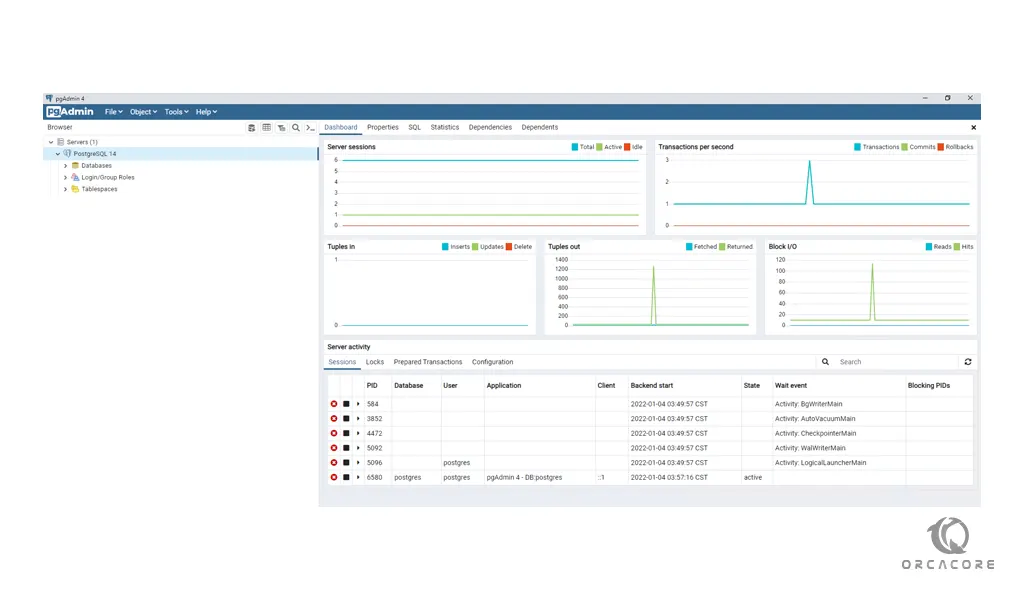
Access the PostgreSQL Instance
At this point, you need to open your pgAdmin4. and it will ask you for the password that you have set for the PostgreSQL super enter it and you will see all the objects in your server.
Conclusion
At this point, you have learned to Set up PostgreSQL on Windows Server 2019. You can easily visit the official website, download the latest package available for Windows, and start your setup.
Hope you enjoy using it. You may like these articles: