Share your love
Upgrade From Debian 12 To Debian 13 Trixie
As you must know, Debian 13 Trixie has officially been released with new features and improvements. Every Debian 12 Bookworm user may want to get the latest stable release. In this tutorial, we will show you how to upgrade from Debian 12 to Debian 13 Trixie LTS. This upgrade has a simple process. After following the steps carefully, you will have Debian 13 LTS.
Now, follow the steps below provided by the Orcacore website to upgrade Debian 12 to 13.
Table of Contents
How To Upgrade From Debian 12 To Debian 13 Trixie?
Before you start the upgrade process, log in to your Debian 12 as a root or non-root user with sudo privileges. For initial settings, you can check for the Initial Server Setup with Debian 12. Then, proceed to the steps below to start your upgrade process from Debian 12 to 13.
Step 1. Backup Debian 12 System
It is strongly recommended to take a backup of everything you have on your Debian 12 before upgrading the system. If something goes wrong, you can easily restore your data. For this purpose, you can use the following command to store your files and directories in a tar file named bookworm.tar.gz. You can easily add more parameters to the command:
sudo tar czf /bookworm.tar.gz \
     --exclude=/bookworm.tar.gz \
     --exclude=/dev \
     --exclude=/run \
     --exclude=/mnt \
     --exclude=/proc \
     --exclude=/sys \
     --exclude=/tmp \
     --exclude=/media \
     --exclude=/lost+found \
/Note: If you have any additional packages in Debian 12 that are not included in the default repository, this may cause complications when upgrading to Debian 13. It is recommended to uninstall it and reinstall it after successfully upgrading to Debian 13 to avoid issues.
Step 2. Fully Upgrade Debian 12 System
After you have completed your backup process, you must run a full update and upgrade on Debian 12. To do this, run the command below:
sudo apt update && sudo apt upgrade -yOnce it is completed, clean up the packages and reboot your system:
# sudo apt --purge autoremove
# sudo reboot
After you log back in to your Debian 12, check your OS version with the command below:
sudo cat /etc/debian_versionIn your output, you should see:
Output
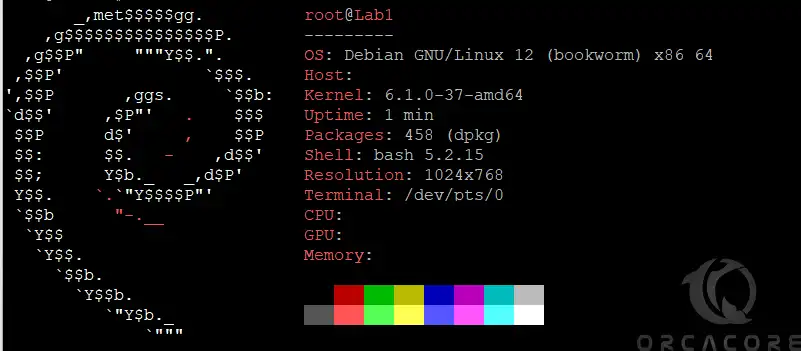
12.1Also, you can use the neofetch command to check your OS version and other things:
# sudo apt install neofetch -y
# sudo neofetch
In your output, you will see:
Step 3. Update APT Source List File To Point To Debian 13 Repository
As you must know, Debian software repositories are located in the /etc/apt/sources.list file. You must update these repositories to point to the Debian 13 Trixie repositories.
Before you start, it is recommended to take a backup of the file. To do this, run the commands below:
# sudo mkdir ~/apt
# sudo cp /etc/apt/sources.list ~/apt
Then, update the file to the Debian 13 repository with the following command:
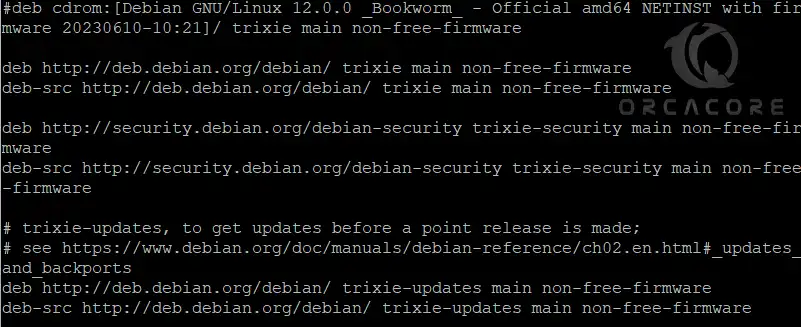
sudo sed -i 's/bookworm/trixie/g' /etc/apt/sources.listOnce you are done, you can check your file to verify Debian 12 repositories are updated to Debian 13:
sudo cat /etc/apt/sources.listIn the file, you must see:
Step 4. Minimal System Upgrade To Debian 13 Trixie
According to the official Debian documentation, it is recommended to do the upgrade process in two steps: Minimal System Upgrade and Full System Upgrade. Let’s start the Minimal system upgrade process.
First, run the system update with the command below:
sudo apt update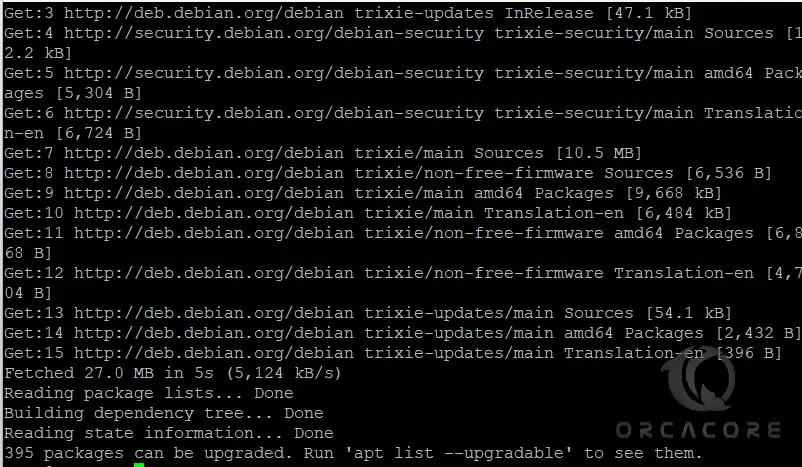
As you can see from the output, some packages are waiting to be updated.
At this point, you can run the command below, which tells APT to upgrade all currently installed packages to their latest available versions without installing any brand-new packages that aren’t already on your system:
sudo apt upgrade --without-new-pkgs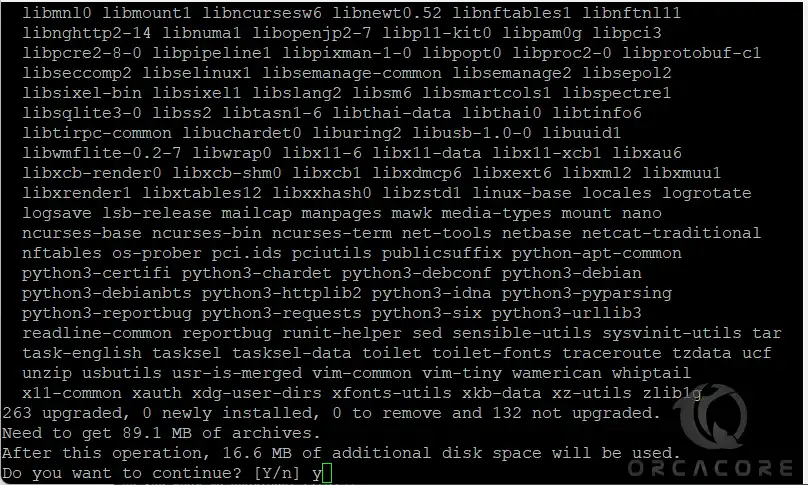
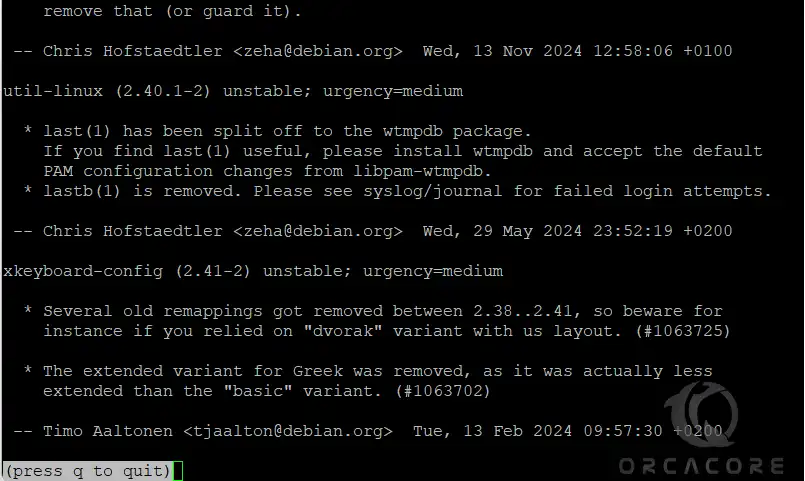
Press Y to continue. Then, you will see the updated package information, press Enter to read the information, and then, press q to continue.
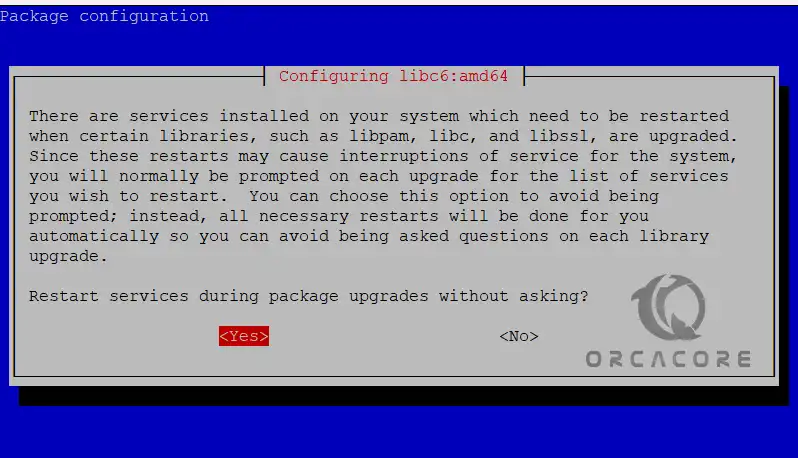
During the update process, you will also be asked to accept services to be auto-restarted. Select Yes to continue.
Finally, wait for the update process to be completed. During the process, you may also be asked what to do with a specific configuration. If you don’t know what to do, just keep the default values.
Step 5. Full Upgrade From Debian 12 To Debian 13 Trixie
Once your minimum system upgrade is completed, you can easily run the full upgrade by using the following command:
sudo apt full-upgrade -y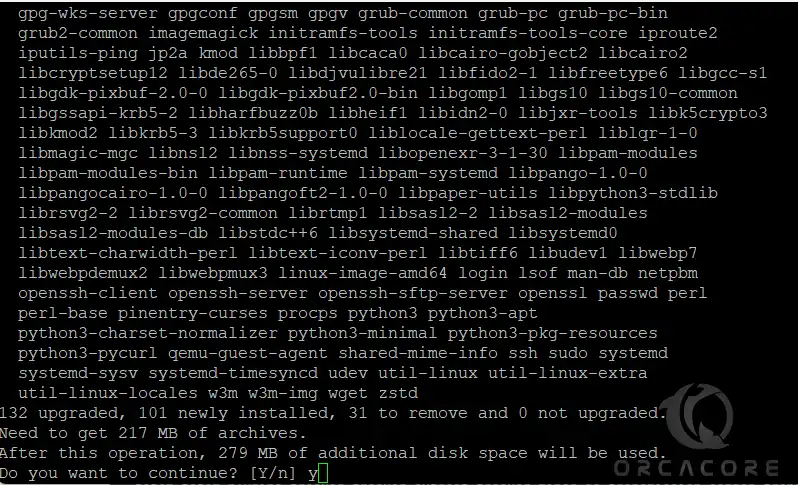
This will upgrade and install new dependencies and packages. Once it is completed, reboot your system:
sudo rebootStep 6. Check Debian 13 Trixie OS Version
When you log back in to your system, you can check your OS version with the command below:
sudo cat /etc/debian_versionIn your output, you should see the OS version has been changed to 13:
Output
13.0
Also, you can use the neofetch command:
sudo neofetch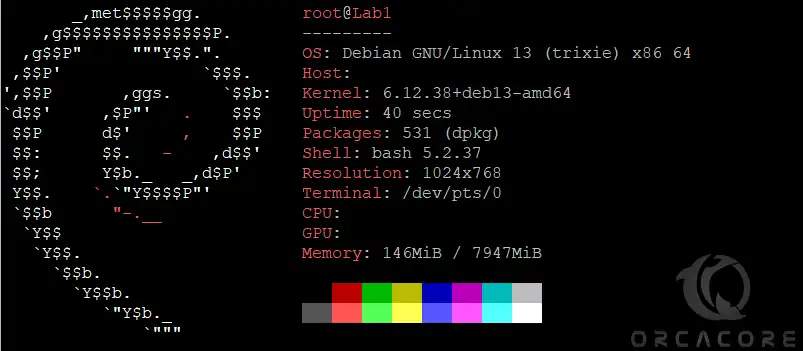
This means you have successfully upgraded Debian 12 to Debian 13 Trixie.
Step 7. Clean up leftover Debian 12 packages
In the last step, you can easily remove unnecessary packages from Debian 12 to clean up your system. To do this, you can run the command below:
sudo apt --purge autoremove
Finally, run the following command to clean up the local APT cache:
sudo apt autocleanThat’s it, you are done.
FAQs
How do I handle non-Debian packages during the upgrade?
You can uninstall them and then reinstall them after the upgrade process because they may cause conflicts if not Trixie-compatible.
Why should we update Debian 12 software sources?
Because it defines where APT retrieves packages and must be updated to Debian 13 repositories.
Final Words
Upgrading from Debian 12 Bookworm to Debian 13 Trixie has a smooth process. You must make a full backup, update your current system, fix or remove any software not from Debian, and change your repositories to point to Trixie. Then run the upgrade command and reboot. Follow the steps carefully, and enjoy the new Debian 13 LTS.
Hope you enjoy this guide. Please subscribe to us on Facebook, X, and YouTube.
You may also like to read the following articles:
How to Upgrade to AlmaLinux 10 from AlmaLinux 9
How to Upgrade from Debian 11 to Debian 12