Share your love
Best Way To Install VirtualBox on Windows 10/11
In this guide, you will learn to Install VirtualBox on Windows 10 / 11 in the latest version. With VirtualBox, you can run multiple virtual machines in a single host OS. It is an open-source, free, and cross-platform software that is available for personal and business use. Also, with the Extension Pack, you can unlock advanced features for VirtualBox.
Now you can proceed to the rest of the article on the Orcacore website to see how you can install VirtualBox in the latest version on Windows and get the Extension Pack.
Table of Contents
Complete Guide To Install VirtualBox on Windows
Before you start, you must be sure that your Windows Client has enough space and storage. Also, you must have Distributable Code for Visual Studio installed on your server. To get this, you can visit this link.
Now follow the steps below to Install VirtualBox on Windows 10/11.
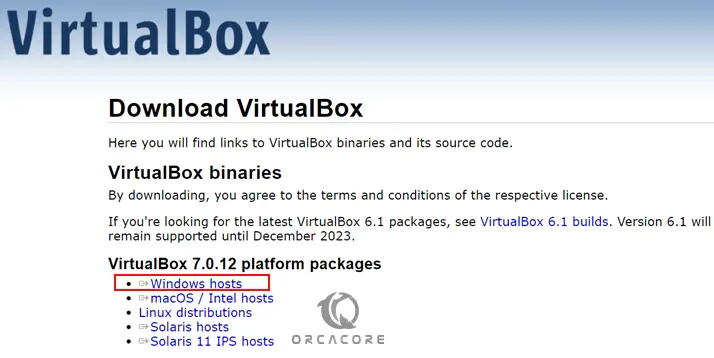
Step 1 – Download the Latest VirtualBox for Windows Hosts
At this point, you must get the latest VirtualBox Installer by visiting the Official website and clicking on Windows hosts.
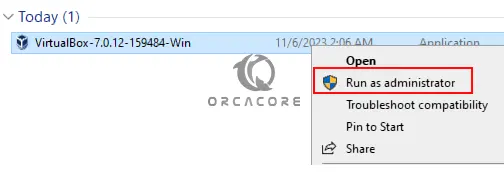
Step 2 – Run the VirtualBox Installer
When your download is completed, you must run your installer by right-clicking on the file and running it as an administrator.
Step 3 – Start VirtualBox Setup Installation
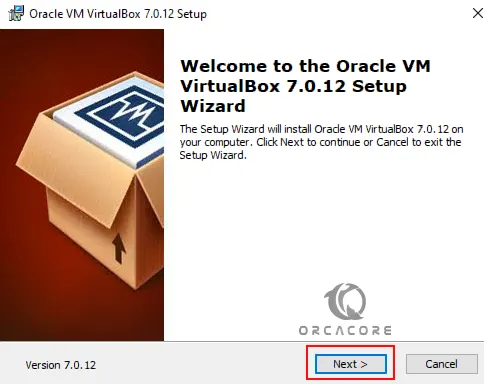
First, you must click on Next on the Welcome VirtualBox setup wizard screen on Windows.
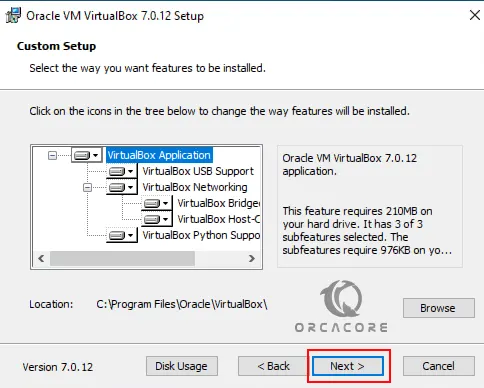
Next, you must select the all features that require 210MB of space and click Next. Also, it will be installed in the ‘C:\Program Files\Oracle\Virtualbox’ directory. You can choose another directory in which you have more space.
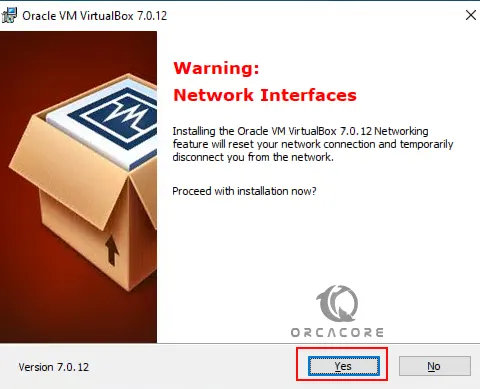
Then, you will get a warning message that Virtualbox network features will reset your network connection and will disconnect from the network temporarily. Simply click Yes to continue.
Missing Dependencies Python Core / win32api For VirtualBox
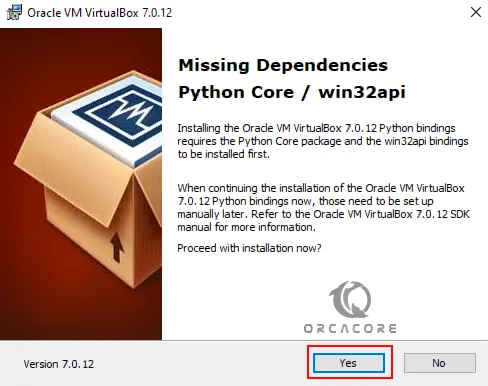
During the setup, you may get this missing dependencies message. Simply click Yes. After you are finished with the installation, you can resolve this by installing Python on Windows. Then, open your CMD and run the following command to get the win32api:
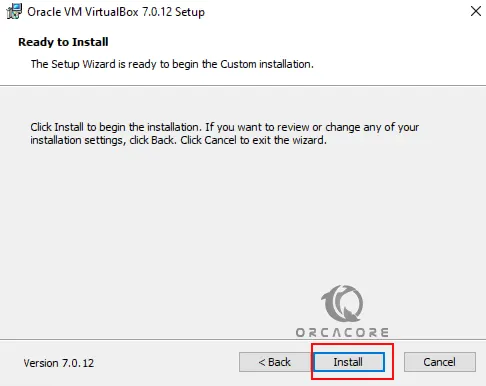
py -m pip install pywin32At this point, your VirtualBox is ready to install on Windows. Click on Install.
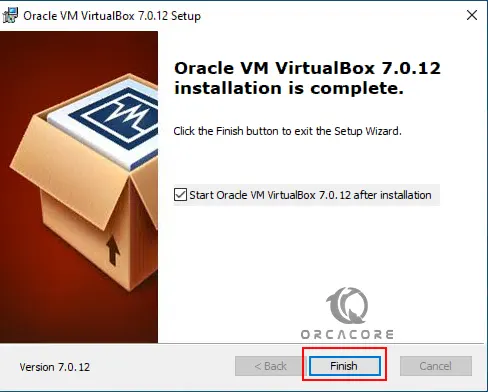
When it is completed, click on the Finish button.
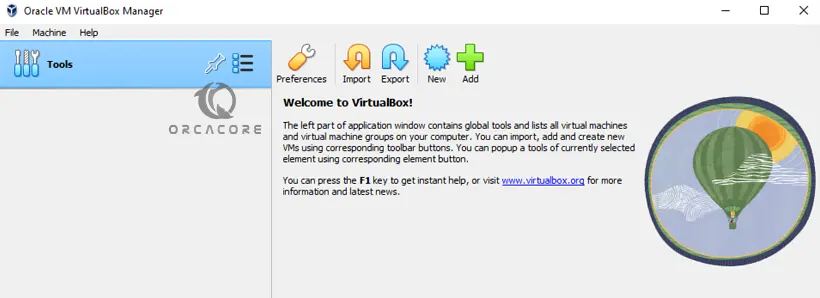
Now your VirtualBox manager dashboard will open on Windows.
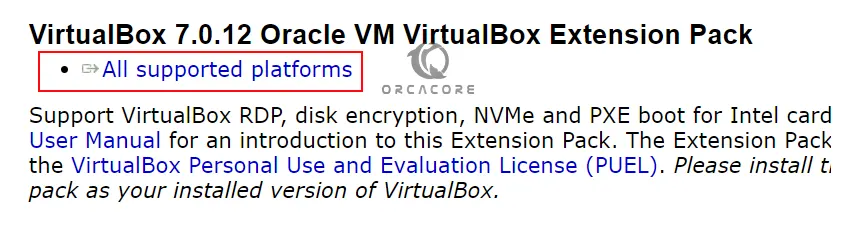
Step 4 – Download and Install the VirtualBox Extension Pack
At this point, you must download the latest extension pack from the official site.
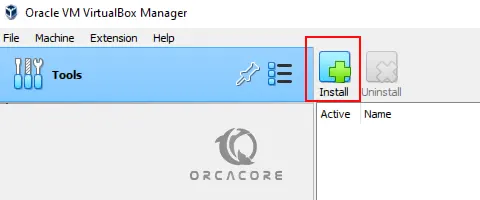
Then, from your VirtualBox manager, click on Tools and choose Extensions. From there, click on Install.
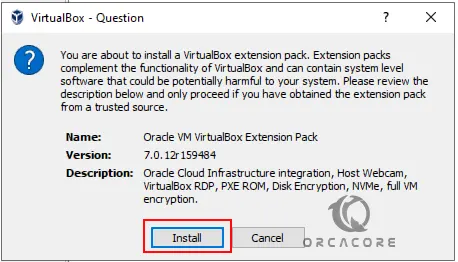
From there, select the Extension pack that you have downloaded and click Open.

Then, click on Install.
The installed extension packs will show in the Virtualbox ‘Extensions’ tab.
Finally, Oracle VirtualBox is ready to use. You can create a new Virtual machine using the ‘New’ option.
Conclusion
At this point, you have learned to Download and Install VirtualBox on Windows 10/11. From there, you can easily add your virtual machines and manage them from a single host server. Stay with us to tell you how you can add virtual machines to VirtualHost Manager in future guides.
Hope you enjoy using it. You may also like to read the following guides: