Share your love
Easy Steps for WordPress Installation on Fedora Linux 39

This guide will show you the WordPress Installation on Fedora Linux 39. WordPress is a popular and open-source content management system. It provides many features and a user-friendly interface that you can use to manage your content and website. As you know, it is written in PHP and uses MySQL or MariaDB as its database engine.
You can follow the steps below on the Orcacore website to start your WordPress installation on Fedora Linux 39 with LAMP Stack (Apache, MariaDB, and PHP).
Note: You can get more information about Fedora 39 and its installation steps on VMware by visiting the following guide:
Install Fedora Linux 39 on VMware Workstation
Table of Contents
Complete WordPress Installation on Fedora Linux 39 with LAMP Stack
To complete WordPress Installation on Fedora Linux 39, you must have access to your Fedora Linux server as a root or non-root user with sudo privileges.
Then, you must set up a basic firewall by visiting this guide on Manage Firewalld in Fedora 39 From Terminal.
Also, you need a valid domain name that is pointed to your server’s IP address.
Step 1 – Install Apache on Fedora 39
First, you must run the system update and install Apache as your web server on Fedora 39. To do this, run the commands below:
# sudo dnf update -y
# sudo dnf install httpd -y
Next, start and enable the Apache service with the following commands:
# sudo systemctl start httpd
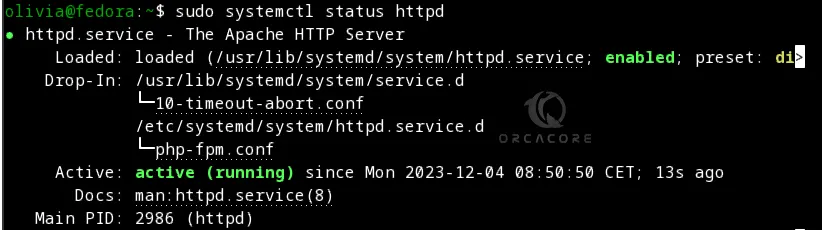
# sudo systemcl enable httpdAlso, you can check your Apache web server is active and running on Fedora 39:
sudo systemctl status httpdIn your output, you should see:
Step 2 – Configure PHP For WordPress on Fedora 39
At this point, you must install PHP and some required extensions for WordPress Installation on Fedora Linux 39 by using the following command:
sudo dnf install php php-fpm php-mysqlnd php-opcache php-gd php-xml php-mbstring php-curl php-pecl-imagick php-pecl-zip libzip -yVerify your PHP installation by checking its version:
php --versionExample Output:

Note: To Install the Latest PHP, you can visit this guide on Quickly Install PHP 8.3 on Fedora Linux 39.
Now you must edit the php.ini file configuration and make some changes. To do this, you can open the file with your desired text editor like Vi editor or Nano editor:
sudo vi /etc/php.iniFind the following lines in the file and make the following changes to them:
max_execution_time = 300
max_input_time = 300
memory_limit = 512M
post_max_size = 256M
upload_max_filesize = 256M
When you are done, save and close the file.
Next, start and enable PHP-FPM on Fedora 39 with the commands below:
# sudo systemctl start php-fpm
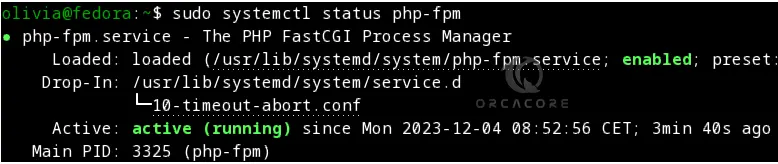
# sudo systemctl enable php-fpmYou can verify your PHP-FPM is active and running with the command below:
sudo systemctl status php-fpmIn your output, you should see:
Step 3 – MariaDB Configuration For WordPress on Fedora 39
At this point, you must install MariaDB as your database engine for WordPress and create a database and user. To install MariaDB, run the command below:
sudo dnf install mariadb-server -yThen, start and enable the MariaDB service with the following commands:
# sudo systemctl start mariadb
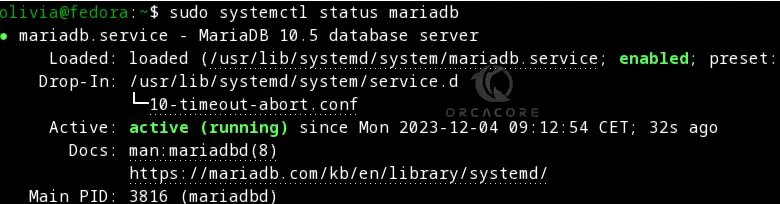
# sudo systemctl enable mariadbVerify your MariaDB service is active and running on Fedora 39:
sudo systemctl status mariadbIn your output, you will see:
At this point, you must run the MariaDB security script:
sudo mysql_secure_installationYou will be asked to change the root password for MariaDB and enter Y for other questions.
Now log in to your MariaDB shell with your configured password:
sudo mariadb -u root -pFrom your MariaDB shell, run the following commands to create a database and user with all privileges for WordPress on Fedora 39:
MariaDB [(none)]> CREATE DATABASE wordpressdb;
MariaDB [(none)]> GRANT ALL PRIVILEGES ON wordpressdb.* TO 'wordpressuser'@'localhost' IDENTIFIED BY 'password';
Then, flush the privileges and exit from MariaDB:
MariaDB [(none)]> FLUSH PRIVILEGES;
MariaDB [(none)]> EXIT;
Step 4 – Download and Configure Latest WordPress on Fedora 39
At this point, you must navigate to your Apache web root directory on Feodra 39 with the command below:
cd /var/www/htmlThen, use the following wget command to download the latest tar.gz package of WordPress:
sudo wget https://www.wordpress.org/latest.tar.gzWhen your download is completed, extract your file with the command below:
sudo tar -xvf latest.tar.gz
Next, switch to your WordPress directory:
cd wordpressAt this point, you must rename the default WordPress configuration file with the command below:
sudo cp wp-config-sample.php wp-config.phpThen, open the file with your desired text editor:
sudo vi wp-config.phpIn the file, you must define your database settings as shown below:
/** The name of the database for WordPress */
define( 'DB_NAME', 'wordpressdb' );

/** Database username */
define ('DB_USER', 'wordpressuser');

/** Database password */
define( 'DB_PASSWORD', 'password' );

/** Database hostname */
define( 'DB_HOST', 'localhost' );
When you are done, save and close the file.
Now you must set the correct ownership and permission for the WordPress directory on Fedora 39:
# sudo chown -R apache:apache /var/www/html/wordpress
# sudo chmod -R 755 /var/www/html/wordpress
Step 5 – Configure Apache Virtual Host File For WordPress
At this point, you must create an Apache virtual host file to serve WordPress. To do this, you can run the following command:
sudo vi /etc/httpd/conf.d/wp.confAdd the following content with your domain name to the file:
<VirtualHost *:80>
    ServerAdmin admin@example.com
    ServerName example.com
    DocumentRoot /var/www/html/wordpress
    <Directory /var/www/html/wordpress>
        Allowoverride all
    </Directory>
</VirtualHost>
When you are done, save and close the file.
Next, restart the Apache service to apply the changes:
sudo systemctl restart httpdStep 6 – Firewalld Configuration for WordPress
Here we assumed that you have enabled FirewallD. Now you need to allow ports 80 and 443 through your firewalld on Fedora 39. To do this, run the commands below:
# sudo firewall-cmd --permanent --zone=public --add-service=http
# sudo firewall-cmd --permanent --zone=public --add-service=https
Then, reload the firewall to apply the new rules:
sudo systemctl reload firewalldStep 7 – Install WordPress via Web Interface in Fedora 39
At this point, you can continue your WordPress Installation on Fedora Linux 39 by typing your domain name in your web browser:
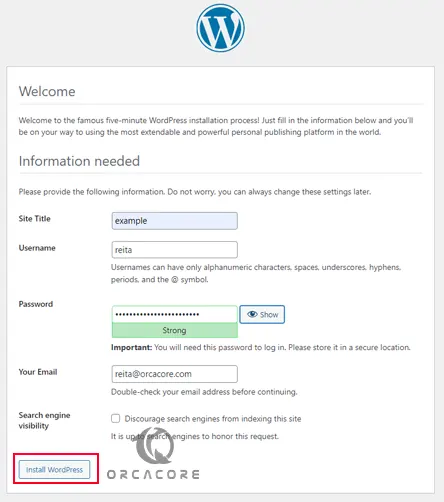
http://example.comIn the first screen, you must provide your WordPress site name and define an admin user and password for it. Then, click on Install WordPress.
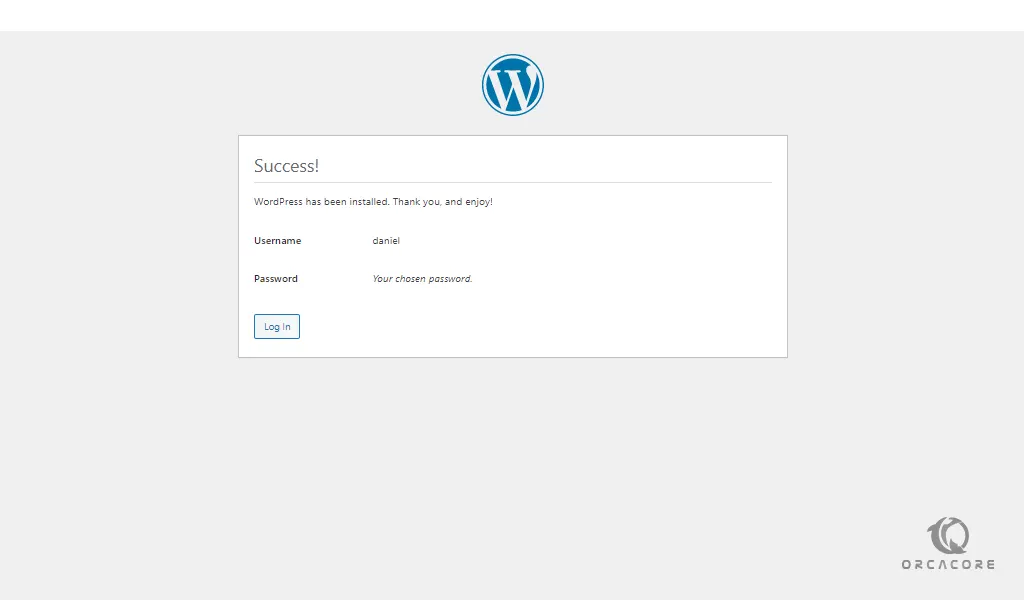
When it is completed, you will see the following screen. Click on Log in.
Finally, you should see your WordPress dashboard on Fedora 39.
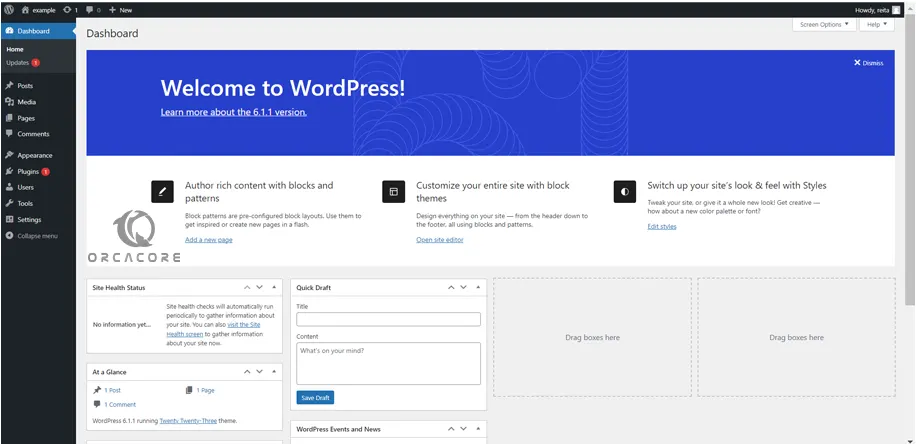
From there you can easily manage your blogs and website.
Step 8 – Secure WordPress Installation on Fedora 39
At this point, you can increase your WordPress installation. To do this, you can get an SSL certificate from Let’s Encrypt. To do this, follow the steps below.
First, install the required packages and Certbot for Apache with the commands below:
# sudo dnf install mod_ssl -y
# sudo dnf install certbot python3-certbot-apache -y
Then, run the command below to generate your SSL certificates:
sudo certbot --apacheYou will asked some questions. Enter your Email address, Accept the terms and conditions by pressing Y, and you can share your email with the Electronic Frontier Foundation by your willing press Y or N.
Then, you must enter your correct domain name address. Wait until your SSL request is completed.
Now type your domain name in your web browser, and you will see the lock icon in the address bar.
Also, you can set up an auto-renewal process for your SSL certificate with the command below:
sudo certbot renew --dry-runAt this point, your WordPress Installation on Fedora Linux 39 has been secured.
Conclusion
At this point, you have learned WordPress Installation on Fedora Linux 39 with LAMP Stack, and access it through the Web interface. Also, you have learned to increase your security by generating SSL certificates from Let’s Encrypt.
Hope you enjoy using it. Also, you may be interested in the following articles: