Share your love
2 Easy Steps To Add ISO Files in Virtualizor
In this article, we want to learn how to Add ISO Files in Virtualizor panel. With any ISO file, we can install some custom OS in Virtualizor. Also, we can install a Microsoft Windows server or Windows home editions in Virtualizor by adding ISO.
Table of Contents
How to add ISO files in Virtualizor?
Virtualizor can support ISO files and install OS based on them. Windows and some custom OS can be installed with them. Please login to the Virtualizor panel by entering ServerIP:4085 on a browser and completing login credentials to log in. Therefore, please follow the below steps to learn how to Add ISO Files in Virtualizor.
Step 1 – Add Media Group in Virtualizor
We can divide our media into some groups. This grouping can make our work easier. ISOs, Plans, and anything in Virtualizor can be divided into groups. Navigate to the “Media >> Add Media Group” menu to see the below page.
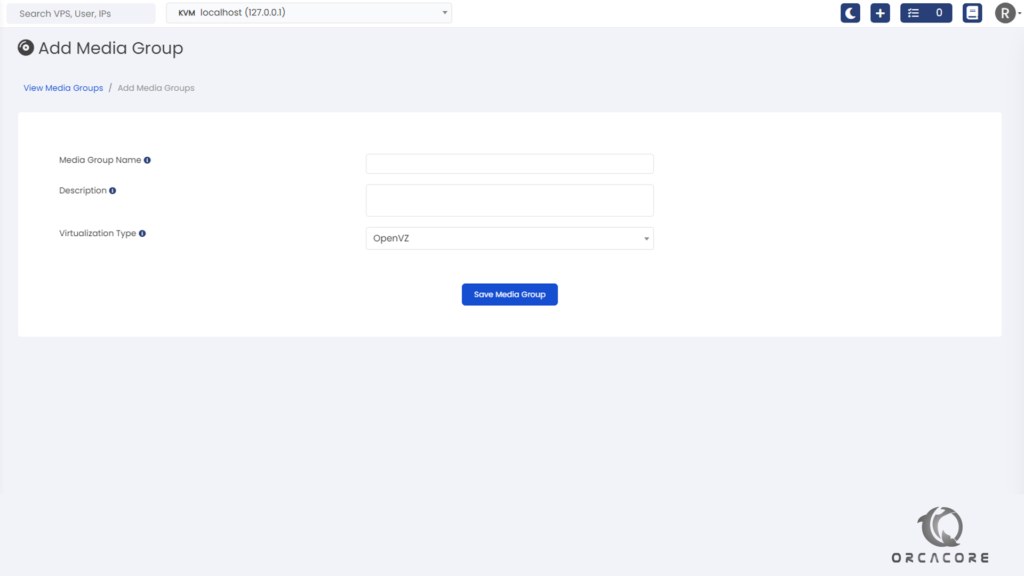
Define a name for a new group in the Media Group Name and you can write a small note in the Description field. In the end, you can select Virtualization Type from the drop-down list like OpenVZ, KVM, etc.
Click on Save Media Group to create a new plan. If it is successful, you will see Media Groups List.
Step 2 – Add ISO Fils to the Virtualizor panel
Nice! We have 2 ways to add ISO files in the Virtualizor panel. Please assume you have found a file for download, you can download it with Virtualizor. Or assume you have an ISO file on your computer and you want to upload it. We described 2 options in the below steps.
Step 2-1 – Add ISO by URL
Navigate to the “Media >> Add ISO” menu to see the below page. Please complete the items as described below.

In the first field, Enter the ISO file URL which you want to download in Virtualizor. In the next field, define an ISO File name for it, and finally, if you define a Media Group in the previous section, Then you can select it from this item.
Click on Download ISO and keep waiting to download complete. You can see all downloaded items in List ISO which is available above in Add ISO menu.
Step 2-2 – Upload ISO Files
Great! We can upload files from our computer to the Virtualizor panel. Please download and install WinSCP and try to connect to the Virtualizor server. Navigate to the below directory:
/var/virtualizor/iso
Drag and Drop your ISO File into this directory. Then the upload progress will start. After the upload is complete, You can see the file in the List ISO menu.
Conclusion
Congratulations, we learned how to create a media group and add an ISO file to the Virtualizor panel in two ways. Please don’t hesitate to contact us by commenting on this post if you have any questions.
Also, you may find the following links useful:
Define Plans on a Virtualizor Panel