Share your love
2 Easy Methods To Enable and Disable IIS on Windows 11
This guide intends to teach you 2 Methods to Enable and Disable IIS on Windows 11. You can use Windows features GUI or PowerShell Command-Line to enable IIS. IIS provides different web server functions. You can easily follow the steps below provided by the Orcacore team to Enable and Disable IIS on Windows 11.
Table of Contents
Learn 2 Methods To Enable and Disable IIS on Windows 11
At this point, you can log in to your Windows Client and use one of the following methods to Enable and Disable Microsoft IIS on Windows 11:
- From Windows GUI
- From PowerShell Command Line
You can also visit the Video Tutorial Here:
Method 1 – Enable IIS in Windows 11 From GUI
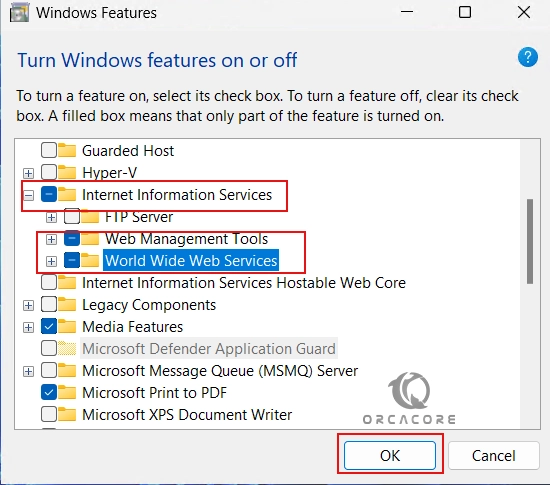
In this step, you need to open your Windows features. To do this, from your search bar, search for features and click on “Turn Windows features on or off“.

From there, check the boxes next to “Internet Information Services, Web Management Tools and World Wide Web Services”. This will also enable the IIS Management Console including Application features, Common HTTP Features, Health Diagnosis, Performance, and Security Features. Then, click OK.
Wait until your installation is completed.
Run IIS Manager in Windows 11
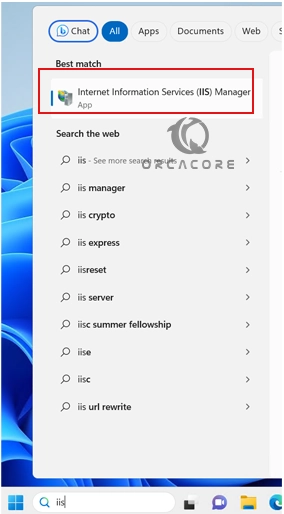
Now you can run your IIS manager. From your Search bar, search for IIS and click on “Internet Information Services (IIS) Manager”.
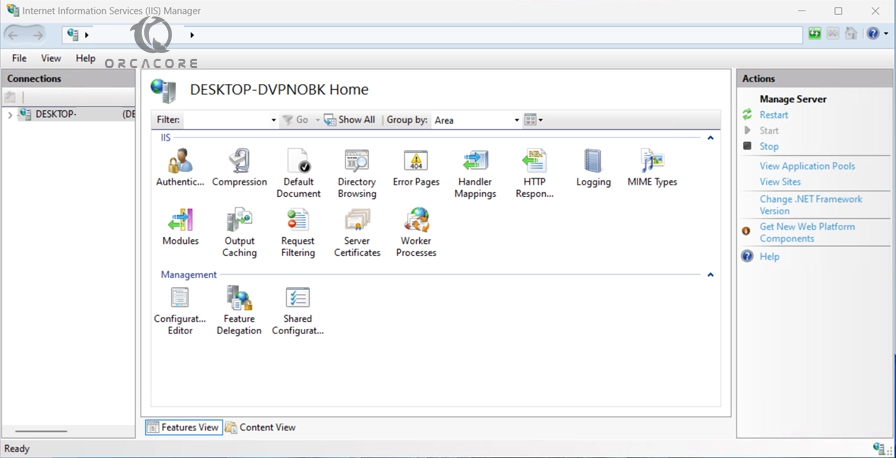
Now you can see your IIS manager in Windows 11.
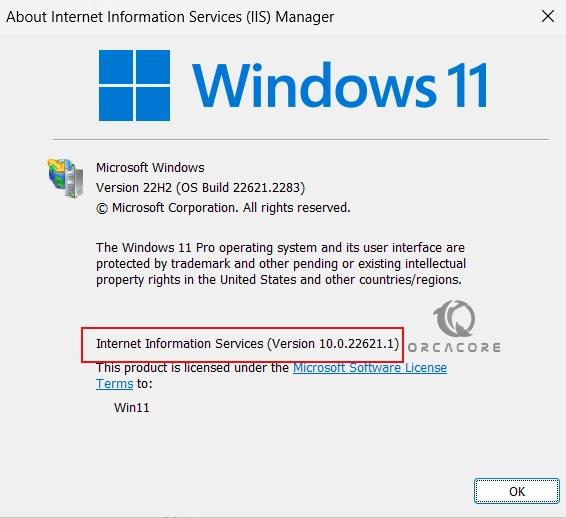
Check the IIS Version
To verify your IIS version, you can click on the Help tab and click on About Internet Information Service“.
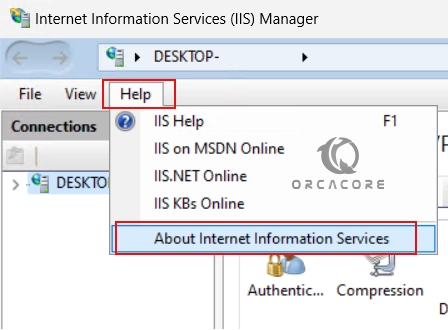
Then, you will have your IIS version installed on your Windows 11.
Disable IIS Manager in Windows 11 from GUI
If you plan to disable the IIS manager, you can simply, search for features again and click on “Turn Windows features on or off“. From there, uncheck the boxes next to “Internet Information Services, Web Management Tools and World Wide Web Services”. Then, click OK.
Finally, restart your system to apply the changes. With this option, you will disable your IIS manager in Windows 11.
Method 2 – Enable IIS from PowerShell in Windows 11
\Those who prefer to use the command line interface instead of using GUI can use PowerShell to enable the IIS manager. To do this, open PowerShell as an administrator and run the following command:
Enable-WindowsOptionalFeature -Online -FeatureName IIS-WebServerRole, IIS-WebServer, IIS-CommonHttpFeatures, IIS-ManagementConsole, IIS-HttpErrors, IIS-HttpRedirect, IIS-WindowsAuthentication, IIS-StaticContent, IIS-DefaultDocument, IIS-HttpCompressionStatic, IIS-DirectoryBrowsingWait until your IIS installation is completed.

In your output, you will see:

In this way, you can simply turn on IIS on Windows 11 from PowerShell.
Disable IIS Manager From PowerShell
If you plan to disable IIS from PowerShell, you can run the command below:
Disable-WindowsOptionalFeature -Online -FeatureName IIS-WebServerRole, IIS-WebServer
Wait until the process is completed. Then, you will need to restart your system. Press Y to continue.

That’s it, you are done.
Conclusion
At this point, you have learned to Enable and Disable IIS on Windows 11 from GUI and PowerShell Command-Line. Hope you enjoy it. Also, you may like to read the following articles:
2 Ways To Test Hard Disk Speed in Windows
Enable Network Discovery and File Sharing on Windows
FAQs
How do I enable IIS on Windows 11?
You can enable IIS by navigating to the “Turn Windows features on or off” menu, checking the box next to “Internet Information Services,” and clicking OK. IIS will then install and be enabled.
Can I install IIS via PowerShell on Windows 11?
Yes, you can install IIS using PowerShell by following the guide steps above (Enable and Disable IIS on Windows 11).
How do I verify that IIS is installed and running on Windows 11?
You can verify IIS installation by opening a web browser and typing http://localhost in the address bar. If IIS is running, you’ll see the default IIS welcome page.