
Share your love
Enable Network Discovery and File Sharing on Windows 10/11 with Easy Steps
This guide intends to teach you to Turn on or Enable Network Discovery and File Sharing on Windows 10 / Windows 11. Network discovery is the process that allows computers and devices to find one another when they are on the same network. It is the initial step system administrators take when they want to map and monitor their network infrastructure. This process is sometimes also referred to as topology discovery.
When connected over a local network, network discovery enables network devices to connect and communicate with the other devices connected to the same network. This allows system administrators to locate devices with ease. With this ability to quickly locate devices on a large network, system admins can then gain better control over infrastructure, create device inventories, and enforce better device-access policies.
Now proceed to the following steps on the Orcacore website to Turn on Network Discovery and File Sharing on Windows 10 / Windows 11.
Table of Contents
Steps To Enable Network Discovery and File Sharing on Windows
To complete this guide for enabling Windows network discovery, you must log in to your Windows Client (Windows 10 or Windows 11) and follow the steps below.
Change Network Profile to Private on Windows
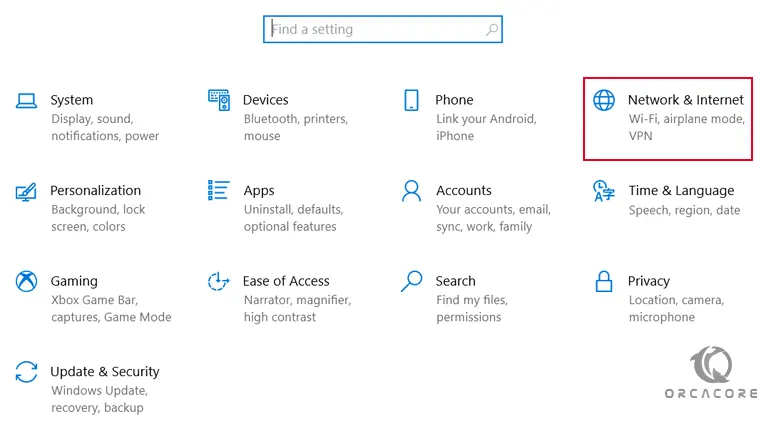
First of all, you must change your Network profile to private. To do this, open your Windows settings by pressing Win key + I, and from there click on Network & Internet.
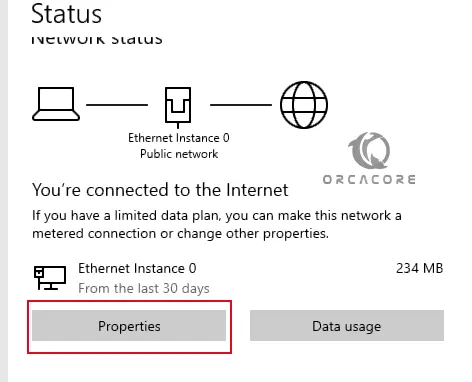
Then, click on the Properties button below the active network interface (labeled as Ethernet or Wi-Fi).
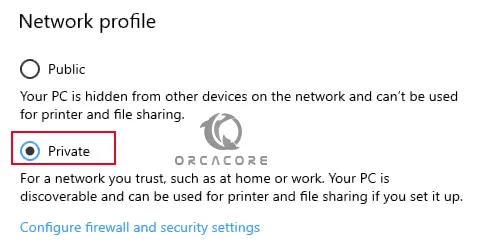
Under the Network profile, switch to the Private profile. This will be used so that your PC is discoverable and can be used for printer and file sharing if you set it up.
Now follow the steps below to turn on the Network discovery.
Turn on or Enable Network Discovery on Windows
At this point, you can enable your network discovery from the network sharing center.
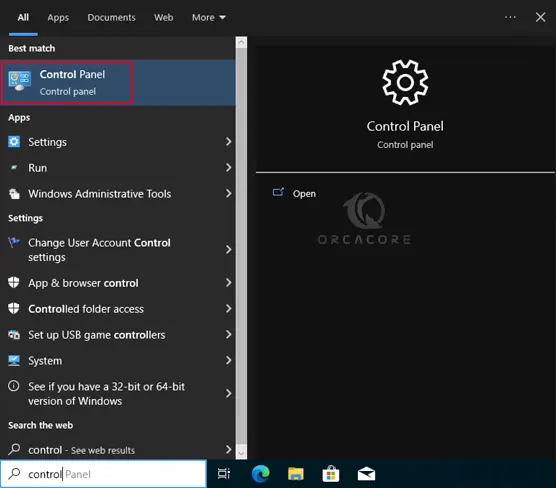
First, from your search bar search for the control panel and open it.
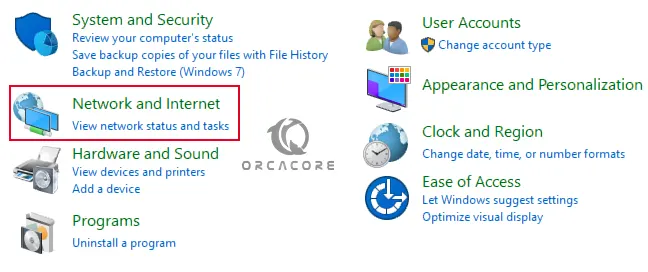
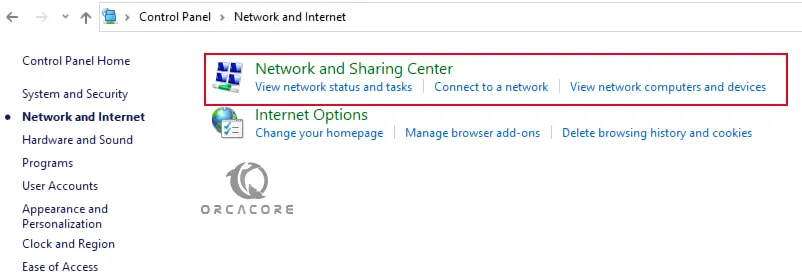
Then, navigate to the Network and Internet > Network and Sharing Center.
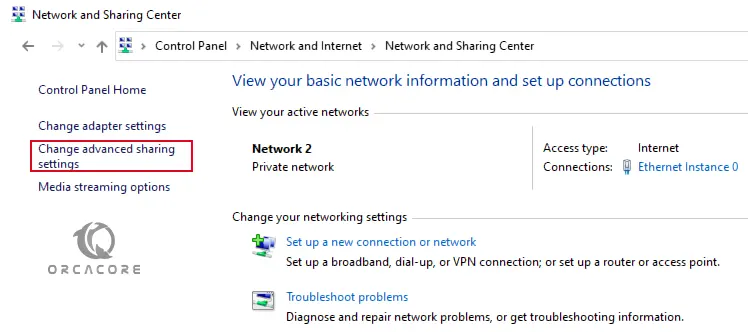
From there, click on the Change Advanced Sharing Settings link on the left.
Under the Private network section, Turn on network discovery.
Also, choose Turn on file and printer sharing.
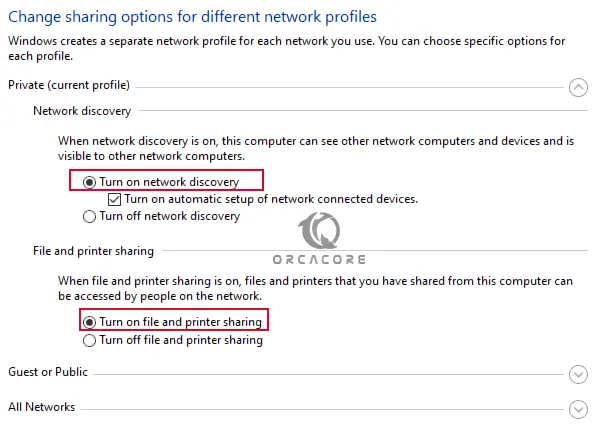
Finally, click Save Changes.
After enabling Network Discovery, you should see the shared computers and devices on your network under the Network Section of File Explorer.
Turn off Network Discovery on Windows
To turn off the network discovery, you just do the previous steps and from there that you turn it on, click on the turn-off button, and save changes.
Conclusion
Windows network discovery allows computers and devices to find one another when they are on the same network. At this point, you have learned to Turn on or Enable Network Discovery and File Sharing on Windows 10 / Windows 11.
Hope you enjoy it. You may also like these articles:
Disable and Enable Superfetch on Windows


