Share your love
Install Froxlor on Ubuntu 22.04 | Easy Control Panel
In this guide, you will learn How To Install Froxlor on Ubuntu 22.04. Froxlor is an application that has many uses; primarily the tool is geared toward ISPs who need to roll out customer installations of Web and Email servers.
But Froxlor doesn’t have to be limited to ISPs. Any business could easily take advantage of this tool when they need to quickly roll out new domains or sub-domains for departments, remotes, branches, etc.
Since Froxlor is open source (and simple to install), a task that normally would take hours, can take minutes and be done without cost. You can now proceed to the guide steps below on the Orcacore website to set up Froxlor control panel on Ubuntu 22.04.
Table of Contents
Steps To Install and Configure Froxlor on Ubuntu 22.04
To complete this guide, you need some requirements. First, you must log in to your server as a non-root user with sudo privileges. To do this, you can follow our guide on Initial Server Setup with Ubuntu 22.04.
Then, you need to have a LAMP stack installed on your server. To do this, you can follow our guide on How To Install LAMP Stack on Ubuntu 22.04.
Now follow the steps below to install Froxlor control panel on Ubuntu 22.04.
1. Install Additional PHP Packages on Ubuntu 22.04
Here we assumed that you have installed PHP from the requirements. Now you need to use the following command to install the additional PHP packages:
sudo apt install php-xml php-posix php-mbstring php-curl php-bcmath php-zip php-json -72. Create a Database For Froxlor
At this point, you need to log in to your MariaDB shell and create a database and user for Froxlor on Ubuntu 22.04.
Log in to your MariaDB shell by using the command below:
sudo mysql -u root -pThen, from your MariaDB Shell create a database. Here we named it froxlordb:
MariaDB [(none)]> CREATE DATABASE froxlordb;Now you need to create a new user for Froxlor and give it all the privileges on Ubuntu 22.04. Here we named it froxloruser:
MariaDB [(none)]> CREATE USER 'froxloruser'@'localhost' IDENTIFIED BY 'password';
MariaDB [(none)]> GRANT ALL PRIVILEGES ON froxlordb.* TO 'froxloruser'@'localhost' WITH GRANT OPTION;
Next, flush the privileges and exit from the MariaDB shell:
MariaDB [(none)]> FLUSH PRIVILEGES;
MariaDB [(none)]> EXIT;Note: You need to specify this user as the MySQL root user in the web installer.
Also, you need to create another user for the MySQL non-privileged account. Again login to your MariaDB shell and run the commands below:
MariaDB [(none)]> CREATE USER 'froxloruser1'@'localhost' IDENTIFIED BY 'password';
MariaDB [(none)]> GRANT ALL PRIVILEGES ON froxlordb.* TO 'froxloruser1'@'localhost' WITH GRANT OPTION;
MariaDB [(none)]> FLUSH PRIVILEGES;
MariaDB [(none)]> EXIT;
3. Install Froxlor on Ubuntu 22.04
To install Froxlor on your server, you need to add its repository to your server.
First, you need to install the dependencies on your server with the command below:
sudo apt -y install apt-transport-https lsb-release ca-certificates gnupgAdd Froxlor GPG Key
Then, add the GPG key for Froxlor with the command below:
sudo curl -sSLo /usr/share/keyrings/deb.froxlor.org-froxlor.gpg https://deb.froxlor.org/froxlor.gpgAdd Froxlor Repository
Now use the following command to add the Froxlor repo on Ubuntu 22.04:
sudo sh -c 'echo "deb [signed-by=/usr/share/keyrings/deb.froxlor.org-froxlor.gpg] https://deb.froxlor.org/ubuntu $(lsb_release -sc) main" > /etc/apt/sources.list.d/froxlor.list' Update your local package index with the command below:
sudo apt updateAt this point, you can use the command below to install Froxlor on Ubuntu 22.04:
sudo apt install froxlorDuring your Froxlor installation, you will be asked to choose one of the mail server configuration types from the list:
- No Configuration
- Internet Site
- Internet with smart host
- Satellite System
- Local Only
Choose one and press ok to finish your installation.
4. Apache Configuration for Froxlor Control Panel
Here you need to make some configuration changes to the default Apache configuration file. Open the file with your favorite text editor, here we use vi:
sudo vi /etc/apache2/sites-enabled/000-default.confFind the term DocumentRoot, it will be /var/www/html, and remove the /html from the path, so it becomes:
DocumentRoot /var/wwwWhen you are done, save and close the file. Restart Apache to apply the changes:
sudo service apache2 restart5. Access Froxlor Dashboard
At this point, you can continue your Froxlor installation on Ubuntu 22.04 from the web interface. Type your server’s IP address in your web browser followed by Froxlor:
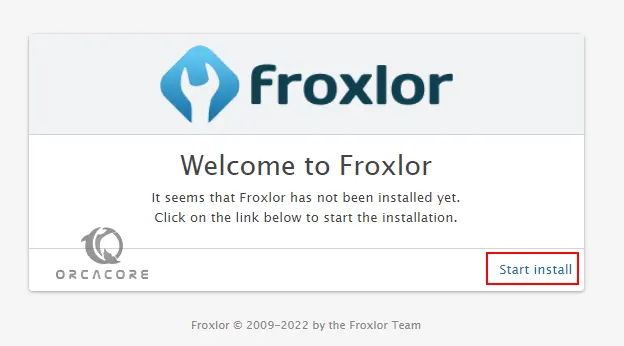
http://<your_ip>/froxlorYou will see the Froxlor welcome screen. Click Start install.
Then, check your system requirements and click here to continue.
Now you need to set your database connection, and your Server name, and click here to continue.
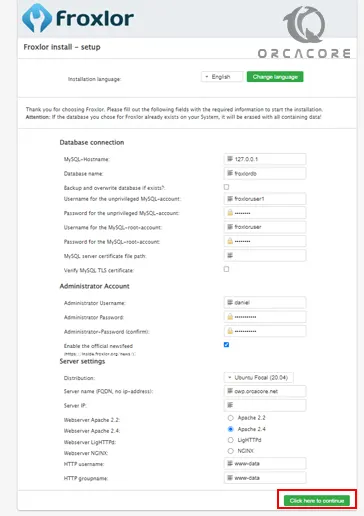
Put your domain name in the server name field. At this point, if you set up your settings correctly, your Floxlor installation will start. Then, click here to continue.
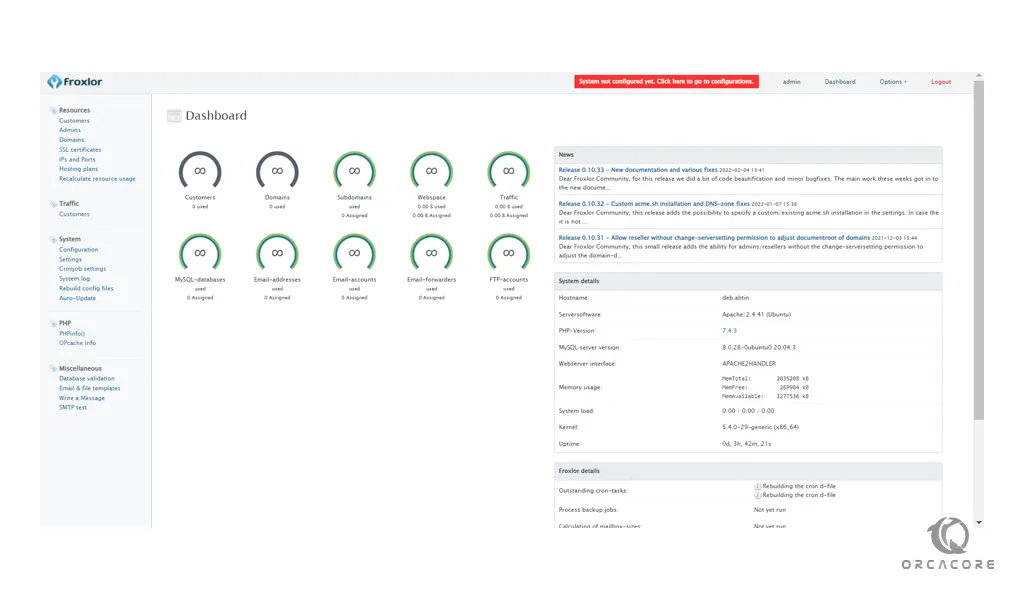
Next, you will see your Froxlor login screen, enter your Admin credentials and click login.
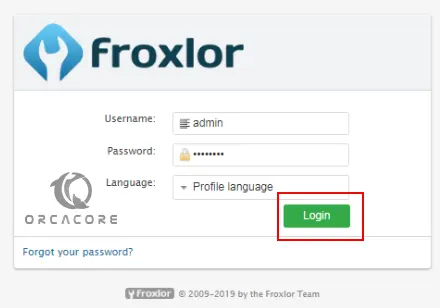
Here you will see your Froxlor dashboard.
Conclusion
At this point, you have learned to Install and Configure Froxlor on Ubuntu 22.04. Froxlor provides a lightweight control panel for managing domains, email accounts, FTP access, databases, and server configurations, making it ideal for hosting providers and system administrators.
Hope you enjoy it. Please subscribe to us on Facebook, YouTube, and X.
You may also like these articles: