Share your love
Install LAMP Stack on Rocky Linux 9 | Best Setup
In this guide, we want to teach you How To Install LAMP Stack on Rocky Linux 9. LAMP stands for Linux, Apache, MariaDB or MySQL, and PHP.
A LAMP stack is used for backend or server-side development. A backend application is a software that runs in an environment that’s hidden from end users. Backend applications consist of the following:
- Data processing software
- Database components
- Business logic in code
- API for communicating with other applications
The webpage that shows up on your browser is called the frontend application. When you interact with the page, such as by clicking on a button, your browser communicates with the backend application to retrieve the required information.
Developers use a LAMP stack to create both static and dynamic web content. You can now proceed to the guide steps below on the Orcacore website to complete the LAMP Stack setup on Rocky Linux 9.
Table of Contents
Steps To Install LAMP Stack on Rocky Linux 9 Blue Onyx
To complete this guide, you must log in to your server as a non-root user with sudo privileges and set up a basic firewall. To do this, you can follow our guide on Initial Server Setup with Rocky Linux 9.
Now follow the steps below to complete this guide.
1. LAMP Stack Rocky Linux 9: Install Apache Web Server
You need to install Apache as a web server on Rocky Linux 9. First, update your local package index with the following command:
sudo dnf update -yThen, install Apache with the command below:
sudo dnf install httpd -yWhen your installation is completed, start and enable your Apache service on Rocky Linux 9 with the commands below:
sudo systemctl enable httpdsudo systemctl start httpdVerify that your service is active and running on your server with the following command:
sudo systemctl status httpdIn your output, you will see:
Output
httpd.service - The Apache HTTP Server
Loaded: loaded (/usr/lib/systemd/system/httpd.service; enabled; vendor prese>
Active: active (running) since Wed 2022-10-26 09:00:37 EST; 34s ago
Docs: man:httpd.service(8)
Main PID: 89138 (httpd)
Status: "Running, listening on: port 80"
...
Configure Firewall For Apache Web Server
Here we assumed that you have enabled firewalld from the requirements, now you need to allow traffic for Apache through the Rocky Linux firewall with the following command:
sudo firewall-cmd --add-service=http --permanentReload the firewall to apply the new rules:
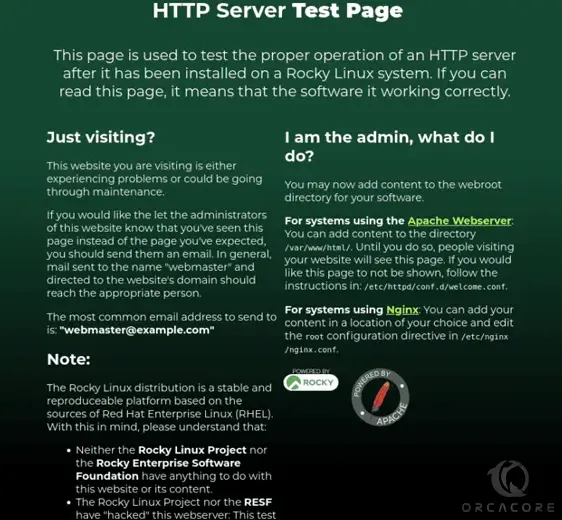
sudo firewall-cmd --reloadNow you can access the Apache default page by typing your server’s IP address in your web browser:
http://server-IP-addressYou will see:
2. LAMP Stack Rocky Linux 9: Install MariaDB
At this point, you need to set up MariaDB as a database server of the LAMP stack on your Rocky Linux 9. To install MariaDB, run the following command:
sudo dnf install mariadb-server mariadb -yWhen your installation is completed, start and enable your service with the following command:
sudo systemctl enable mariadbsudo systemctl start mariadbThen, you need to secure your MariaDB installation on Rocky Linux 9 with the following command:
sudo mysql_secure_installationYou will be asked some questions, answer them as shown below:
Enter current password for root (enter for none):
Set root password? [Y/n] Y
New password:
Re-enter new password:
Remove anonymous users? [Y/n] Y
Disallow root login remotely? [Y/n] Y
Remove test database and access to it? [Y/n]
Reload privilege tables now? [Y/n] Y
To log in to your MariaDB console, you can use the following command:
sudo mysql -u root -p3. LAMP Stack Rocky Linux 9: Set up PHP
The default PHP version available in the Rocky Linux 9 repositories is PHP 8.0. At the current time, the latest version of PHP is PHP 8.1.
To install the latest PHP on Rocky Linux 9, run the command below to enable the Remi repository first:
sudo dnf install -y https://rpms.remirepo.net/enterprise/remi-release-9.rpm Then, get the available PHP modules on Rocky Linux 8 with the command below:
sudo dnf module list phpIn your output, you will see:
Output
Rocky Linux 9 - AppStream
Name      Stream       Profiles                       Summary
php       7.2       common [d], devel, minimal     PHP scripting language
php       7.3          common [d], devel, minimal     PHP scripting language
php       7.4  [d]        common [d], devel, minimal     PHP scripting language
Remi's Modular repository for Enterprise Linux 9 - x86_64
Name      Stream       Profiles                       Summary
php       remi-7.2     common [d], devel, minimal     PHP scripting language
php       remi-7.3     common [d], devel, minimal     PHP scripting language
php       remi-7.4     common [d], devel, minimal     PHP scripting language
php       remi-8.0     common [d], devel, minimal     PHP scripting language
php       remi-8.1     common [d], devel, minimal     PHP scripting language
The default module is PHP 7.2. Reset the default module with the command below:
sudo dnf module reset phpThen, enable the latest PHP module by using the following command:
sudo dnf module enable php:remi-8.1Now you can install the latest PHP and its dependencies on Rocky Linux 9 with the command below:
sudo dnf install php php-fpm php-curl php-cli php-gd -yWhen your installation is completed, verify your PHP installation by checking its version:
php -vIn your output, you will see:
Output
PHP 8.1.8 (cli) (built: Dec 15 2021 02:00:45) (NTS gcc x86_64)
Copyright (c) The PHP Group
Zend Engine v4.1.1, Copyright (c) Zend Technologies
with Zend OPcache v8.1.1, Copyright (c), by Zend Technologies
Test PHP From Web Server
After you have finished installing the LAMP stack on Rocky Linux 9, you can test your PHP on your web server. To do this, create and open a smile PHP file with your favorite text editor, here we use vi:
sudo vi /var/www/html/info.phpAdd the following content to the file:
<?php

phpinfo();

?>
When you are done, save and close the file.
Restart Apache to apply the changes:
sudo systemctl restart httpdNow, in your web browser, type your server’s IP address followed by /info.php:
http://server-IP/info.phpYou will see your PHP information in detail.
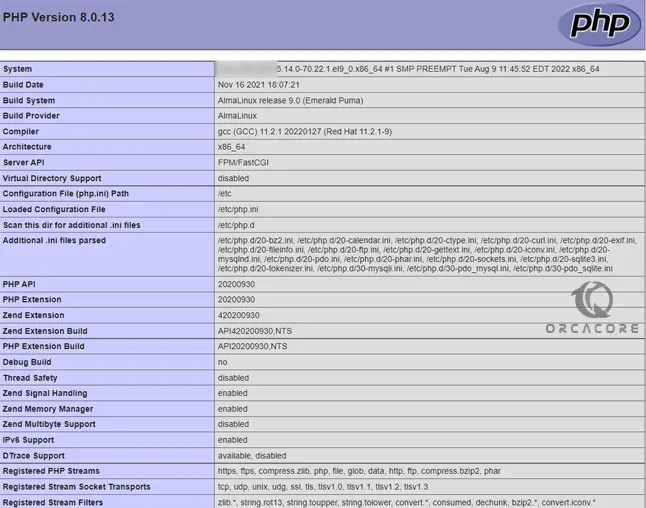
After you have read your PHP info, for more security, it’s better to remove it with the command below:
sudo rm /var/www/html/info.phpConclusion
At this point, you have learned to install LAMP Stack on Rocky Linux 9. The LAMP stack on Rocky Linux 9 is used to host websites and web applications, process PHP scripts, and manage databases with MySQL/MariaDB. It provides a secure, stable, and open-source environment for web development.
Hope you enjoy it. Please subscribe to us on Facebook, Instagram, and YouTube.
You may also like these articles:
Install LAMP Stack on AlmaLinux 9
How To Install LAMP Stack on Ubuntu 22.04